How To Edit Landscape Photos In Photoshop

How to edit landscape photos in Photoshop? There are a lot of Photoshop landscape tutorials out there. Today I will write about the process of simple landscape photo editing.
The most widely used form of photography is landscape photography. Although it is relatively simple to learn, landscape photography requires a lifetime of practice. It does not necessitate the use of a specialized camera or a costly lens.
Landscape photography is a wide range of photography that’s all about capturing the beauty of nature. It’s all about big, open landscapes, lots of natural light, and of course, the iconic ‘hero’ shot.
Every landscape photographer needs to know how to edit their images. Let me show you how to edit landscape photos in Photoshop from the ground up below.
Table of Contents
How To Edit Landscape Photos In Photoshop
There are many ways to edit landscapes in Photoshop. That’s why many photographers go the extra mile to create a landscape photo that looks nothing like the original. Your landscape photo needs to look natural.
The main purpose of landscape photo editing in Photoshop is to fix your camera’s errors and sensor limitations. The best way to get the best results is to shoot in Raw. Only then will you be able to utilize all the features and tools that Photoshop has to offer?
However, let’s learn about how to edit landscape photos in Photoshop from below.
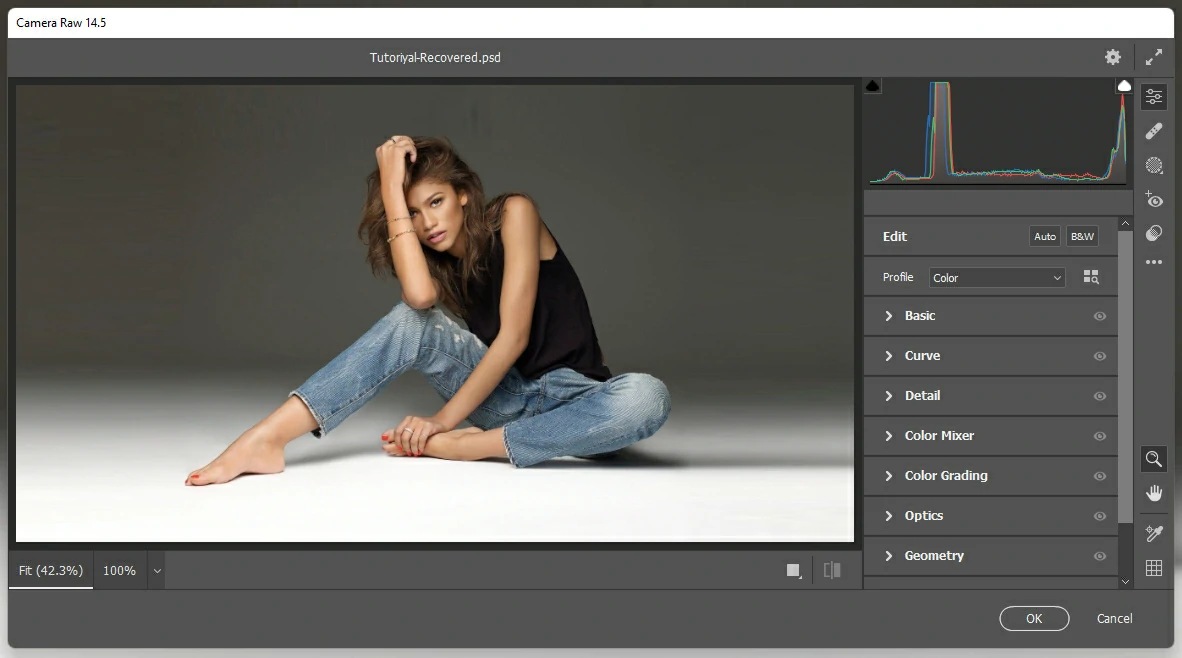
Start with Adobe Camera RAW for post-processing photos:

RAW format is perfect for your landscape photos because it stores all the data your camera captures, unlike JPEGs. That means you can make tons of changes to your image, like adjusting exposure, highlights, shadows, and more – all without opening Photoshop. It’s super simple – just open the photo in Camera RAW, hit the sliders, and you’re good to go! You can also add curves and vignettes, as well as gradients, so your photos look amazing even before you open Photoshop.
Open the Photo in Photoshop and Get to Work:
The fun part of landscape photography editing begins the moment you open the photo in Photoshop. This is because Photoshop is loaded with sophisticated tools that let you add drama to your photos.
Dodge And Burn In Photoshop:

At this point, make two passes one is a Dodge pass, and another Burn pass. The Dodge pass is for composition, and the Burn pass is for adding shape and dimension. Click on Alt/Option to open up the Create New Layer options, then switch to Overlay Blending mode and fill with gray. Double-check that the gray is hidden since it’s in overlay mode. Darken one layer and lighten the other. Reset the foreground and background color by pressing D, then use black for the foreground. Pick a brush and choose a soft round brush. Switch to transfer mode, then opacity to adjust the pen pressure. Pick the second gray and white color brush.
Dodging And Burning To Add Depth:
Using a smaller black brush, begin to draw in the shadows to make them more defined. Ensure that the shadow layer is being used again (Burn). Utilize the white brush to draw in the highlights. Create a flattened layer atop all the other layers and click OK.
Improve Contrast by Using the Curves Adjustment:

The curve adjustment can be used to correct the brightness and contrast of the sky in a landscape photo. For example, if the sky in your landscape photo is too bright and the contrast is too light, you can use this adjustment in Photoshop. When you adjust the curves in this way, you’ll end up with a photo with more contrast and more interesting elements like the sky and mountains, as well as reflections. But keep in mind that sometimes you’ll have to adjust the curves a bit more since you might end up with parts of the photo that are too dark.
Sharpen Your Photo In Photoshop:

Let’s start sharpening. Instead of using the well-known Unsharp Mask, we’ll use a more advanced High-Pass Sharpening. Double-click the top layer and choose Overlay Mode. You’ll see that the top layer will appear dark, but that’s only for a short time. Select Filter> Other High Pass and the colors will come back to normal. Shift the radius to adjust the sharpening. Keep it gentle. No sizzling. Sizzling is when the light tones change to a white color because of too much sharpening. Just click OK.
Frequently Asked Questions (FAQ):
Que: What is the best camera for landscape Photography?
Ans: When it comes to landscape photography, it’s important to pick the right camera for the job. You don’t want to settle for something too heavy or too light. You want to be able to take your camera with you wherever you go, and you want it to be able to replicate the views you see. That’s why it’s so important to find the right camera for your needs.
Que: What is the best shutter speed for landscape photography?
Ans: The shutter speed is based on how quickly the shutter opens. Most cameras can take pictures in a split second. The length of a long exposure depends on the situation and what you want to get out of it. If you’re taking a picture in bright sunlight, your shutter speed might not be fast enough. Landscape photographers usually use long exposures more often because they can change the look and feel of the picture, adding movement to a static shot. When you’re shooting before or after sunset, long exposures are the norm, but you can adjust the shutter speed.
Que: What is the best lens for landscape Photography?
Ans: Landscape photographers of all skill levels will carry a variety of lenses with them on every shoot, ranging in focal lengths from 16 mm to 400 mm. When starting, it is recommended to acquire a wide-angle lens (ranging from 16-35 mm) as well as a 70-200 mm telephoto lens or equivalent. Generally, landscape photographers use wide-angle lenses, however, they are often the most difficult to compose with as they require careful attention to the composition’s composition elements to avoid messy composition or a lack of focal point.
Que: How to use hyperfocal distance in landscape photography?
Ans: Hyperfocal distance is the most accurate way to get front-to-back sharpness in the landscape. It depends on the focus point you want. For example, if you want the foreground and background to be sharp, the focus point should be in between them. Every lens has its own “sweet spot” that depends on the focal length you choose. If your lens is telephoto, you can set the focus to infinity. There are plenty of charts available to help you achieve optimal sharpness without special focus-stacking techniques.
Conclusion:
How to edit landscape photos in Photoshop? Hopefully, you have already learned the answer to this question. With so many tools and features in Photoshop, it can be overwhelming. But don’t worry, you can create beautiful landscapes with just a few clicks.
Nowadays, digital photography has given photographers a lot of freedom to do what they want with their photos. They can edit their photos however much control they have over what they end up with. Everyone has their own opinion on what’s “too much” or “not enough” to edit their landscape photos.
We’ve provided you with some best tips for how to edit landscape photos in Photoshop. Learn the steps and you’ll soon be a landscape photo editing pro.


