How To Add A Person To A Photo Without Photoshop?
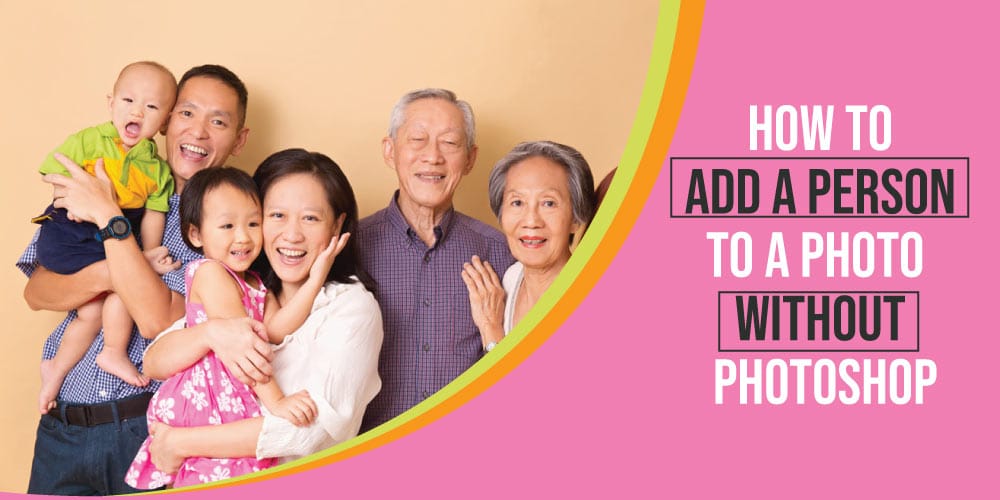
Do you have nearly perfect photos except for one individual you want to be in them? And are you learning that How to add a person to a photo without photoshop? Here we will explain to you an alternative way. There was a time when there was just one option and that is Photoshop. But the time has changed, and while Photoshop has constantly improved, a new generation of tools has emerged that go far further.
Now we are going to learn about 3 software which we will use to add a person to a Photo without Photoshop-like:
- Photoworks
- GIMP
- Pic Monkey
Table of Contents
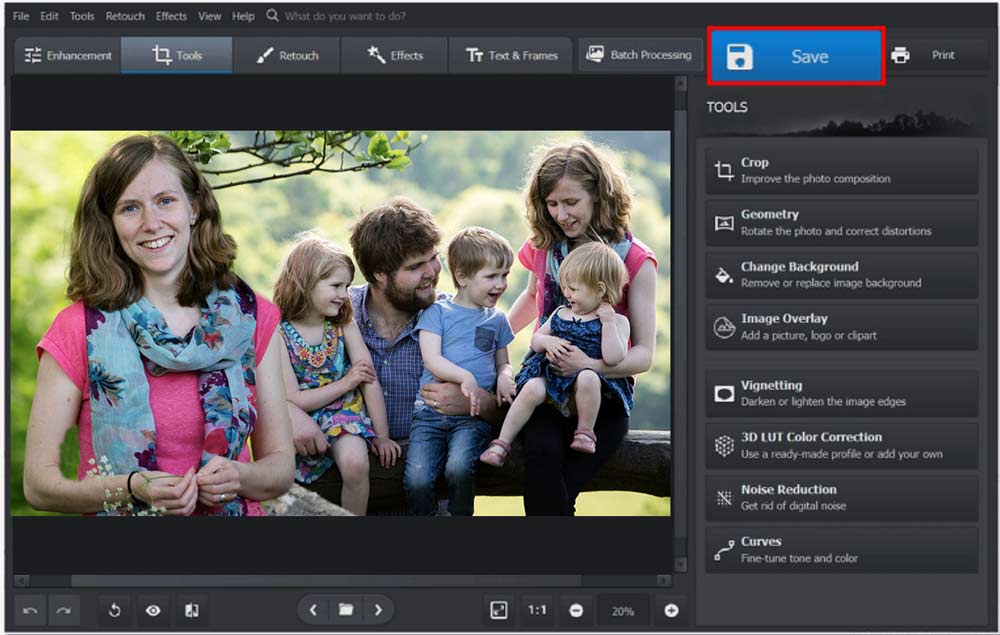
How to add a person to a photo without photoshop using Photoworks?
Nowadays, It is a frequently asked question that how to add a person to a photo without photoshop? So we will tell you about one of the top photo editing tools is Photoworks. Here are a few very simple steps to follow if you want to edit your photo with photo works.
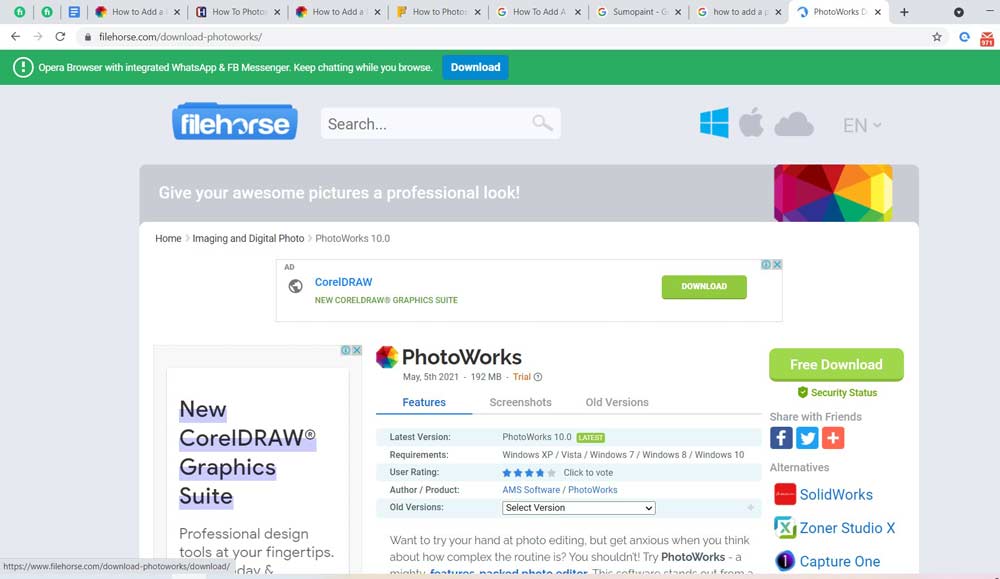
Step 1: Install PhotoWorks and open it.
To install this smart picture editor on your PC, download the free trial version and follow the wizard instructions.
Step 2: Select the Background Change Tool.
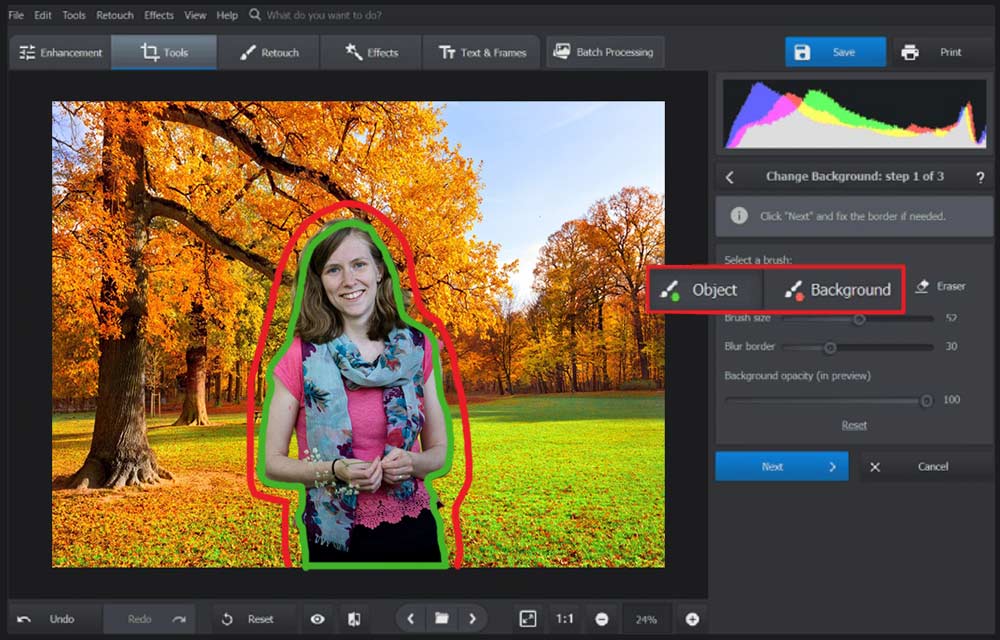
Open the photo of the individual you’d like to remove. Select the Change Background tool from the Tools menu. Mark the individual with the green brush and paint over the backdrop with the red brush. The app will immediately remove the backdrop.
Step 3: Fine-tune Your Choice
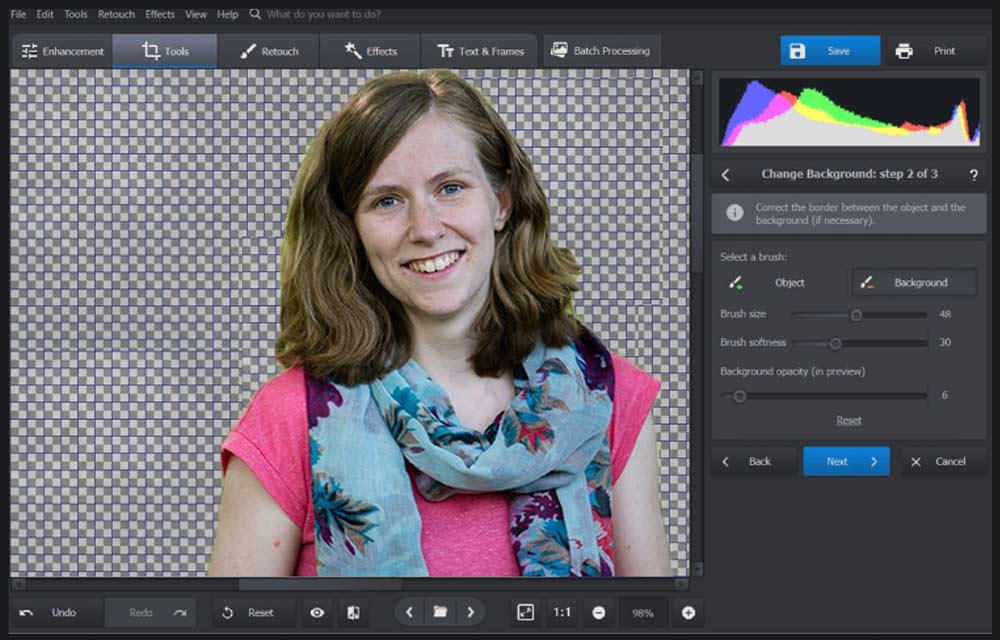
Use the red brush to remove any remaining bits of background and the green brush to restore any missing sections of the person. To notice any mistakes more clearly, increase the backdrop opacity.
Step 4: Add the Individual to Your Photograph
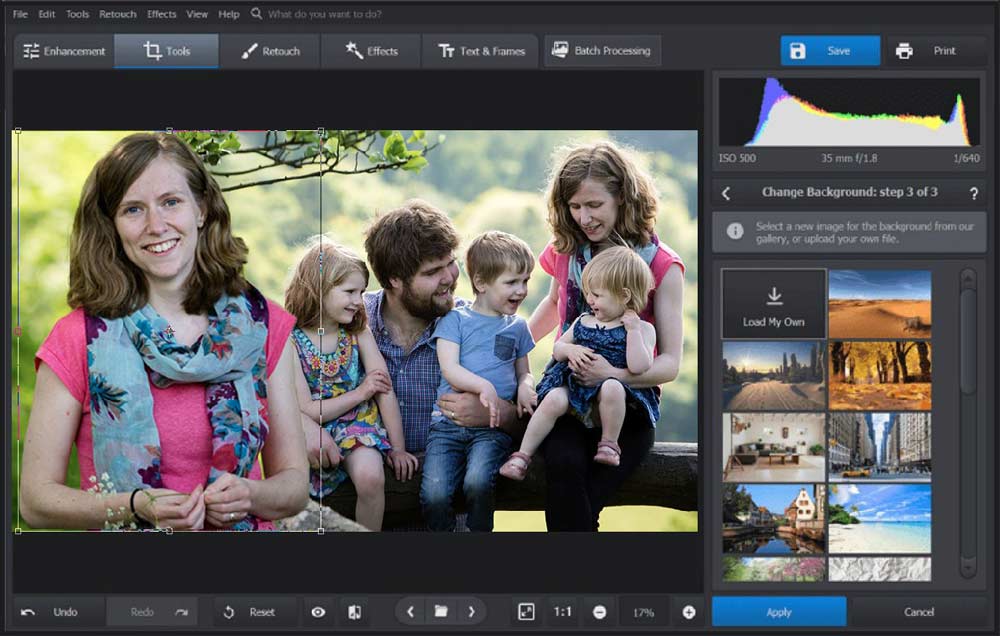
Choose a new background image by clicking Select -> New Background Image and selecting the image you wish to add the person. To locate the right position, resize the layer and move it about. For a better blend, match the layer colors to the remainder of the image.
Step 5: Save Your edited Image
If you wish to utilize the layer, you just added later, save it as a picture with a transparent background. Then, in an appropriate graphic format, save your enhanced image.
How to add a person to a photo without photoshop using GIMP?
Using GIMP’s “Paths Tool,” you may chop out a person from a photo by placing pinpoint markers around your target figure and copying everything within the selection.
To ensure that your selection is as precise as possible, use the Paths Tool to remove points, add curves to your lines, and change the location of your points. You will be able to paste your selection into a new image when it’s finished, changing the position and scale as appropriate.

Steps to add a person to a photo with GIMP:
So, how to add a person to a photo without photoshop using GIMp have the following steps:
- Open the image that includes the person you wish to copy by going to the “File” menu and selecting “Open.” To open the image, first, search your computer for it, then double-click it.

2. Choose “Paths Tool” or hit the “B” key on your keyboard from the Toolbox.

3. By clicking around the person you’re selecting with your mouse, you may create an outline around them. Zoom in for more precision by going to the “View” menu and selecting “Zoom” and then “Zoom In.”

4. To move a point, click it with your mouse and drag it to a new place. To add a curve to any of the lines you’ve drawn, click and drag on it.

5. To remove a point from the route, click it and then use the “Backspace” key. Place your last point as near to the first as feasible, then click on it while holding the “Ctrl” key (and “Cmd” on a Mac) to finish the selection.

6. In the “Tool Options” window, select the “Selection from Path” option. To copy the selection, open the “Edit” menu and select “Copy,” or use “Ctrl+C” (“Cmd” on a Mac).

7. Navigate to the “File” menu, then select “Open” to open the photo to which you want to add the person.
8. Open -> “Edit” menu and select the “Paste” option to paste the copied picture into the new file.

9. Click -> “Move Tool” icon in the Toolbox or use the “M” key to open the Move Tool. To transfer the image to its proper position, click and drag it.

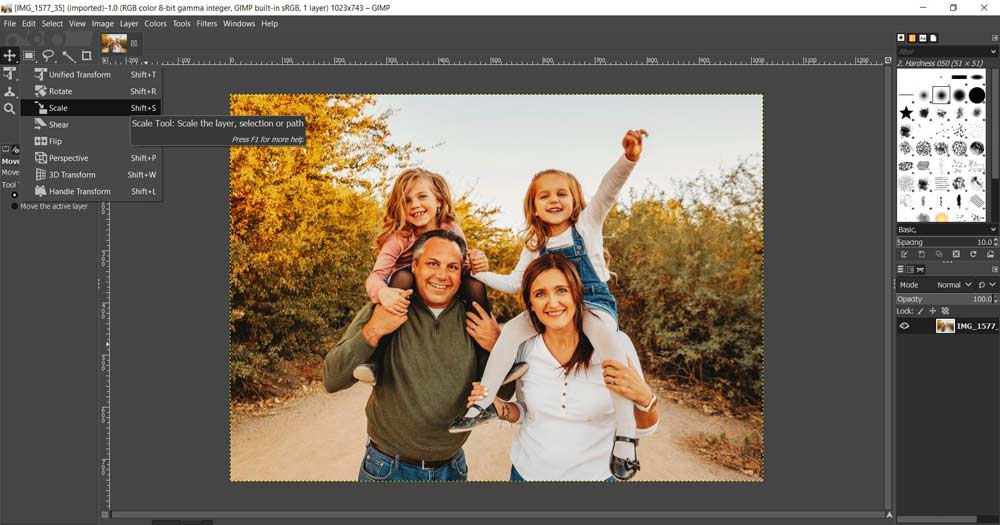
10. From the Toolbox, choose “Scale Tool.” Increase or decrease the image’s size and perspective by clicking and dragging on it. To confirm your changes, click the “Scale” button.
How to add a person to a photo without photoshop using PicMonkey?

PicMonkey is a free, web-based software alternative to Adobe Photoshop that includes basic and advanced picture editing tools. To “photoshop” someone into a photograph with PicMonkey, follow these step-by-step instructions.
Step 1:
Download PicMonkey and run it.

Step 2:
Go to PicMonkey and upload your background photo.

Step 3:
Add your overlay, which might be a person, a pet, or an item, to your backdrop photo.

Step 4:
Enlarge and erase Zoom in on the overlay you applied(using the scroll bar on your mouse or the zoom symbol in the lower left-hand corner of your PicMonkey screen). To open the Overlay dialogue box, click once on your overlay person/pet. The “Basic” tab will be chosen by default. Select the “Eraser” tab. This is what you’ll use to blend your Overlay item into your Background photo by removing the borders surrounding it.

In essence, you’re eliminating any backdrop from surrounding your overlay item so that the desired background may shine through. You’ll want to adjust the size of the eraser as you go so that you can only remove the background and not the item itself. You may erase more precisely by zooming in closer on the boundaries of your overlay object. When you’ve completed removing all of the overlay backgrounds, zoom out and take a look at the edited photo. And make a copy of the document and save it to your computer.
Conclusion
So if you want to know “how to add a person to a photo without Photoshop,” you may use GIMP, Canva, Skylum, Corel, and other editing tools. Depending on the editing software you choose, the method is mainly the same: you select and cover the person’s image you want to add, then paste it into the base image on a new layer.
Readout more blogs about >
1. HOW TO TAKE PICTURES OF CLOTHES WITHOUT A MANNEQUIN?
2. HOW TO MAKE A STENCIL FROM A PHOTOGRAPH?


