How to make a stencil from a photograph?
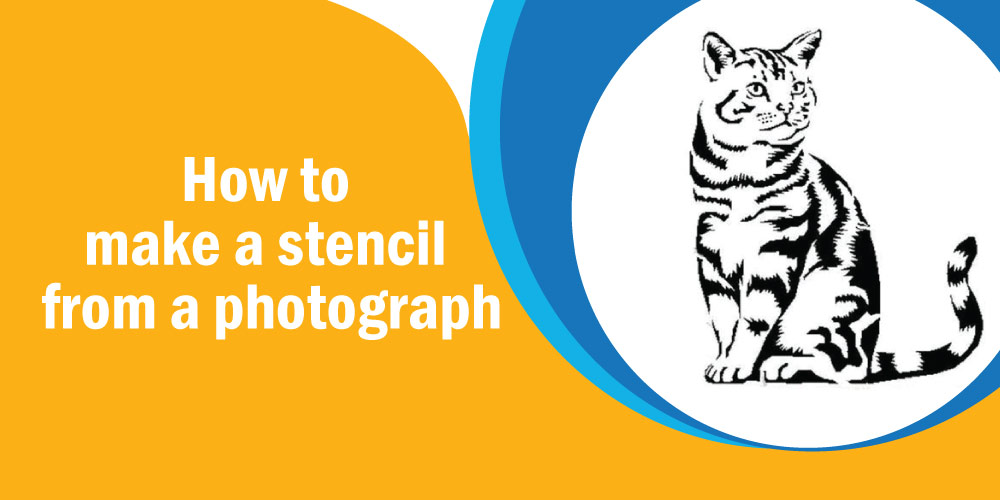
Do you want to know how to make a stencil from a photograph as quickly as possible? It is not difficult, but it will take some time. Any image can be turned into a stencil. While converting images into stencils, you will lose detail and color, but you can easily restore it using a brush and your imagination.
Table of Contents
Methods of Converting a Photograph into Stencil:
This article will show you three methods of making a stencil from a photograph using Photoshop, Illustrator, and Microsoft Word.
1. How to make Stencil from a Photo in Photoshop
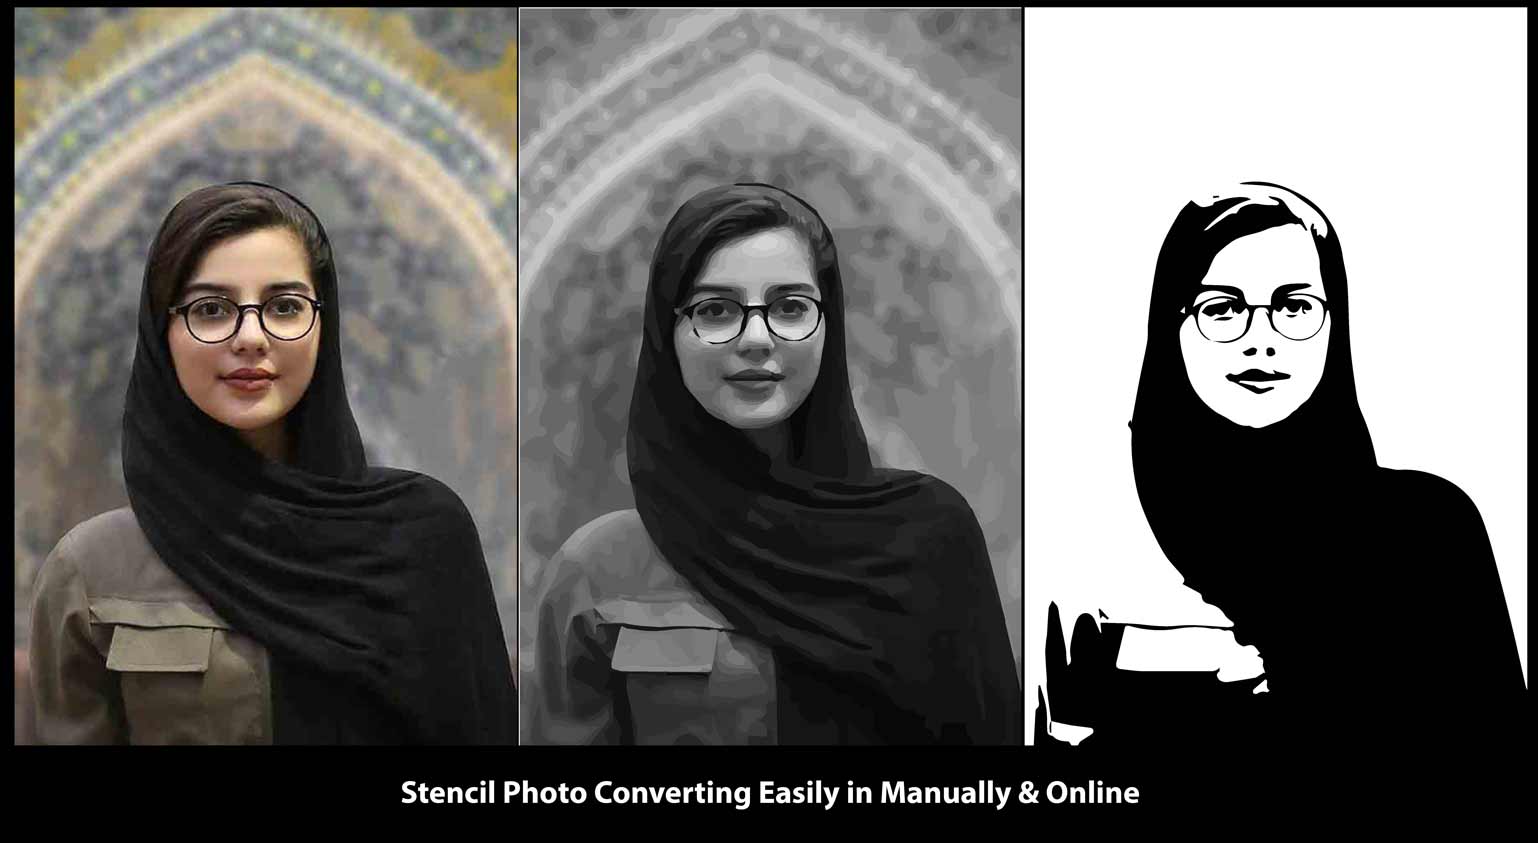
The process in Photoshop for getting Stencil from a photograph is quick and easy. You’ll only need an image to work with and any version of Adobe Photoshop. The procedure consists of just altering the image’s threshold to adjust the level of detail.
Followed by using the Brush Tool to remove any extraneous features. Here’s a summary of the steps you’ll need to take:
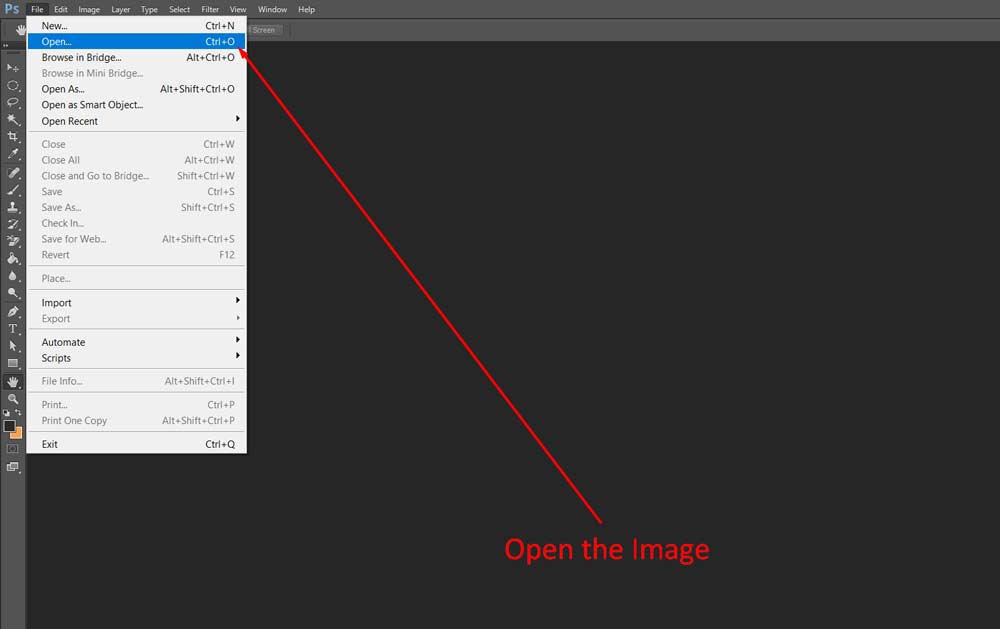
Step 1: To open your Image, Go to File > Open.
- To begin with, getting a stencil from a photograph, we’ll need to open the image that we’d like to convert into a stencil in Photoshop.
- To do so, run the program and choose File > Open from the menu bar at the top of the screen.
- Create a new Photoshop file.
- This will create a window where you can select the File that you want to bring into Photoshop.
- Select the Image inside your files and double-click on it to choose and open it.
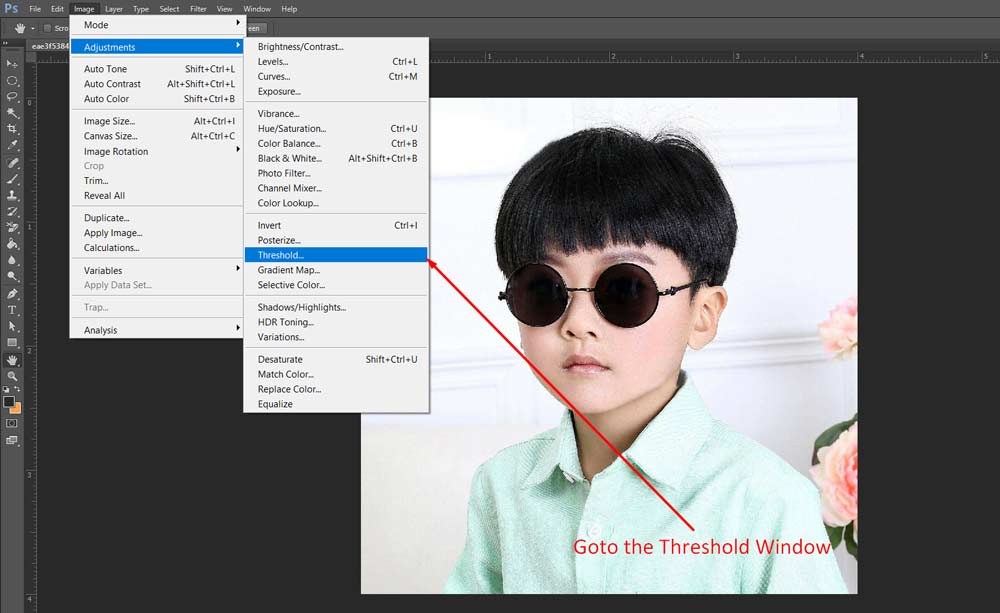
Step 2: Goto the Threshold Window
- To begin, let’s change the level of information in the image. After opening the image in Photoshop, we can begin converting it into a stencil. This is possible in the Threshold Window.
- Select Image> Adjustments > Threshold from the menu bar at the top of the screen to access this window and make changes.
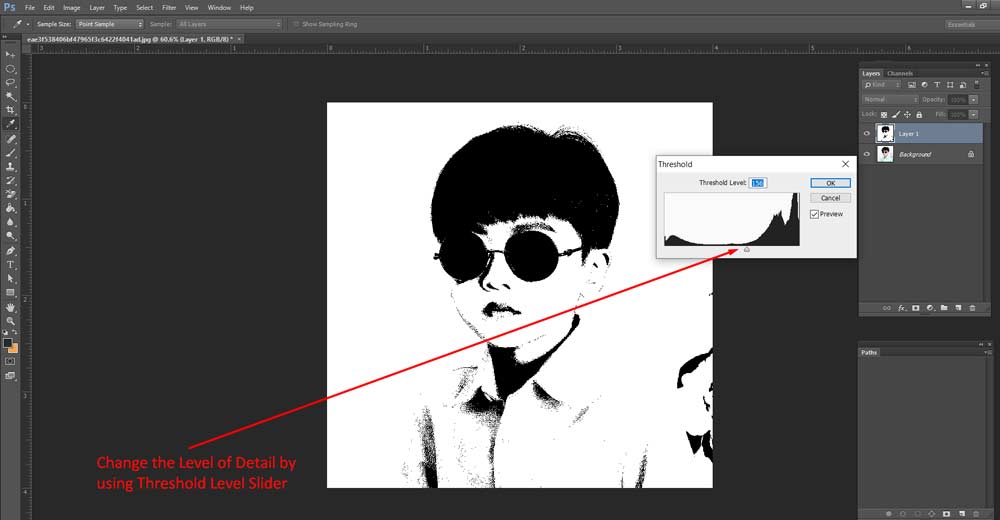
Step 3: Change the Level of Detail by using Threshold Level Slider
- A new window should appear, featuring a slider labeled Threshold Level.
- Using the slider, we can change the amount of detail. Simply click and drag the slider to the right or left to raise or decrease the level of detail inside the Image.
- Your Image and personal preferences determine the appropriate value. It would help if you strived for an effect in which the lines stay strong—not too thin or pixelated—while still retaining a suitable level of detail. However, a figure of around 106 worked well in our instance.
- Once you’re done, click the OK button in the bottom right corner of the window to save your changes, and you should now have a black and white, simplified trace of your Image.
Step 4: Remove any unwanted details using a white brush
While you have successfully transformed the Image into a stencil with the image’s primary forms and details in black. There may be some undesirable black regions that you would like to remove. To fine-tune the stencil appearance, simply cover up any black specks or undesired parts with a white brush.
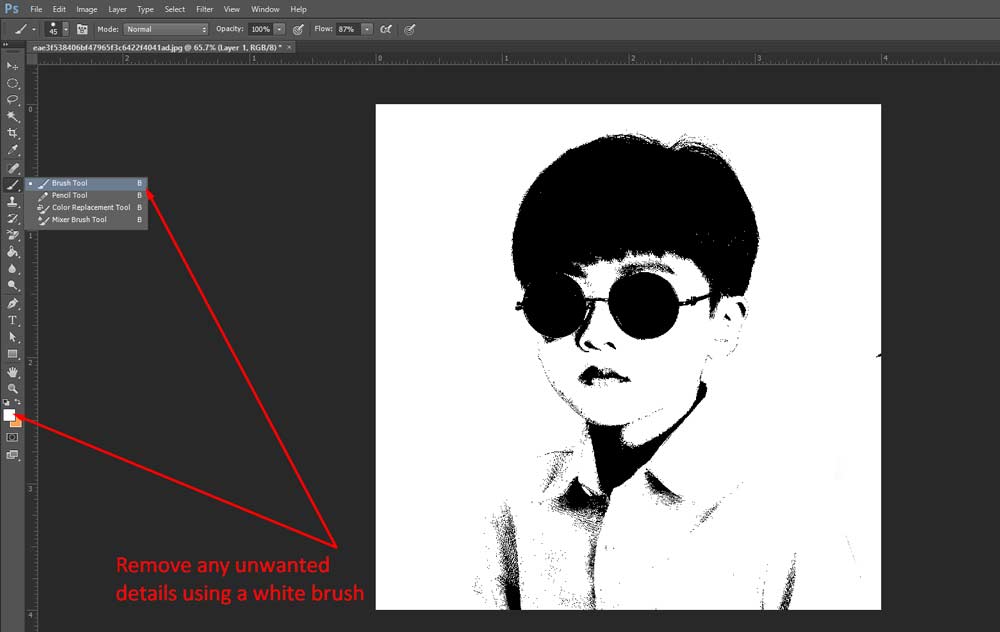
- First, click on the brush icon to select the Brush Tool from the toolbar on the left side of the screen.
- Draw your attention to the new settings bar that appears towards the top of the screen while the tool is selected. This bar has choices for adjusting the brush’s various parameters, such as smoothness, size, and opacity.
- Maintain 100% opacity with the brush. You can modify the size of the brush at any time during the hiding process by pressing the square bracket keys ([]) to make it smaller or larger.
- Set the brush’s color to white by clicking on the top colored box near the toolbar’s bottom and selecting a white color from the palette that shows.
- Once you’re satisfied with the settings, you may begin using the brush to paint over any undesired regions of black. To prevent working destructively, make a new layer to paint on first. This is accomplished by selecting the Create New Layer icon at the bottom of the Layers Window.
- With the new layer active, you can click and drag anywhere on the canvas to paint fresh white regions and cover up the black areas you want to conceal. You can also change the brush color to black to paint back areas, add additional detail, or fill in black regions.
- When you are done with the edits, In the Layers window, click on Merge down to merge the layer to the Image.
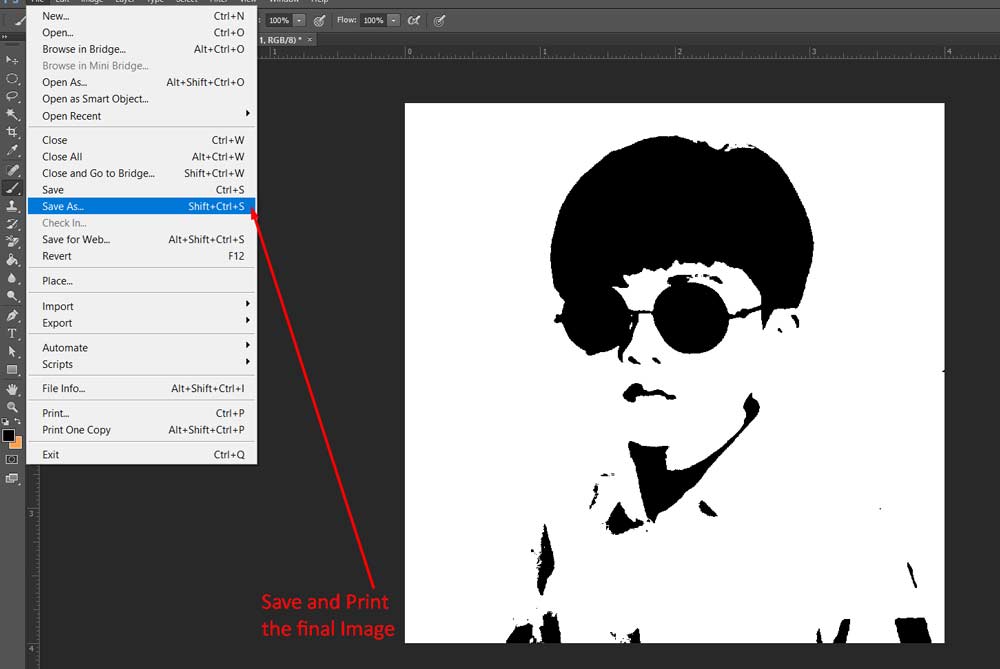
Step 5: Save and Print the final Image:
- As you have completed all stencil effects creation, Now Save the File and use it for any purpose you want.
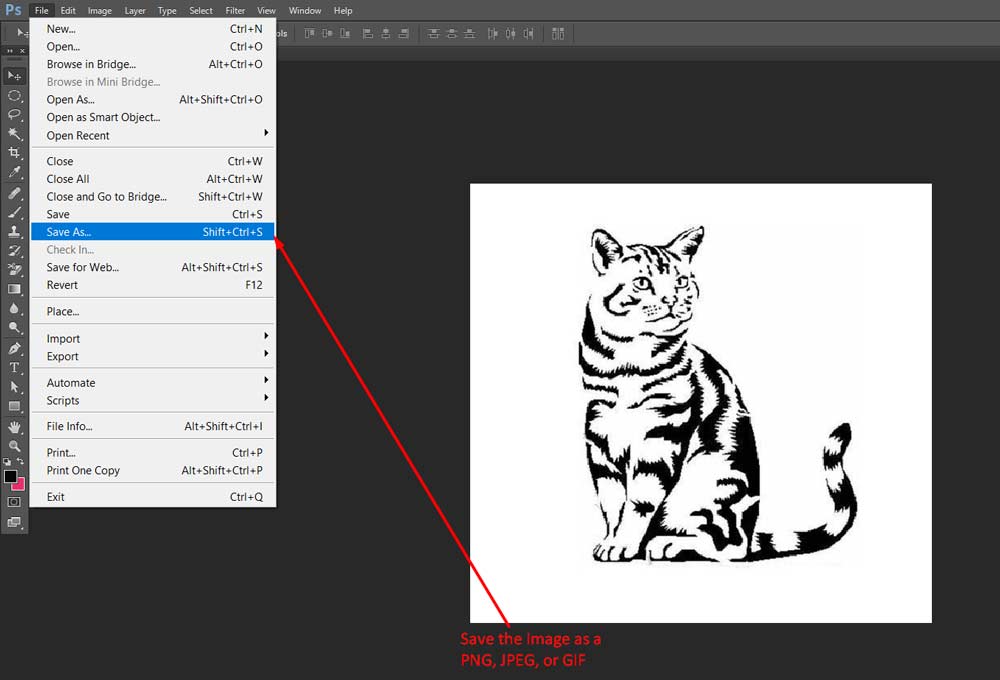
- To save the File for print, Go to File and select Save as an option. Now choose a name and location of your choice to save it. Make sure to save it in Jpeg File format. Now you are done with making a stencil from a photograph.
2. How to make Stencil from a photograph Using Microsoft Word
You have heard a lot about making a stencil from a photograph using Photoshop or Illustrator. But now you’ll learn another technique of Creating a stencil from a Photograph.
Yes, You will learn about How to Make a Stencil from a photo in Microsoft Word.
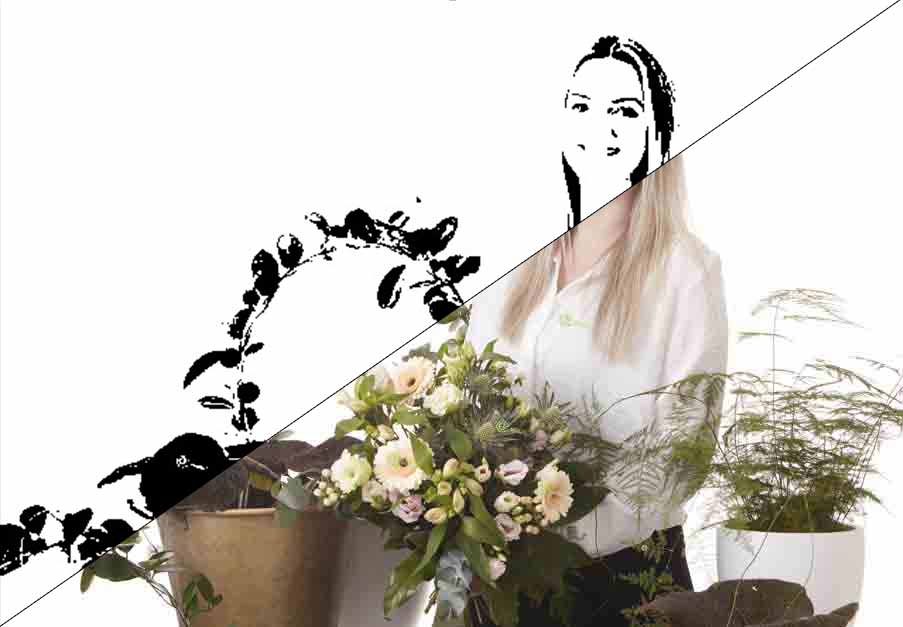 Before After
Follow the following instructions to Create the Stencil from a photograph using Microsoft Word:
Step 1: Choose a Photo
Get a photo you want to change into a stencil.

Step 2: Insert Photo into MS Word
Open Microsft Word and insert, drop or copy that picture into your word file.
Step 3: Change Picture Color
In Picture Format, Choose picture color and select Black and white. Change picture into B&W color.

Step 4: Select Wanted Details
To get the desired photo, use the contrast and brightness buttons.
Step 5: Go to the File option and click save as
Go to the File option and click save as.

Step 6: Save and print your Image
Print after saving as a jpg or PDF.
3. How to make Stencil from a photograph in Illustrator
Adobe Illustrator’s Live Trace tool makes it simple to create vector-based stencils from a photograph or raster artwork, such as a scanned photo.
Step 1: Open your image in your preferred raster editor, such as GIMP, Photoshop, or Paint Shop Pro.
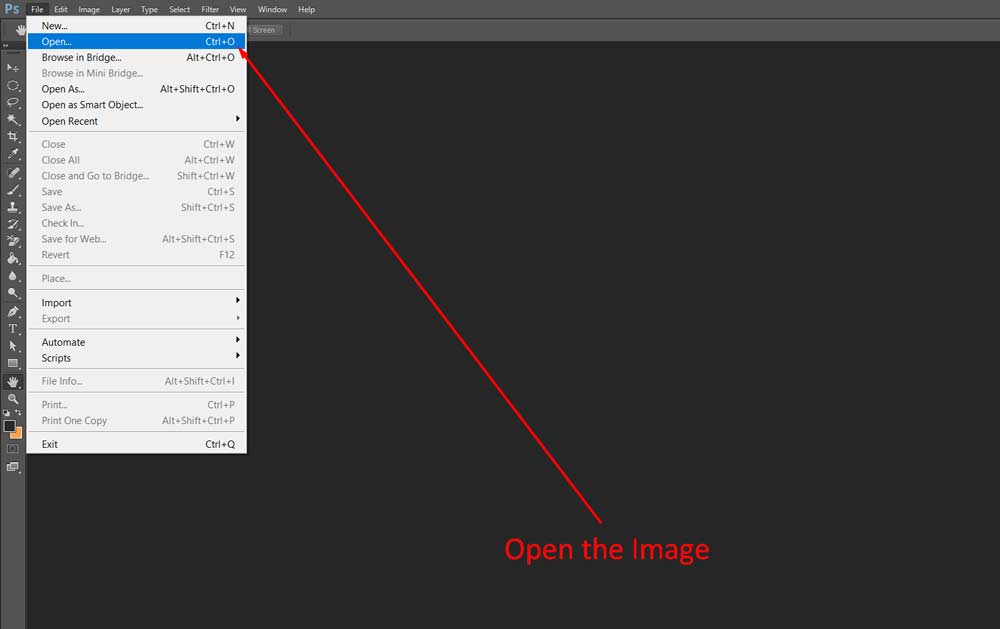
Step 2: Replace the backdrop of the image you wish to convert into a stencil with white. After that, draw a 3-pixel-wide black border around the area you want to convert into a stencil.
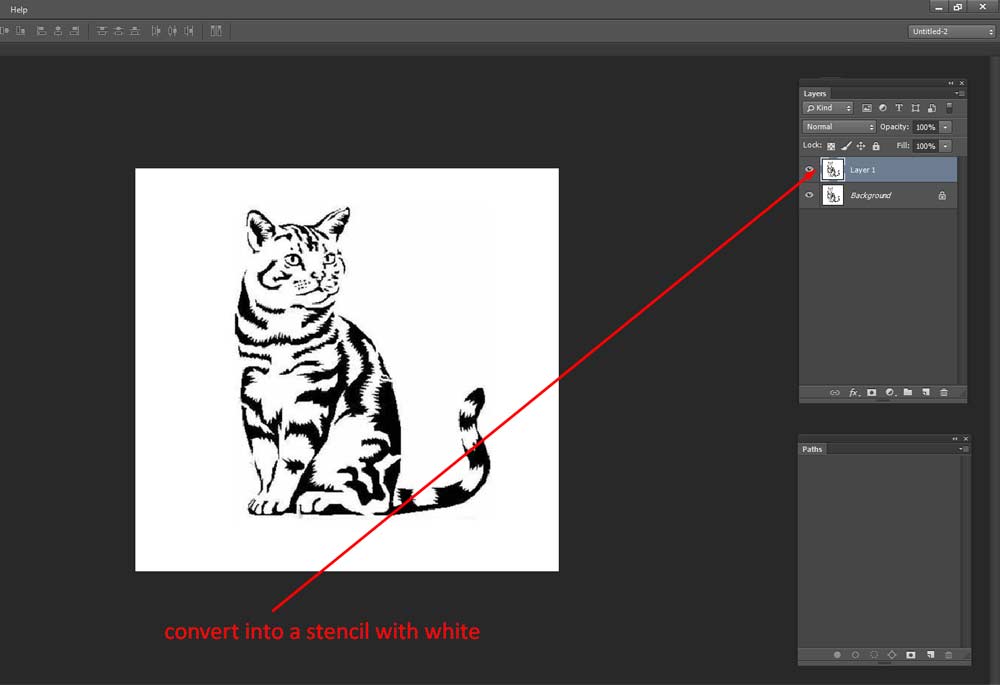
Step 3: Convert the Image to grayscale, using as few grey tints as possible. Save the image as a PNG, JPEG, or GIF.
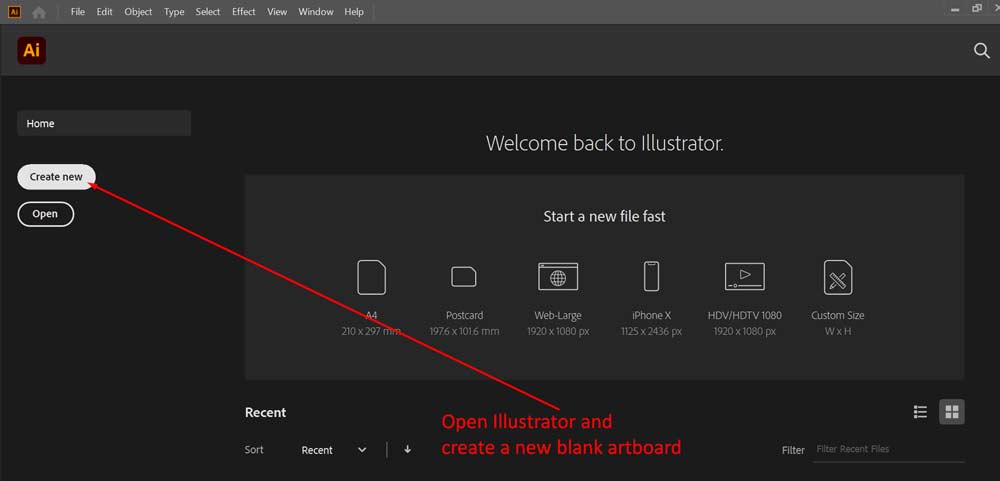
Step 4: Open Illustrator and create a new blank artboard.
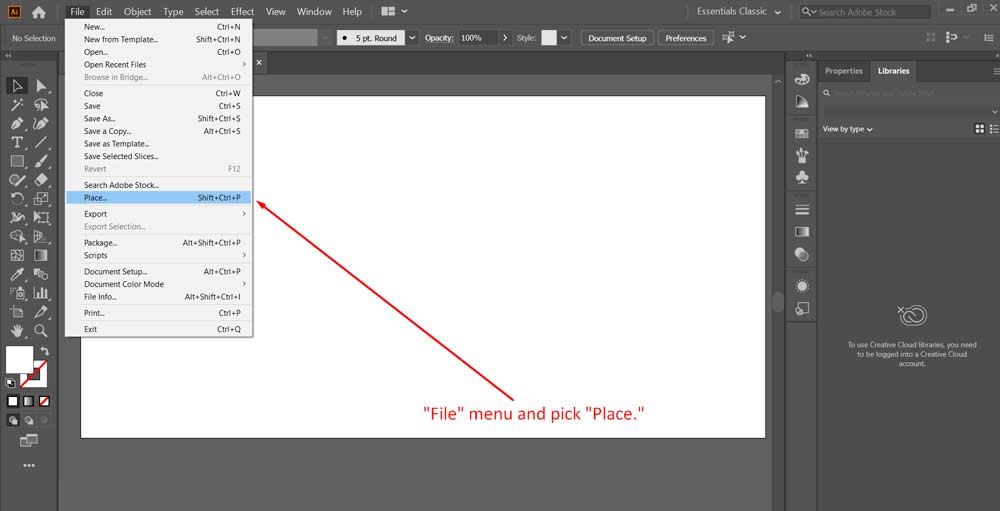
Step 5: Navigate to the “File” menu and pick “Place.” Navigate to the location where you saved your image and double-click it. The Image will be placed on the artboard in Illustrator.
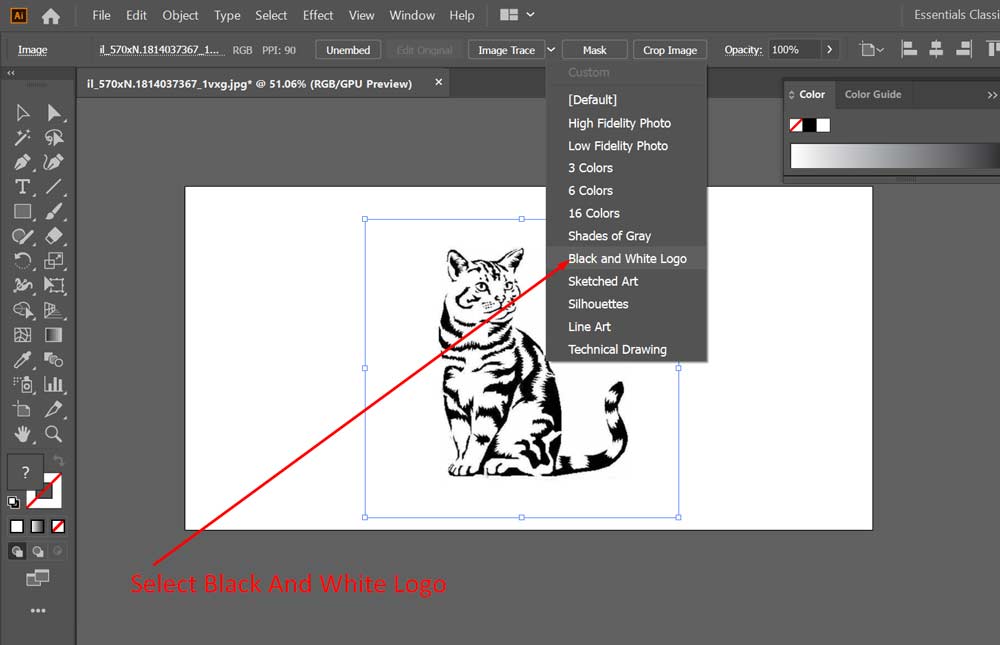
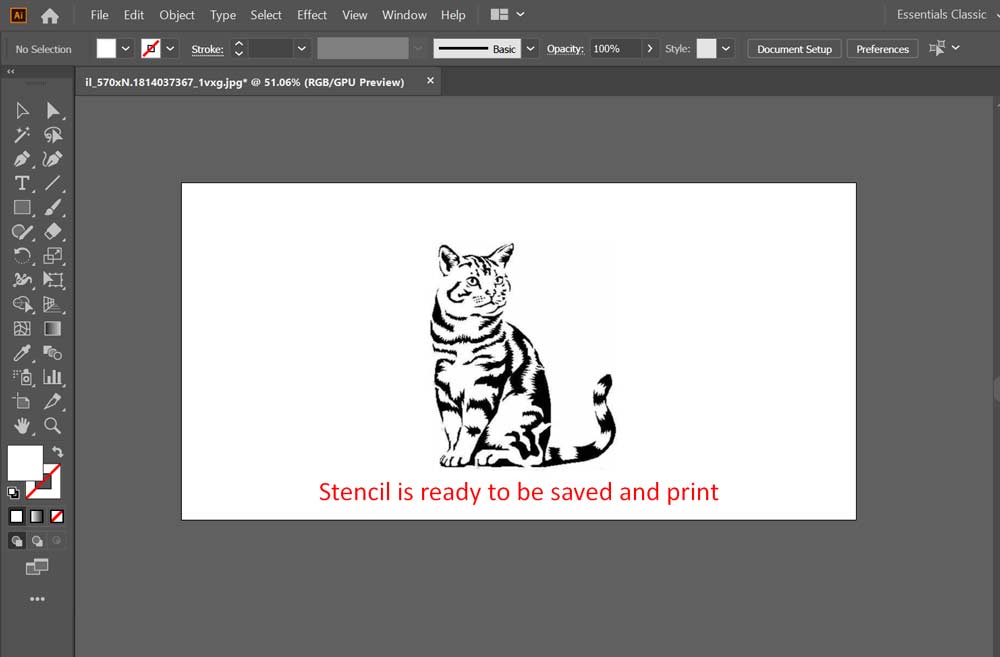
Look up at the artboard. You’ll see a button titled “Live Trace” and a little button with an arrow next to it. Select the “Black And White Logo” option by clicking the little arrow button. Illustrator will turn your artwork into a set of vector objects in black and white. And, Here, your Stencil is ready to be saved and print.
To make your image more perfect than a stencil photo then check this video tutorial-
Video source: https://www.youtube.com/watch?v=k0MeDQlrfgQ
4. How to make Stencil from an ONLINE FREE SOFTWARE
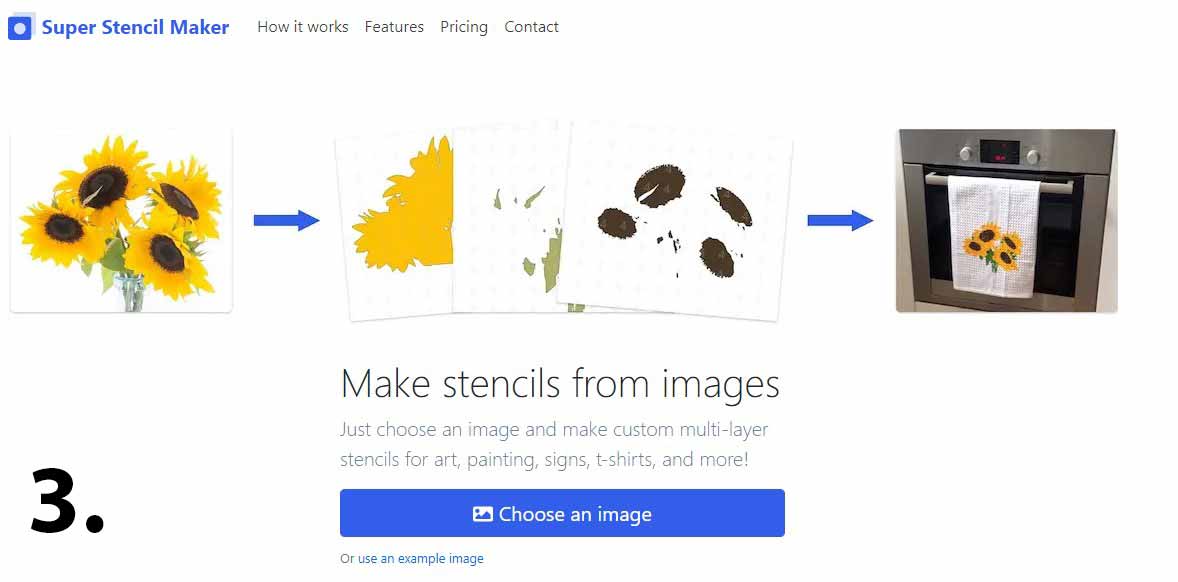
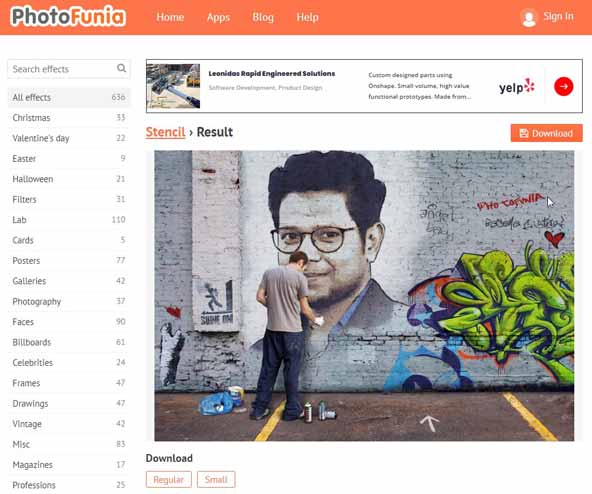
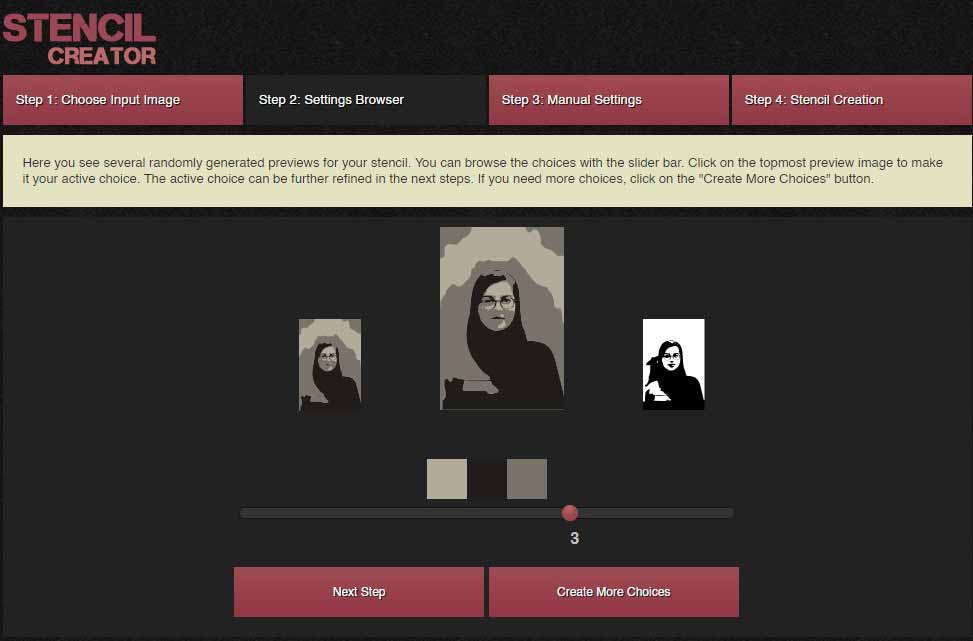
Hey, do you know? You can also make your photo like stencil from online free software. They are ready to make your image into a stencil with one click. You need to submit or upload your photo on this website. After that you need to hit the button of convert then it will convert automatically and they will give you the download access to download your done photo. Here are some online software sites where you will do it:
1. Stencil Graffiti Creator

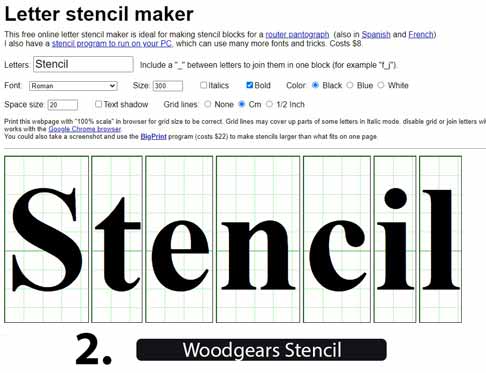
2. Woodgears Stencil
3. Super Stencil Maker
4. Photo Funia
5. Stencil Creator
Wrapping Up:
So, we’ve completed the various approaches for creating a stencil from a photograph. we feel this step-by-step guide will assist individuals who are having difficulty in understanding how to produce a stencil from a photograph. Now it’s up to you to decide which alternative you like!
Read the more awesome blogs about:

