How to Vectorize an Image in Photoshop cs6
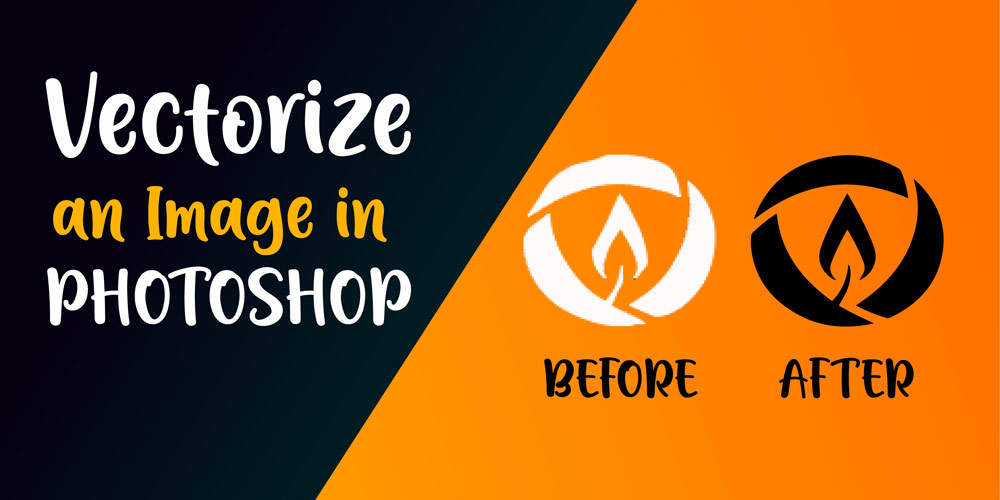
Suppose, you want to scale a low-resolution image or logo without making it blurry. Then, what option helps you to complete the task? Photoshop brings a vectorizing option to convert any raster image or logo into a vector image. Therefore, you can freely enlarge the image without making that blur. So, the question is “how to vectorize an image in photoshop cs6”. To figure out that question, let’s go through the following process.
Table of Contents
What is a Vectorized Image?
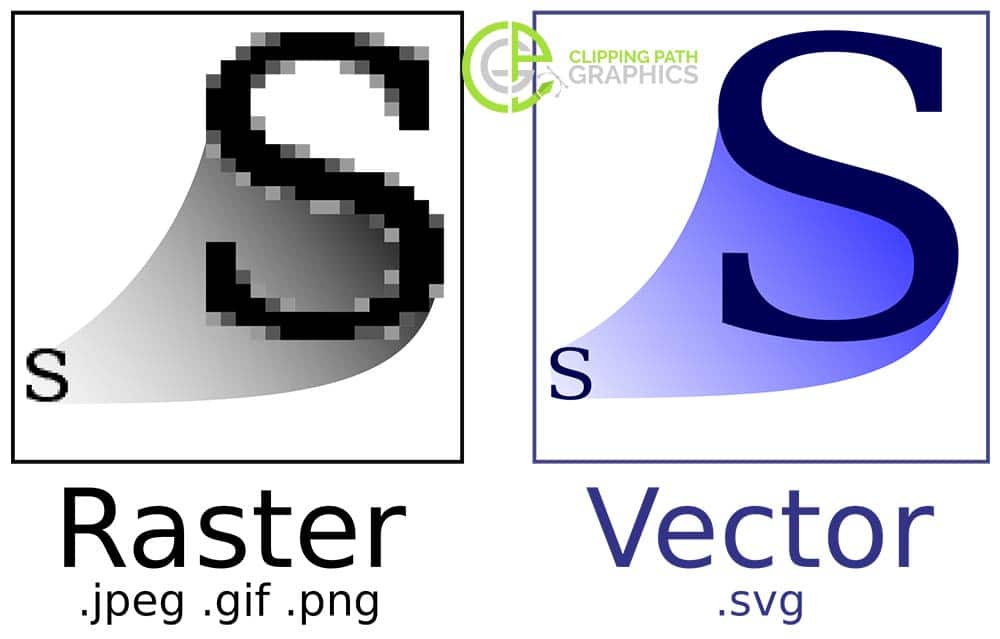
When you look at the vector-based image, you will find every image’s facet looks like a shape or line. Any symbol, text, or tiny details are also included herein. The vectorized image lets you zoom or enlarge an image thousand times without facing any issues because of mathematical shapes and lines. Your naked eyes cannot distinguish the image format from two image formats after quality vectorizing. A vector image is suitable to use in larger-scale projects. Using the vectorizing process, you can easily convert any pixel-based image into a vector-based image.
How to vectorize an image in photoshop?
Step No. 1: Create the Vector Effect.
- First, start the session by creating a New Document and changing the width and height by your desired number, then click Create.

- Navigate to File => => Place Embedded to import your image => Select the image => click Place.

- Now, uplift the image size to fill the canvas => press ENTER and choose a selection tool to select around the object.

- Once you select the object, now click on the mask icon to isolate your object. Then, click on the lock icon to unlock the “Background” layer.

- Then, hold the CTRL-key to select both layers => right-click to select Convert to Smart Object => Double-click the smart object Thumbnail to open it.

- Now, you will see a white layer, so add that to the smart object. Therefore, the smart object dimension will be the same as the main document dimension.

- Delete the layer and press CTRL+S to update your smart object => close the Smart object and return to the main document.

- Choose your layer and navigate to Filter => Sharpen => choose Unsharp Mask.

- Now, change the value. For our project, we change the amount by 150, Radius by 1.5, and Threshold by 0 and then click OK.

- Though we are working with smart objects, all filters will be applied as smart filters.

- After selecting the layer, now you need to apply the Diffuse Filter and change the Mode to Anisotropic => click OK.

- Apply it again from the latest applied filter.
- Now, navigate to Filter => Stylize => apply the Oil Paint filter.

- Alter the value of Stylization by 3.5, Cleanliness by 2, Scale by 0.1 Bristle Details by 0, and finally uncheck Lighting and click OK.

- If you find the oil paint filter is missing or doesn’t work properly, then skip adding that.

- Now, select the layer and navigate to Filter => Blur => select the Smart Blur filter. Add the value 50 to Radius, 15 to the threshold, and then click OK (you can choose your desired value)

- Next, navigate to filter => Blur => and select Surface Blur. Then change the value of the Radius by 15 and Threshold by 10 and finally click OK.

- Again, you need to apply the Unsharp Mask and change the value of Amount by 250 and Radius by 5 and click OK.

- Finally, head to Filter Gallery and choose the Cutout filter from the Artistic folder and change the value by 8, 4, and 1.

- Therefore, your image will look like a cartoon. Now, click OK and head to the next step.
Step 2. Vectorizing Everything
- Start this process by navigating to Window => Actions to open the Actions panel.

- Now, you will see a little icon on the top right corner so click on that to select the Load actions => select your actions => click Load.
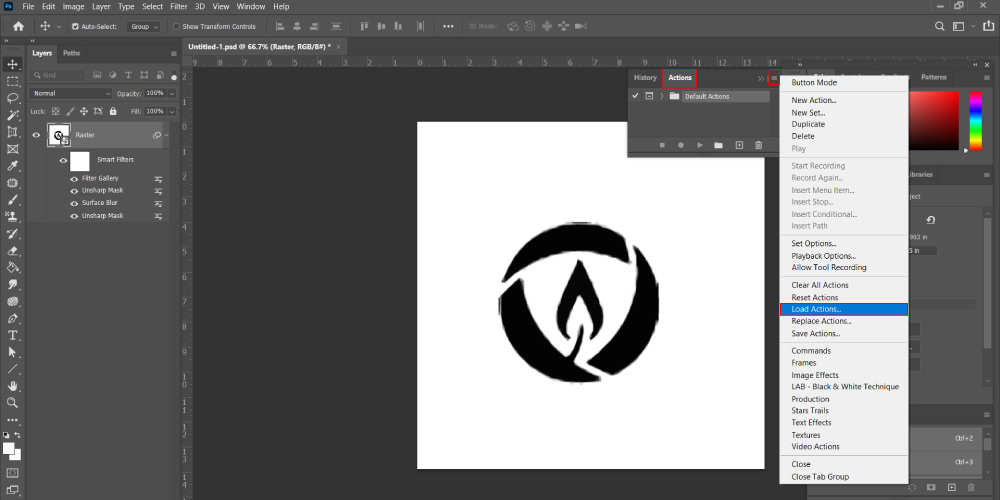

- Then, three different actions will be visible to you. Each action lets you vectorize the image with a specific number of colors.

- Next, you need to choose the layer => to choose your desired action and click Run.
- After that, a color range window will be visible on your computer screen. You need to pick any color and click OK until finishing all colors.
- That process of picking colors will make your image invisible by converting it into a hidden shape layer.
- After picking all colors, you need to unhide those layers by clicking the little eye icon. In our project, we make 16 customizable shape layers.
- Interestingly, you can change the layer’s color by selecting the color from the color box.
- Finally, navigate to File => select Save As and change the file type by “EPS” => click Save.
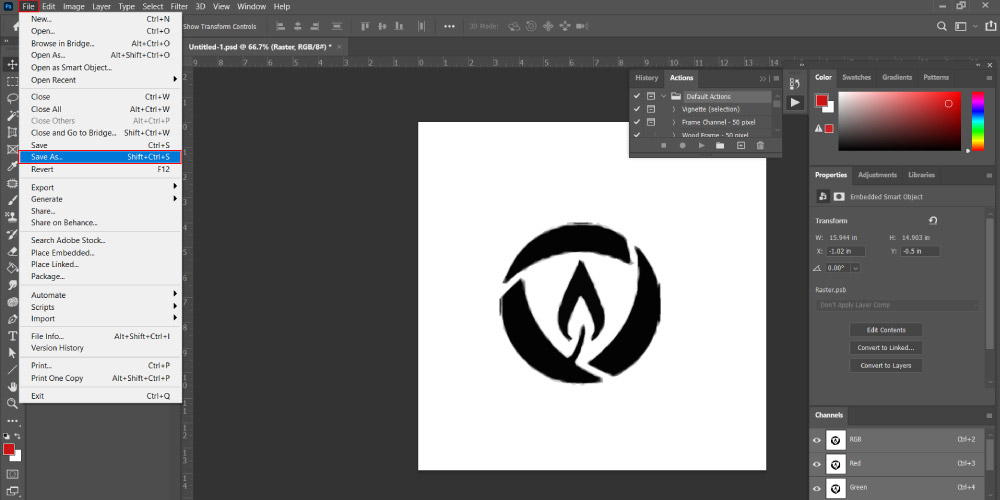
- Before leaving, ensure the “Include Vector Data” is checked and click OK.

- That process of picking colors will make your image invisible by converting it into a hidden shape layer.
- After picking all colors, you need to unhide those layers by clicking the little eye icon. In our project, we make 16 customizable shape layers.
- Interestingly, you can change the layer’s color by selecting the color from the color box.
- Finally, navigate to File => select Save As and change the file type by “EPS” => click Save.
- Before leaving, ensure the “Include Vector Data” is checked and click OK.

How to make vector art in photoshop?
To begin with, you need to open an image and size (resolution and image size) in your own way. Now, select the main layer and press CTRL+J to duplicate, and click on the hide icon to hide the “Background” layer. But, ensure the “Layer 1” is visible. Next, you need to select the Quick Selection Tool and cut the object (mine is man). So, I cut that man from the background. Select your layer and then select the object as much as you can using the quick selection tool. Again, keep the “Layer 1” selected and then click on the mask icon to isolate the selection. Select the background layer => to change the color to white from the Color Fill layer => click OK.
- Now, choose both layers and then right-click to select Merge Layers. Then, apply the oil paint on Layer 1.
- Select the layer and navigate to Filter => Stylize => select Diffuse => select Anisotropic mode => click OK.
- Now, rotate the image and apply the Diffuse filter in every rotation.
- After that, head to Filter => Sharpen => click Smart Sharpen filter => click OK. Don’t need to change the values.
- Again, rotate the image to uplift the oil affect density. So, apply Diffuse filter => choose anisotropic => click OK
- Now, apply the smart sharpen filter (don’t change the value) => click OK.
- After clicking OK, then delete the “Layer 1”. Then, right-click on the existing layer to select Convert to Smart Object.
So, duplicate the layer by pressing CTRL+J and renaming the layer. Next, choose the bottom layer and hide the previous 2. Now, keep the layer selected and navigate to Filters => click Filter Gallery => select Cutout filter from Artistic folder. You can change the Number of Levels by 8, Edge Simplicity by 5, and Edge Fidelity by 1 => click OK. Again, keep your layer selected and head to Sharpen => select Unsharp Mask and change the amount by 150%, Radius by 2 Pixels, and Threshold by 0. Then, click OK.
- Now, visible the second layer => go to Filters => click on Filter Gallery.
- Keep the Content filter selected and change the Edge Simplicity by 6 (keep other unchanged) and click OK.
- Now, change the opacity by 35% and click OK.
- Again, With your layer selected, Go to Filter Gallery and, keep the cutout filter selected and change the values to 8, 6, and 2 and click OK.
- Next, change the opacity by 35% and click OK.
Now, navigate to Filter => Sharpen => select Unsharp Mask filter and change Amount by 250%, Radius, and Threshold by 2 and 0 => click OK. Again, you need to change the opacity by 50%., Now, keep the last layer visible and head to Filters => select High Pass filter. Next, change the radius by 2 and click OK and change Blend Mode to Overlay. Therefore, your image sharpens slightly. Finally, you need to group those three layers by drag and drop.
Final Thought
Hopefully, by following our process, you can convert any image into a pure vector and modify that as you like. However, if you like this article on “how to vectorize an image in photoshop cs6”, share it with your friends and family.


