How to Edit Clothing Product Photos in Photoshop
Photos of clothing products are an essential part of any online store. They help customers visualize how the clothes will look on them, and they can make or break a sale. However, getting good product photos can be tricky, especially if you have little experience with photography.
That’s where Photoshop comes in. Photoshop is a powerful image editing software that can help you improve the quality of your clothing product photos. With Photoshop, you can fix lighting problems, remove blemishes, and add effects to make your photos look more professional.
Table of Contents
Steps To Learn How To Edit Clothing Product Photos In Photoshop
Photoshop is a powerful image editing software that can improve the quality of photos of clothing products. With Photoshop, you can fix lighting problems, remove blemishes, and add effects to make your photos look more professional.
Here’s a step-by-step guide on how to edit clothing product photos in Photoshop:
- Import your photos into Photoshop
- Adjust the lighting
- Remove blemishes and wrinkles
- Crop and resize your photos
- Add effects to your photos
- Save your photos
Let’s take a closer look at each step.
Import your photos into Photoshop
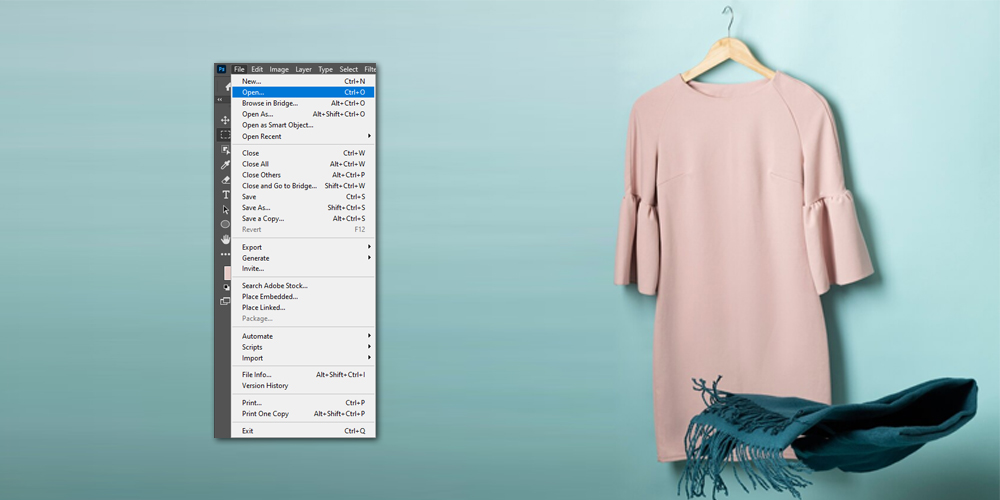
The first step is to import your photos into Photoshop. You can do this by dragging and dropping them into the Photoshop window or using the File > Open command.
Adjust the lighting
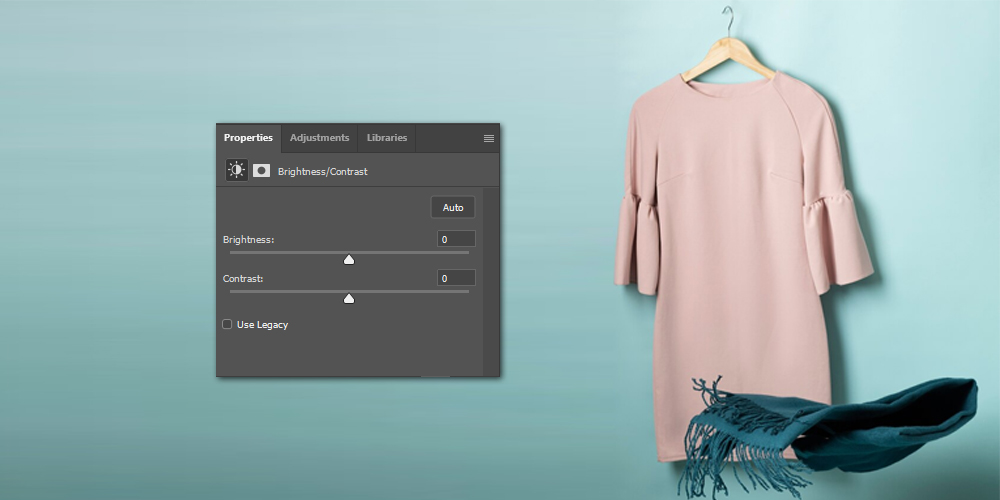
The next step is to adjust the lighting in your photos. This is important because poor lighting can make your clothes look dull and lifeless.
There are a few different ways to adjust the lighting in Photoshop. One way is to use the Levels tool. The Levels tool allows you to adjust your photos’ brightness, contrast, and gamma.
Another way to adjust the lighting is to use the Curves tool. The Curves tool allows you to adjust the tonal range of your photos.
Remove blemishes and wrinkles
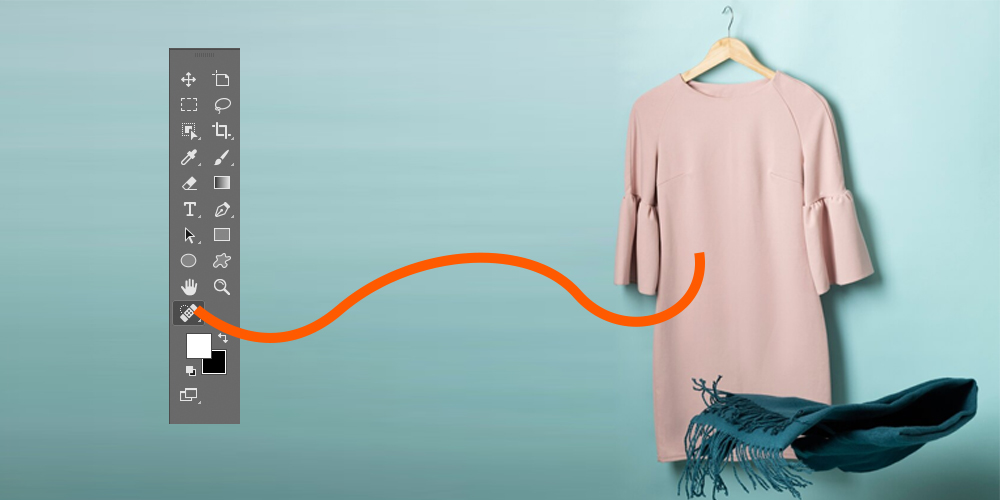
Once you’ve adjusted the lighting, you can remove blemishes and wrinkles from your photos. This is important because blemishes and wrinkles can make your clothes look unprofessional.
There are a few different ways to remove blemishes and wrinkles. One way is to use the Spot Healing Brush tool. The Spot Healing Brush tool lets you quickly and easily remove small blemishes and wrinkles.
Another way to remove blemishes and wrinkles is to use the Healing Brush tool. The Healing Brush tool allows you to blend in new pixels from a different part of the photo to cover up blemishes and wrinkles.
Crop and resize your photos
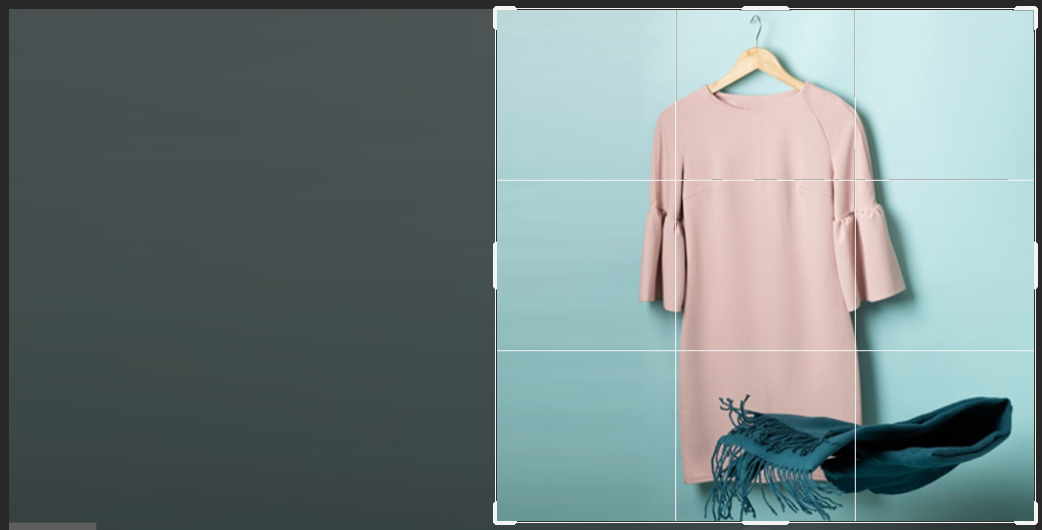
You can crop and resize your photos once you’ve removed blemishes and wrinkles. Cropping your photos will help to focus attention on the clothes, and resizing your photos will make them the right size for your online store.
To crop a photo, use the Crop tool. To resize a photo, use the Image > Image Size command.
Add effects to your photos
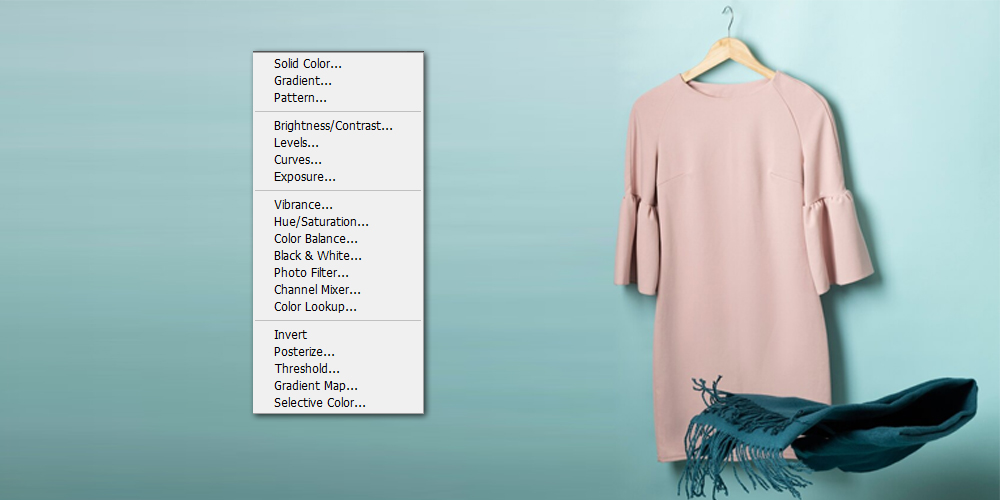
Once you’ve cropped and resized your photos, you can add effects. This can make your photos more visually appealing and help them stand out.
There are a variety of different effects that you can add to your photos in Photoshop. Some popular effects include adding a vignette, adding a border, or adding a text overlay.
Save your photos
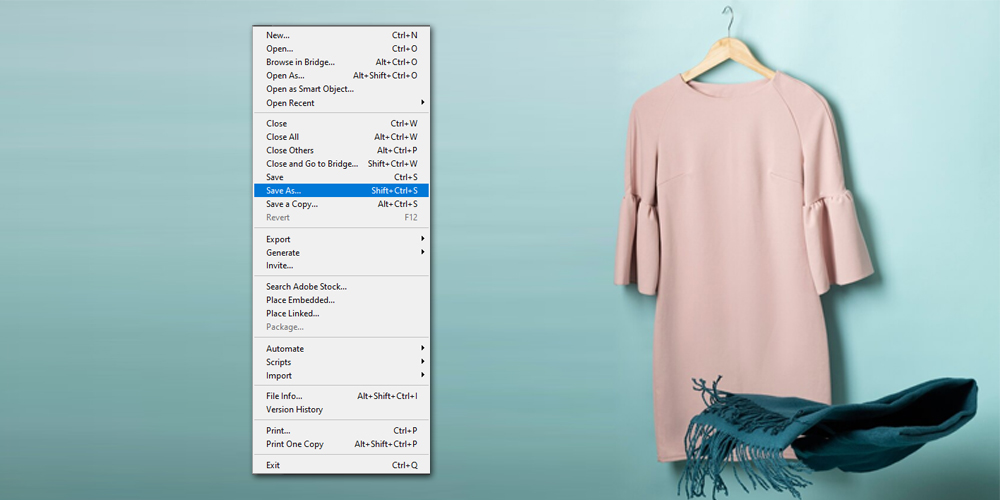
Once you’ve finished editing your photos, you need to save them. You can save your photos in various formats, but the most common format for photos of clothing products is JPEG.
That’s it! These are the basic steps on how to edit clothing product photos in Photoshop. With a little practice, you can create professional-looking product photos that will help you sell more clothes.
Understanding Photo Composition for Apparel
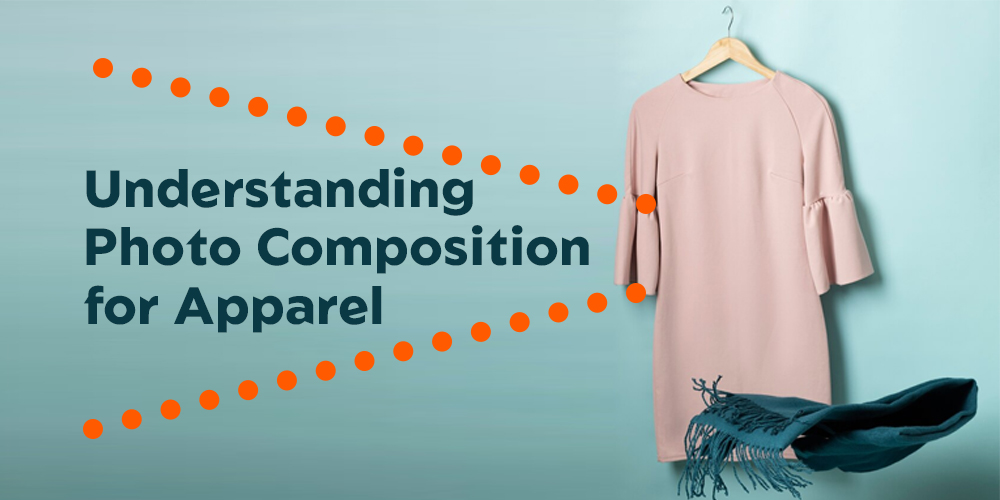
In clothing product photography, composition is crucial in capturing attention and highlighting the garment’s features. Incorporating composition rules like the rule of thirds, symmetry, and leading lines can elevate your clothing photos.
Introduction to Composition Rules
Composition rules are guidelines that aid in creating visually appealing and balanced images. For example, the rule of thirds suggests dividing an image into thirds horizontally and vertically and placing key elements along these lines or at their intersections.
Impact of Composition on Clothing Photography
In clothing photography, the composition can be used to accentuate the design, texture, and details of the clothing. Placing the garment strategically within the frame can draw attention to specific features, such as intricate patterns, unique cuts, or vibrant colours.
Using Photoshop for Composition Enhancement
Photoshop offers tools to adjust composition if needed. Cropping, resizing, or slightly altering the placement of the garment within the frame can further enhance the overall composition and visual impact of your clothing product photos.
FAQ
Q: What are the most important things to consider when editing clothing product photos?
A: The most important things to consider when editing clothing product photos are lighting, blemishes, and cropping. Make sure your photos are well-lit, blemish-free, and cropped to focus attention on the clothes.
Q: What common mistakes do people make when editing photos of clothing products?
A: Some common mistakes people make when editing clothing product photos include using too much contrast, too much saturation, and unrealistic effects. It’s important to edit your photos in a natural and flattering way to the clothes.
Q: What are some tips for taking better photos of clothing products?
A: Here are a few tips for taking better clothing product photos:
- Use a good camera and lens.
- Take your photos in a well-lit area.
- Use a tripod to keep your camera steady.
- Get close to the clothes so you can see the details.
- Experiment with different poses and angles.
- Have someone help you take the photos so you can focus on the clothes.
Conclusion
Editing clothing product photos in Photoshop can be a great way to improve the quality of your online store and increase sales. This guide has taught you the basics of editing clothing product photos in Photoshop. With a little practice, you can create professional-looking product photos that will help you sell more clothes.
When editing clothing photos, begin with a clean, well-lit background so that viewers focus on the garments and not on distractions. Remove extra background elements to keep the focus on the outfit. Adjust the brightness, colours, and contrast to make the garments visible and true to life. A touch of sharpening will give the photographs a professional appearance. Use specialized tools to remove any flaws, such as spots or wrinkles. Finally, add a watermark to protect your photographs. These steps will make your clothing photographs appear better and more professional.
So what are you waiting for? Learn how to edit clothing product photos in photoshop and start editing today!


