What Is Ghosting In Photography?
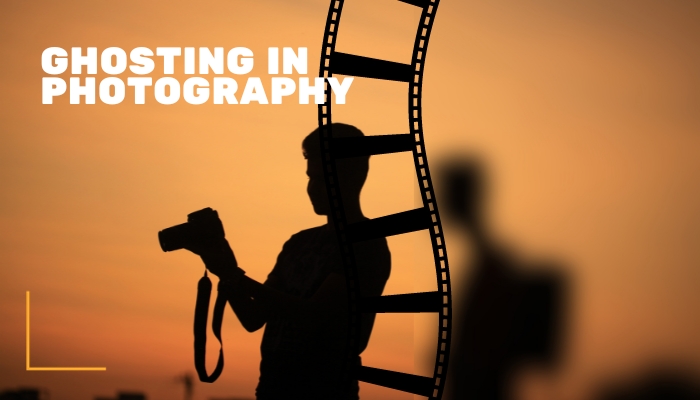
Have you ever come across a photograph that had an ethereal, otherworldly quality to it? Perhaps you noticed translucent figures or hazy streaks that seemed to hover in the frame.
This phenomenon is known as ghosting in photography, and it can add a touch of intrigue and mystique to your images. In this blog post, we will explore what is ghosting in photography, why it occurs, and how you can embrace or eliminate it to create captivating photographs.
70% of photographers have experimented with ghosting intentionally in their photography. So grab your camera and get ready to embark on a journey into the realm of ghosting!
Table of Contents
What Influences Lens Flare and Ghosting?
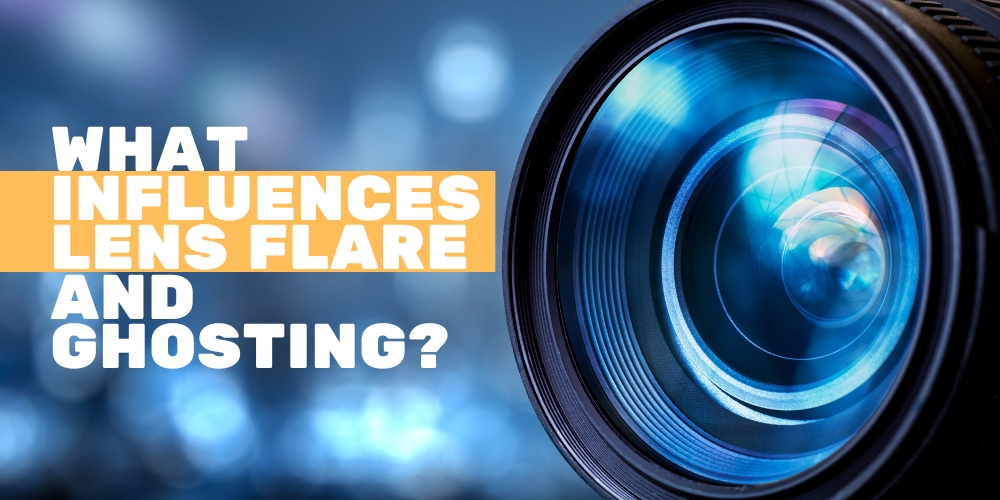
Ghosting in photography is often associated with lens flare – those fascinating specks of light that dance across your images. Lens flare occurs when light enters the lens at an angle, bouncing off its internal elements and creating unwanted artifacts in the form of ghostly shapes or streaks. But what influences lens flare and ghosting?
Ghost Effect Photography Settings
Certain camera settings can contribute to the occurrence of ghosting effects in your photos. For instance, using a wide aperture (low f-number) allows more light to enter the lens, increasing the chances of lens flare. Similarly, shooting towards a strong source of light such as the sun or artificial lights can intensify lens flare and create dramatic ghostly effects.
Lens Ghosting
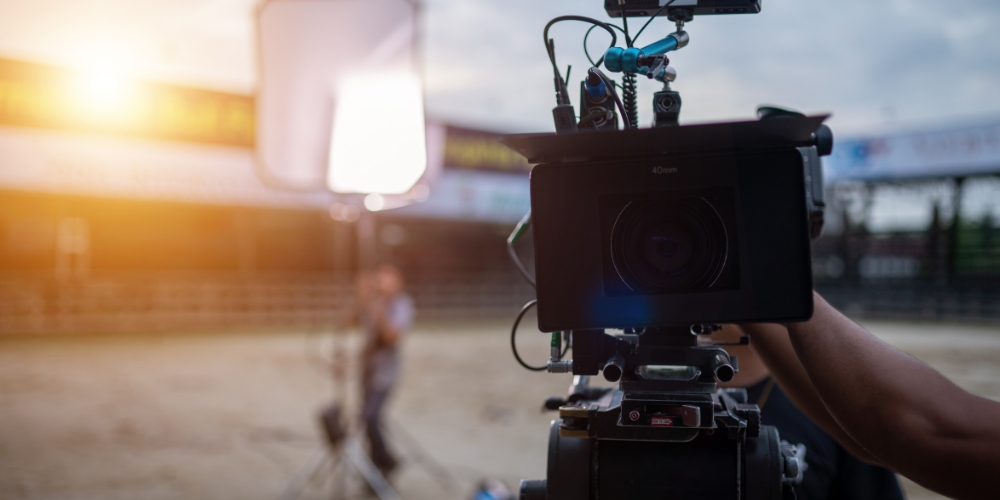
The construction and quality of your camera lens also play a significant role in producing lens flare and ghosting. Cheaper lenses with fewer coating layers are more prone to internal reflections, resulting in increased instances of ghosting. On the other hand, higher-quality lenses with advanced coatings help minimize these reflections and reduce ghosting.
Why do long exposures produce ghosts?
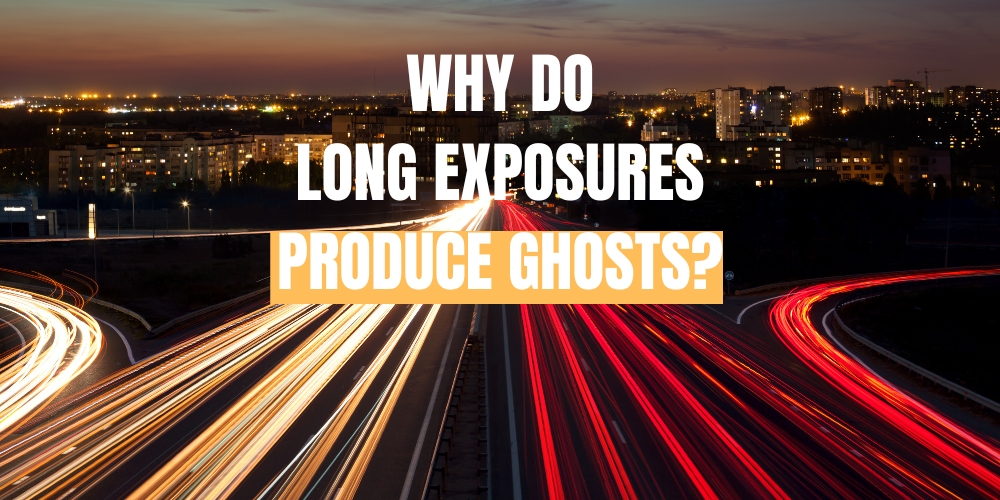
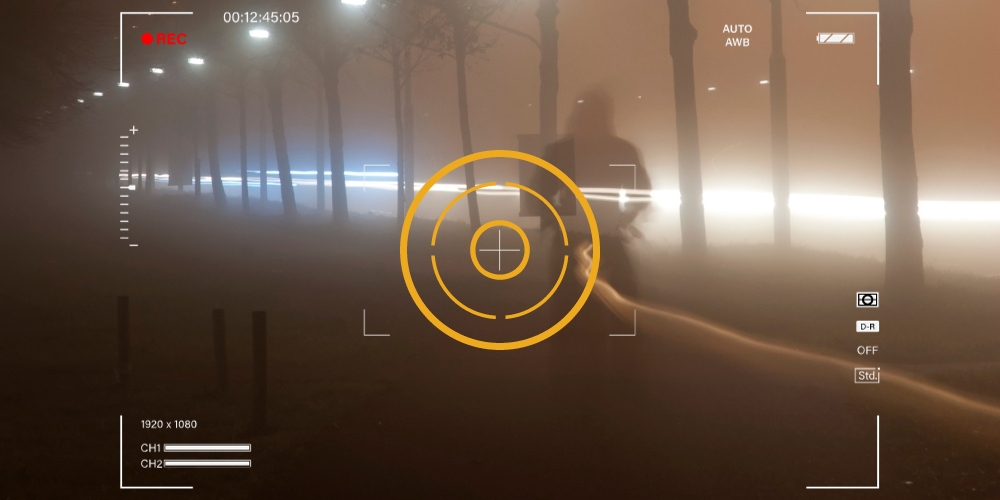
Long exposure photography involves capturing images over an extended period while keeping the shutter open. While long exposures allow for stunning light trails and motion blur effects, they can also introduce ghosting into your photographs.
A moving object in a long exposure photo can appear as a blur or translucent figure. This ghosting effect is caused by their movement during the prolonged exposure time.
How To Prevent Ghosting
While ghosting can add an artistic flair to your photos, there may be instances where you want to avoid it. Here are some techniques to prevent ghosting from occurring:
1. Use Lens Hoods
Lens hoods are accessories that attach to the front of your lens, blocking unwanted light and reducing lens flare. By shading the lens from direct light sources, lens hoods help minimize the chances of ghosting.
2. Adjust Your Shooting Angle
Changing your shooting angle can alter how light enters the lens and reduce the likelihood of ghosting. Experiment with different positions until you find one that minimizes unwanted artifacts in your images.
3. Try Different Aperture Values
As mentioned earlier, wider apertures tend to increase the occurrence of lens flare and ghosting. By using smaller apertures (higher f-numbers), you can reduce these effects and achieve sharper images with fewer ghosts.
4. Avoid Shooting Directly into Bright Light Sources
Directly pointing your camera towards intense light sources like the sun or bright artificial lights significantly increases the chances of ghosting. Instead, consider adjusting your composition or shooting at angles that minimize direct exposure to these light sources.
How Do You Fix Ghosting in Photoshop?
Fixing or reducing ghosting effects in your photos is possible with photo editing software like Adobe Photoshop. Here’s a step-by-step guide on how you can go about it.
Step 1: Open the Image
Launch Adobe Photoshop on your computer, and go to `File` > `Open` to locate and open your image.
Step 2: Duplicate the Layer
Right-click on the initial layer (Background Layer) and select `Duplicate Layer`. Having a copy of your original layer allows you to manipulate the image without disturbing the original.
Step 3: Select the Ghosted Area
Using the Lasso Tool or the Quick Selection Tool, carefully select the area of your photo that is affected by ghosting.
Step 4: Apply the Healing Brush Tool
Select the Healing Brush Tool from the toolbox. Hold the Alt key and click on an area of the image that you want to use as a source to “heal” the ghosting. Then release the Alt key and start painting over the ghosted area. Photoshop will replace the ghosted area with pixels from the source area.
Step 5: Fine-Tune Your Edits
If needed, you can adjust the opacity of the layer to lessen the effect of the healing brush tool. This can help you achieve a more natural look.
Step 6: Save Your Image
Once you’re satisfied with the results, go to File > Save As, choose your desired format and location, and save your image.
Remember, practice makes perfect. As with everything in photography, experimentation is key, so don’t be afraid to test out different strategies in Photoshop to find what works best for you. If you need assistance, consider consulting an image editing service provider for professional guidance.
Ghosting Photography Camera Settings
When approaching ghosting in photography, your camera settings play a crucial role in capturing these ephemeral specters. Here are some tips to optimize your settings for ghosting photography:
Shutter Speed
A slower shutter speed is your most important setting when aiming to capture ghost images. This allows more time for light to hit the sensor, giving you a longer ‘window’ to create movement and thus, ghosting effects. Ideally, your shutter speed should be set to a few seconds for the best ghost images.
Aperture
A smaller aperture (i.e., a higher f-stop number) will allow less light into the camera, which is useful for balancing out the significant amount of light that enters due to the slow shutter speed. It can also help reduce lens flare that might complicate your ghosting effect.
ISO
Keep your ISO as low as possible to avoid unnecessary noise. Since you’re allowing more light in with a slow shutter speed, a high ISO isn’t needed.
Manual Mode
Switch your camera to manual mode. This gives you full control over your shutter speed, aperture, and ISO, ensuring you can make the necessary adjustments to capture the perfect ghost images.
Remember, these are just starting points and the best settings can vary greatly depending on the light conditions and desired effects.
Lens Flare vs Ghosting

Both lens flare and ghosting are optical phenomena that photographers encounter, often when shooting towards a source of light. Though they might seem similar, these effects are distinctly different and can be used to achieve varying artistic outcomes.
Lens Flare
Lens flare is when light enters the camera lens and creates a colorful streak or circle in your photo. It can be used to create a dreamy or cinematic look.
However, in certain instances, lens flare can also be considered distracting, particularly if it obscures or washes out important details.
Ghosting
Ghosting is a semi-transparent image of a light source caused by light bouncing around in the lens and reflecting off the sensor. It’s usually off-color or pale, and appears symmetrically opposite the light source.
While often perceived as a lens flaw, as we’ve discussed, ghosting can be utilized creatively to add a surreal, ethereal quality to your images, or to convey motion and dynamism.
The Bad and The Beautiful About Ghosting and Lens Flare in Photography

Just like most artistic elements, both ghosting and lens flare in photography have their pros and cons, their beautiful and challenging aspects.
Ghosting
Ghosting can add an otherworldly, mysterious ambiance to your images, making them intriguing to the viewer. The ethereal apparition that appears in a photo due to ghosting can convey dynamism and motion, adding depth and complexity to the image.
Ghosting can be a distracting element in photography, diverting attention from the subject. It can also make an image appear washed out or hazy.
Lens Flare
Lens flare, on the other hand, can add a sense of drama and visual interest to an image. It can give your photos a dreamy, cinematic feel, creating a sense of warmth and depth. Moreover, lens flare can emphasize backlighting and draw the viewer’s attention to a particular part of the image.
Lens flare can interfere with image quality, obscure details, and is unpredictable. It’s difficult to control, especially for novice photographers.
Wrapping Up
Ghosting in photography can be both an intriguing artistic choice and an unwanted artifact in your images.
Understanding what influences lens flare and ghosting, as well as how to prevent or fix it using camera techniques or post-processing methods, empowers you to create captivating photographs that truly captivate your audience.
So embrace this ethereal phenomenon, experiment with different shooting angles and settings, and let ghosting add a touch of magic to your visual storytelling!


