How To Use Liquify Tool In Photoshop

To use the Liquify tool in Photoshop, go to “Filter” in the top menu bar and select “Liquify.” After that, use the tool on the image area where you want to fix it.
Among the world’s most popular and flexible image editing applications, Photoshop provides various features and tools for photo alteration and creation.
The Liquify tool in Photoshop is one of the most influential and essential tools in the toolset, allowing photographers and designers to create organic and fluid modifications to photos with great accuracy.
The in-depth manual will examine Photoshop’s Liquify Tool and offer a step-by-step explanation of how to use it and advice on making the most of this potent tool.
Whether you are a seasoned Photoshop user or just getting started, this article will teach you how to use the Liquify Tool in Photoshop to its fullest capacity and consistently generate spectacular results.
Table of Contents
What is the Liquify Tool in Photoshop?
The Liquify Tool in Photoshop is a filter that allows you to adjust and manipulate specific areas of an image in real-time.
The tool provides a flexible and intuitive interface that enables you to make subtle or dramatic changes to images, including adjustments to a person’s face, body, or clothing, to achieve your desired result.
With the Liquify Tool, you can quickly slim down a subject, elongate limbs, make cosmetic changes, and more. This tool provides a high degree of precision and control, making it easy to achieve your desired results.
Additionally, the Liquify Tool is handy for editing apparel product photos, as it allows you to adjust the fit of clothing to better showcase the product. However, it is essential to note that expert services may be required to ensure that the final result looks natural and believable.
How to Use the Liquify Tool in Photoshop
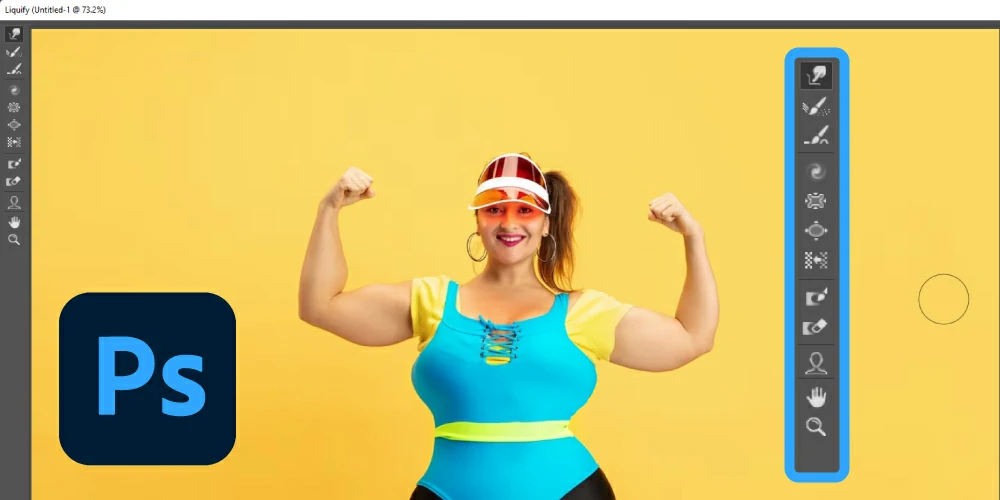
The Liquify tool in Photoshop is powerful and flexible and can alter your photos in various ways.
The Liquify tool is ideal if you want to reshape an item, correct a distorted image, or modify a little.
In this part, we’ll follow step-by-step instructions for using Photoshop’s Liquify tool.
Step 1: Open Your Image in Photoshop

Open your image in Photoshop first before beginning to use the Liquify tool. To accomplish this, pick “Open” from the menu that appears after clicking “File” in the upper left corner of the screen.
Step 2: Access the Liquify Tool
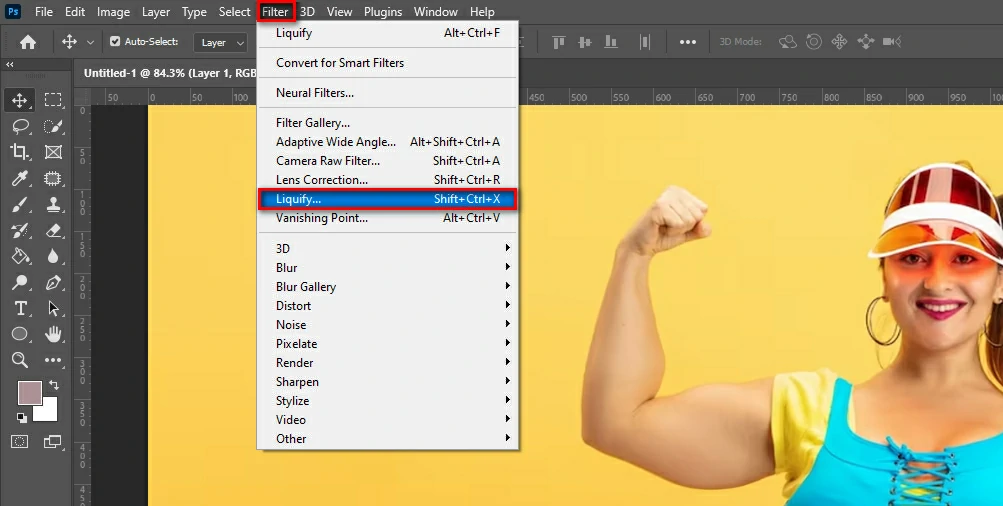
When your image is open in Photoshop, go to the top menu bar, choose “Filter,” then select “Liquify” to get the Liquify tool.
Step 3: Choose the Brush Tool
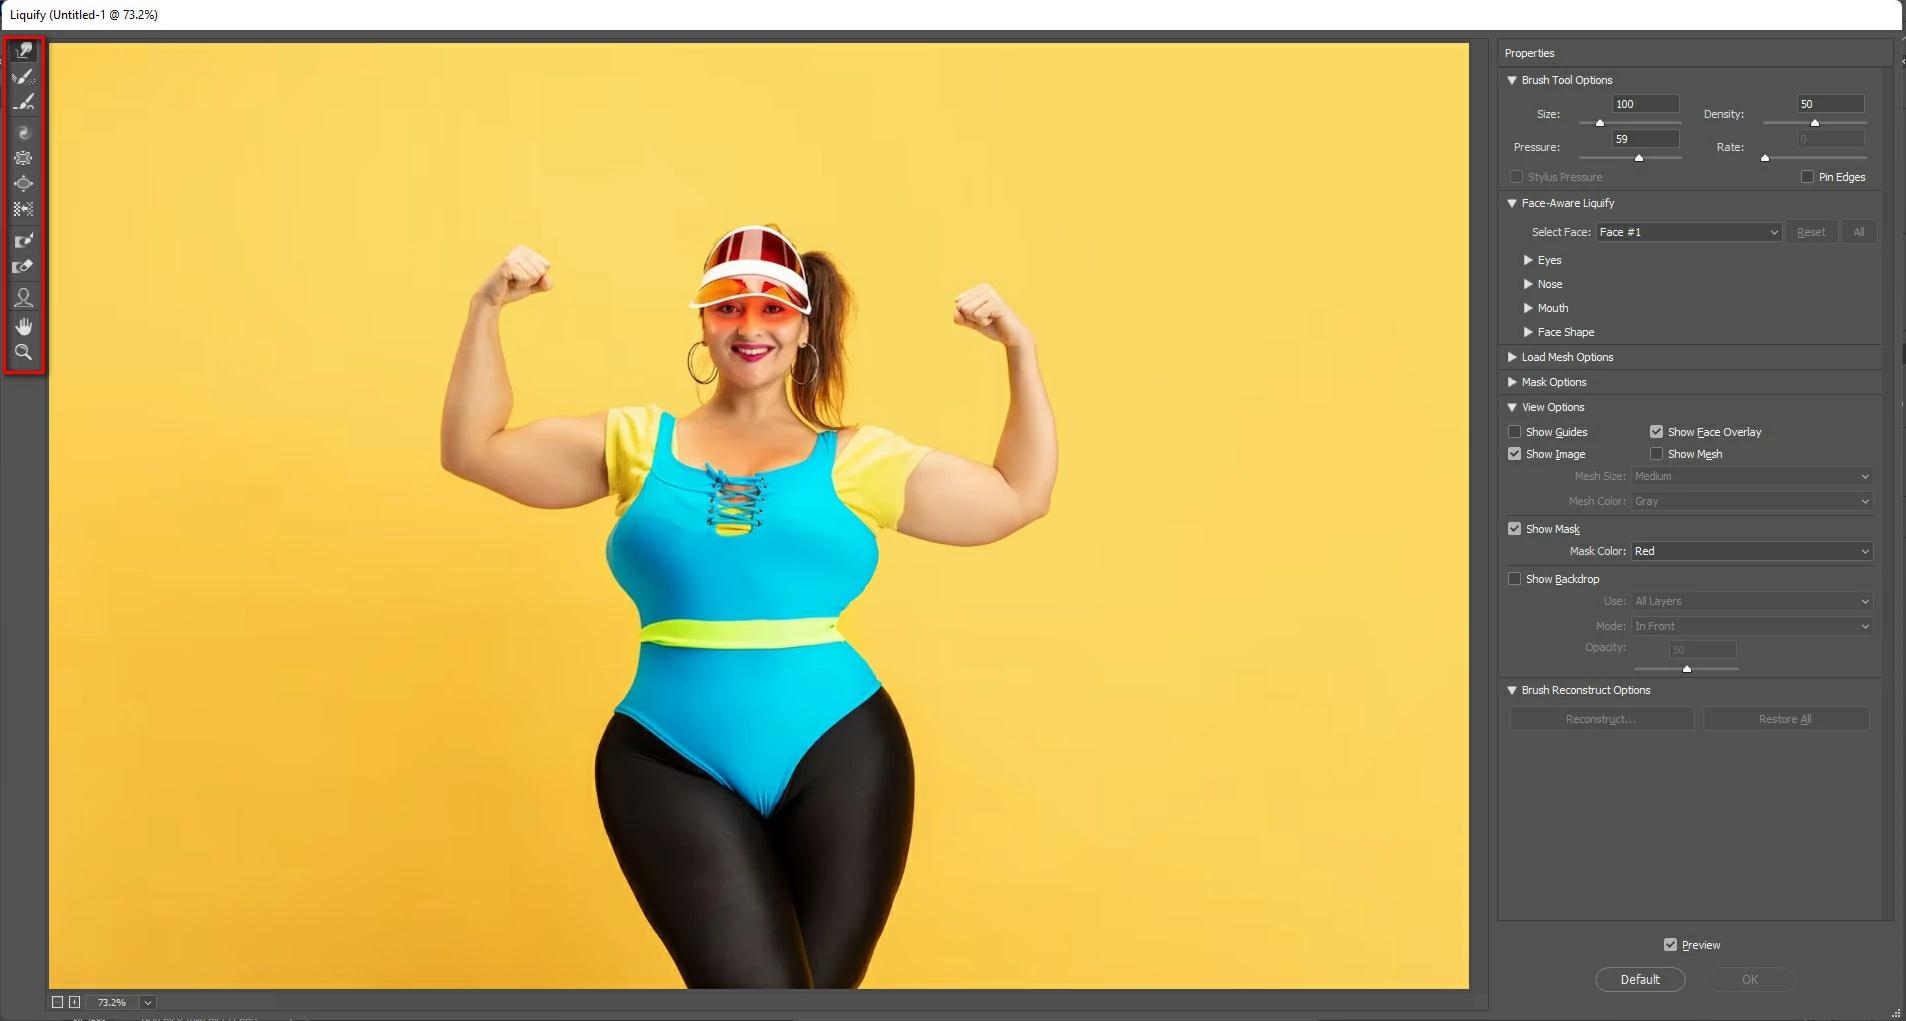
To make modifications, the Liquify tool has a variety of brush choices. Start by selecting the brush tool from the toolbar on the screen’s right side.
Step 4: Adjust Your Image

Simply paint over the portions of your image that need adjustment after choosing the brush tool. You’ll see that when you do this, your image’s pixels begin to twist and stretch, giving you the freedom to alter it any way you choose.
Step 5: Adjust Brush Size and Pressure
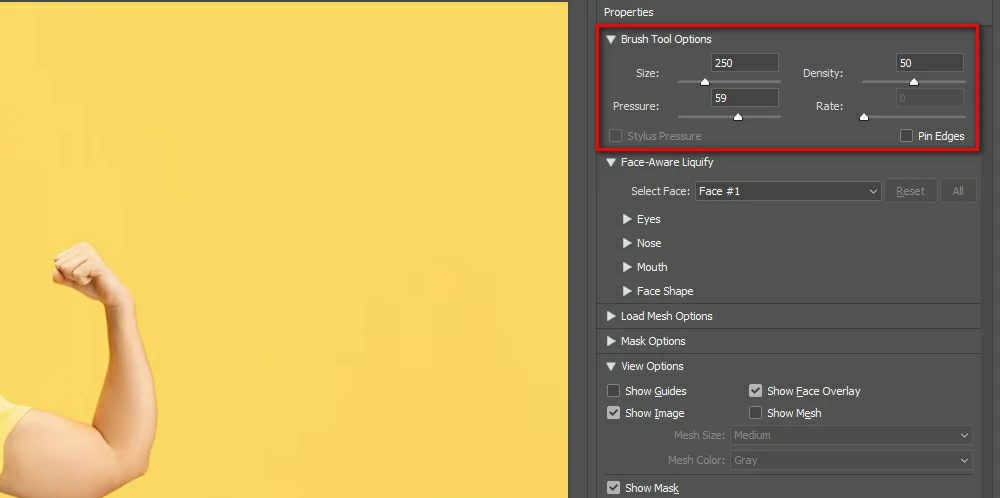
To fine-tune your results, you may change the brush size and pressure if your alterations are too minor or too significant. Just use the toolbar sliders to adjust your brush’s size and pressure.
Step 6: Save Your Changes
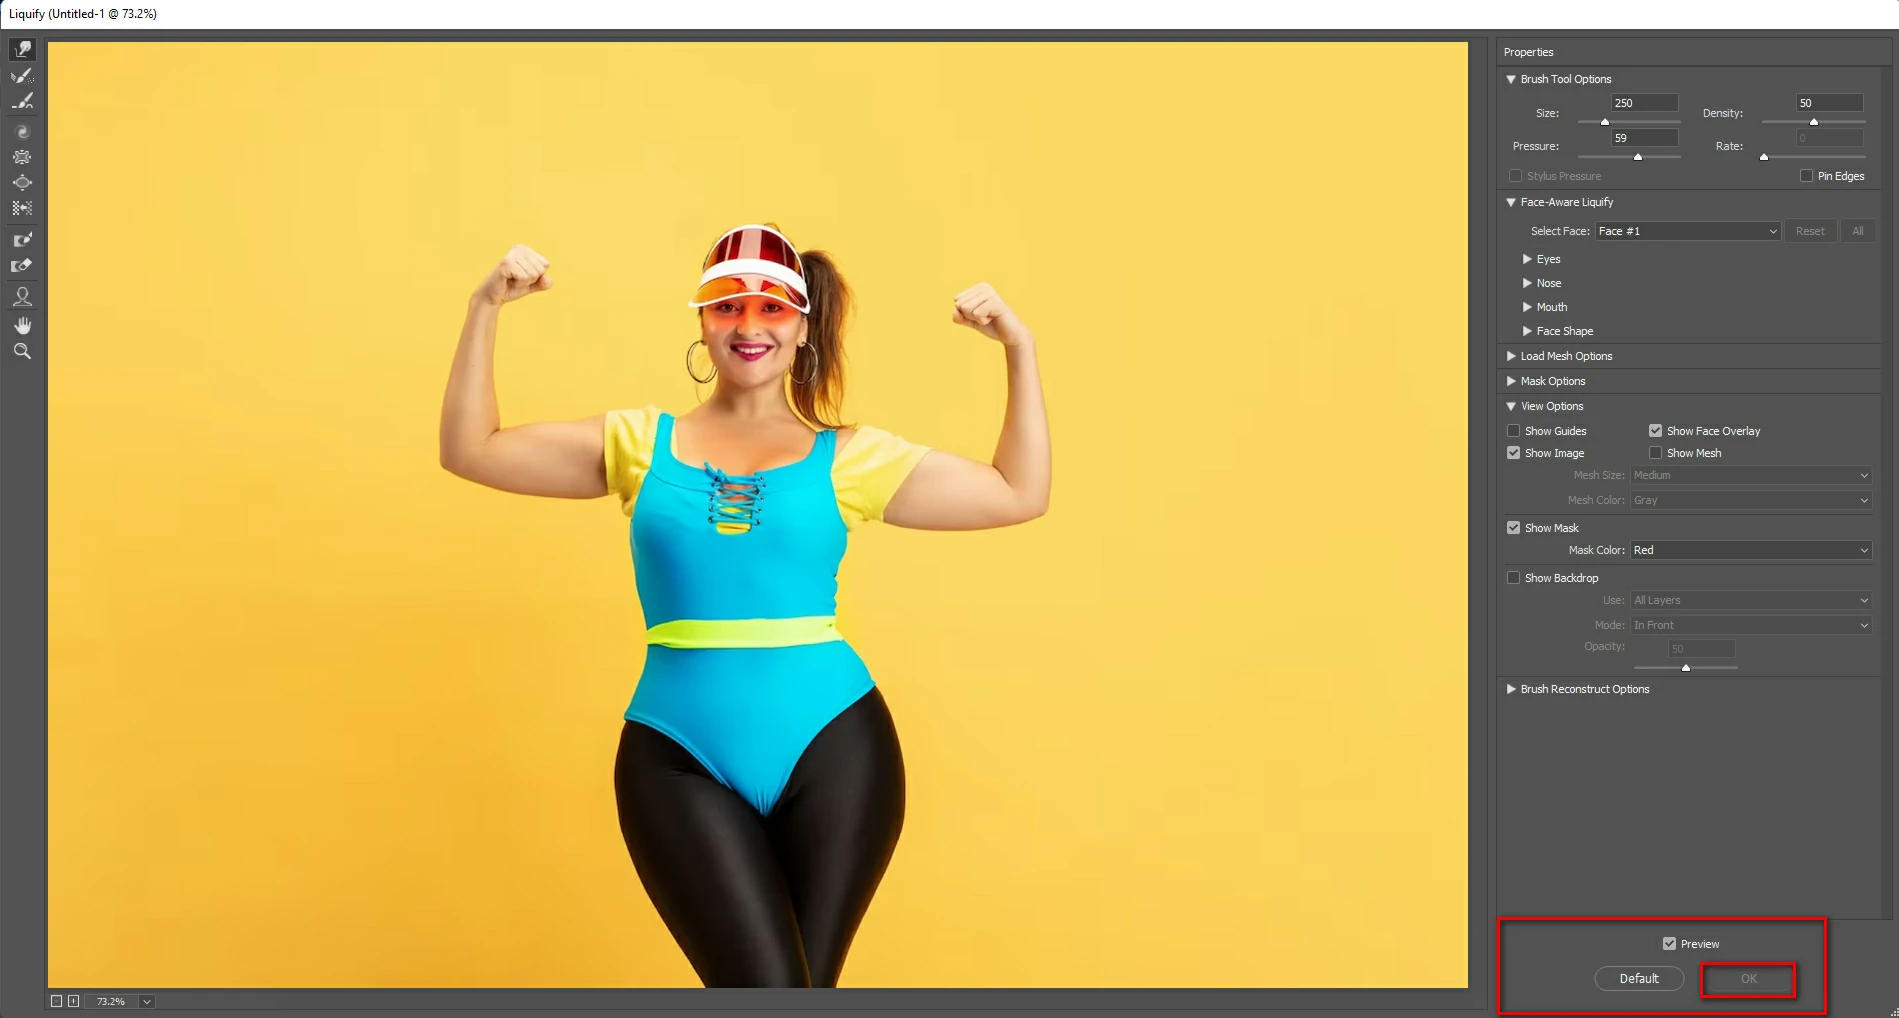
When satisfied with the changes you’ve made, click “File” in the upper left corner of the screen and then choose “Save.”
Following these easy instructions, you can quickly utilize Photoshop’s Liquify tool to create accurate and realistic modifications to your photographs.
Use this fantastic tool in Photoshop whether you’re a professional photographer, retoucher, or just want to improve your photographs.
Understanding the Brush Tools in the Liquify Tool
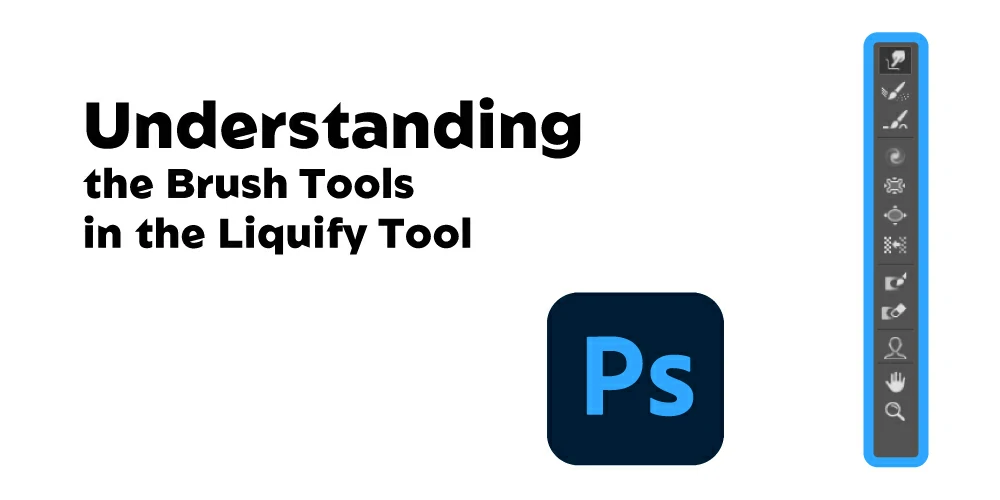
The Liquify Tool in Photoshop provides a range of brush tools to manipulate and adjust specific areas of an image. These brush tools include:
- Forward Warp Tool: This tool allows you to push and pull areas of an image, making it great for adjusting the shape and form of a subject.
- Reconstruct Tool: This tool allows you to undo any changes or mistakes you have made using the Forward Warp Tool.
- Twirl Clockwise Tool: This tool allows you to twirl an area of an image clockwise.
- Twirl Counterclockwise Tool: This tool allows you to twirl an area of an image counterclockwise.
- Pucker Tool: This allows you to contract an area of an image, making it great for creating wrinkles or other small details.
- Bloat Tool: This tool allows you to expand an area of an image, making it great for adding volume or expanding specific areas.
Each brush tool has a distinct set of capabilities and may be applied to produce various effects. It’s crucial to experiment with each tool to determine which one is ideal for your specific job.
Adjusting Brush Size and Pressure for Precise Edits
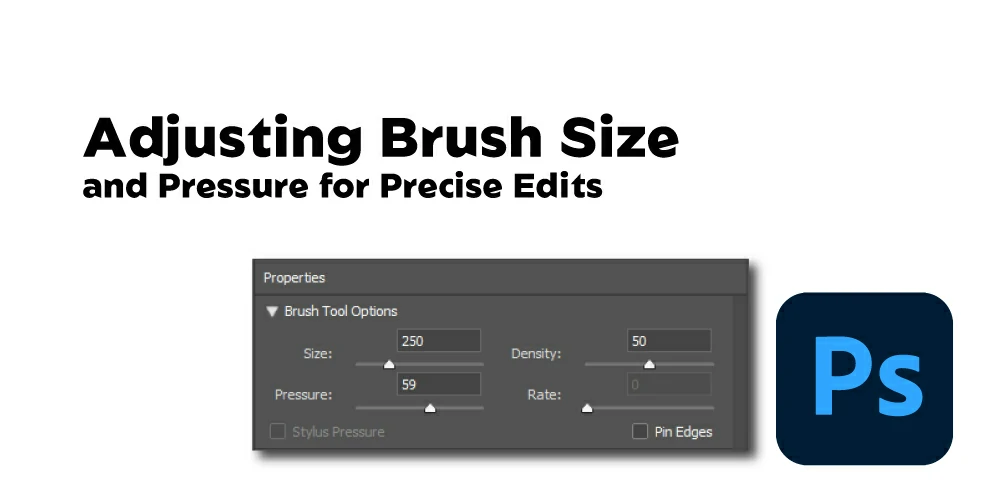
One of its key capabilities is the Liquify Tool in Photoshop’s capacity to change brush size and pressure to accomplish precise adjustments.
The area that the brush tool will influence is determined by the brush size, while the pressure determines the strength of the effect.
Use the sliders in the settings window to change the brush size and pressure. You may adjust the brush size using the brush size slider, and you can adjust the intensity of the effect with the pressure slider.
Using the proper brush size and pressure for each part of the image you’re working on is crucial.
For instance, if you want to make a modest alteration to a tiny region, you might want to use a smaller brush size and lower pressure, but you might want to use a bigger brush size and more pressure for larger areas or more dramatic changes.
Face-Aware Liquify in Photoshop
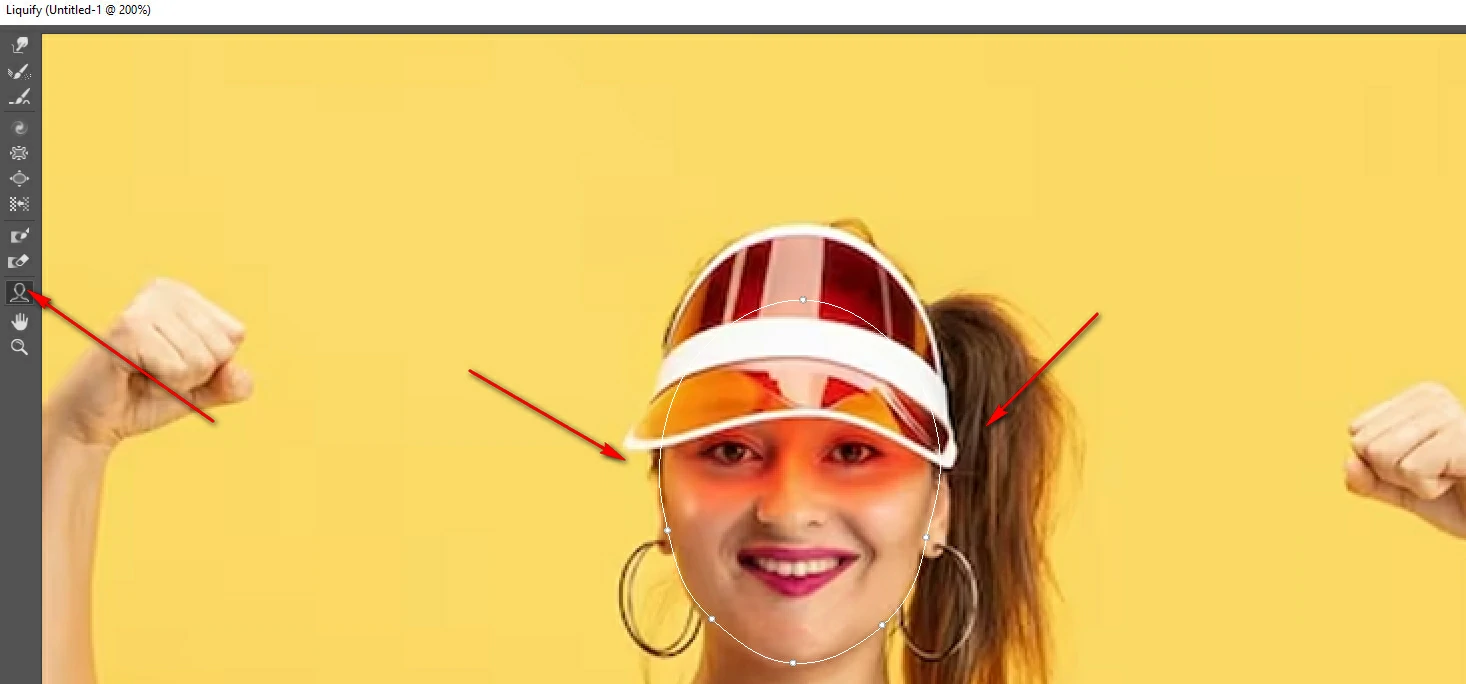
Face-Aware Liquify is a potent tool in Photoshop that enables users to modify face characteristics accurately and efficiently.
The function makes it considerably simpler to alter the form and contour of a person’s face by automatically identifying and tracking facial characteristics using cutting-edge facial recognition technology.
With Face-Aware Liquify, you can quickly and simply change a person’s grin, nose, chin, or even the entire appearance of their face.
Photographers and retouchers specializing in portraiture will find this helpful feature since it enables them to make accurate and undetectable alterations to their photographs without using manual selection or masking.
Anyone wishing to advance their portrait editing should have the Face-Aware Liquify function, which is a part of Photoshop’s Liquify filter.
Use this fantastic tool in Photoshop whether you’re a professional photographer, retoucher, or just want to improve your photographs.
Tips and Tricks for Getting the Most Out of the Liquify Tool
Here are some tips and tricks for getting the most out of the Liquify Tool in Photoshop:
Work slowly and carefully
The Liquify Tool is a powerful tool that can produce some drastic results, so it’s always a good idea to work slowly and carefully when using it.
Experiment with different brush tools
Each brush tool in the Liquify Tool provides a unique set of capabilities, so it’s a good idea to experiment with each one and find the one that works best for your particular project.
Use the Reconstruct Tool
If you make a mistake or want to undo a change, simply use the Reconstruct Tool to undo your changes and start over.
Adjust brush size and pressure.
Use the brush size and pressure sliders in the options panel to achieve precise edits and control the intensity of the effect.
Save a copy of the image.
It’s always a good idea to save a copy of the original image before making any changes, so you can revert to it if necessary.
By following these tips and tricks, you can get the most out of the Liquify Tool in Photoshop and produce stunning results every time.
Frequently Asked Questions (FAQs)
Q: How do I access the Liquify tool in Photoshop?
A: To access the Liquify tool in Photoshop, go to “Filter” in the top menu bar and then select “Liquify.”
Q: What kind of adjustments can I make with the Liquify tool in Photoshop?
A: With the Liquify tool in Photoshop, you can make a wide range of adjustments to your images, including reshaping objects, fixing distorted images, and making subtle adjustments.
Q: Can I use the Liquify tool on facial features in Photoshop?
A: Yes, the Liquify tool in Photoshop includes a unique feature called “Face-Aware Liquify” that makes it easy to make precise and natural-looking adjustments to a person’s face.
Q: How do I adjust the brush size and pressure in the Liquify tool in Photoshop?
A: To adjust the brush size and pressure in the Liquify tool in Photoshop, use the sliders on the toolbar to fine-tune your results.
Q: How do I save my changes after using the Liquify tool in Photoshop?
A: To save your changes after using the Liquify tool in Photoshop, click on “File” in the top left corner of the screen and then select “Save.”
Q: Can I use the Liquify tool on multiple layers in Photoshop?
A: Yes, you can use the Liquify tool on multiple layers in Photoshop. To do so, select the layer you want to adjust, go to “Filter” in the top menu bar, and choose “Liquify.”
Q: How can I undo my changes in the Liquify tool in Photoshop?
A: To undo your changes in the Liquify tool in Photoshop, use the “History” panel in the top menu bar to step backward through your previous actions. You can also use the “Ctrl + Z” keyboard shortcut to undo changes.
Conclusion
The Liquify Tool in Photoshop is a powerful and flexible tool that allows photographers and designers to create organic and fluid photo alterations with exceptional accuracy.
You will be able to produce spectacular results and advance your picture editing by learning how to use this tool and applying the advice provided in this thorough tutorial.


