How to Smooth Background in Photoshop: Tips and Techniques for a Polished Look

Smooth backgrounds make a difference in photographs, especially in product photography. A clean, glossy background may help a product stand out and appear more professional.
But, for beginners, creating a clean backdrop in Photoshop may be pretty time-consuming. “Movies are made or damaged during the editing process. In the editing room, several films have both been rescued and destroyed.” Joe Dante.
In this tutorial, we’ll walk you through the step-by-step procedure for Photoshop backdrop smoothing and some pro tips and techniques.
Table of Contents
Understanding the Importance of Background Smoothing in Photoshop
In photography, the background is equally as important as the subject. The effect of your photograph might be diminished by a cluttered or chaotic background that detracts from your subject.
A slick, inconspicuous backdrop might make your subject stand out and make your picture appear more polished.
Try smoothing off the backdrop to give your images a professional and elegant appearance in Photoshop. Yes, you can remove the background and change it to a nicer one, but that will look unrealistic. You may produce a more coherent and focused image that directs the viewer’s attention to the subject by eliminating distractions and flaws.
How a Smooth Background Can Improve Your Photos
A smooth background can do wonders for your photos. Here are a few ways that it can improve your images:
- Enhance the Subject: A clean, inconspicuous background allows the topic to take center stage. This might accentuate the subject’s significance and assist in directing the viewer’s attention.
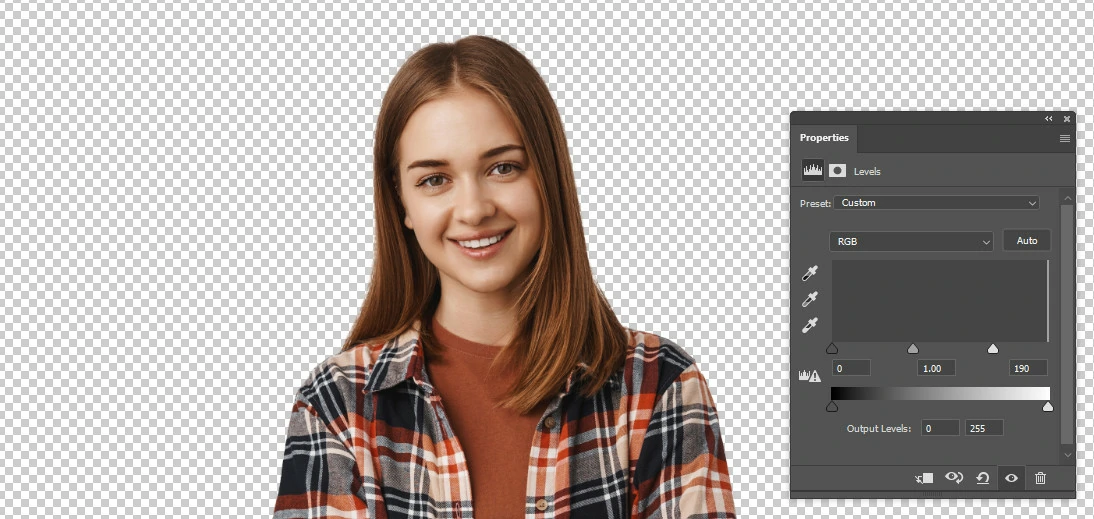
- Create a Professional Look: Your photo can seem clean and refined with a smooth backdrop, making it ideal for business or professional use.
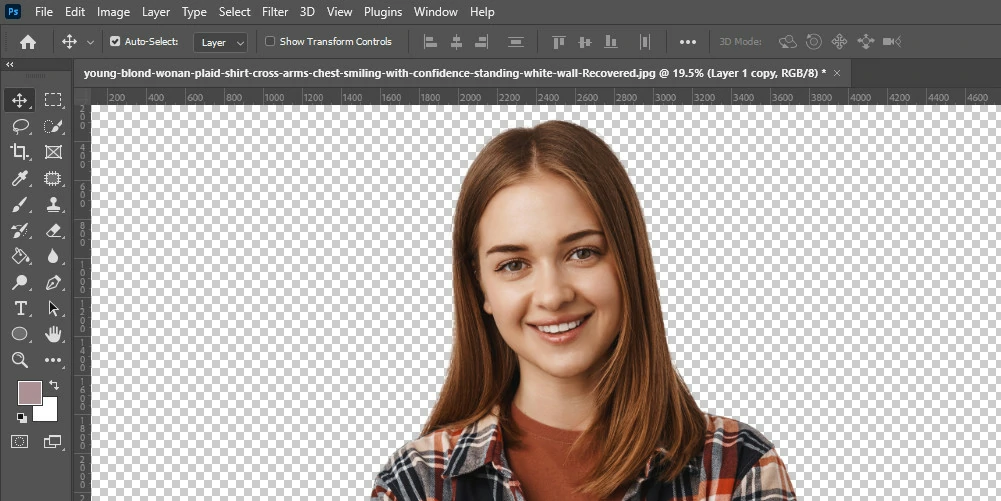
- Eliminate Distractions: By smoothing away distracting objects in the backdrop, you may produce a more focused and coherent image that communicates a more explicit tale.
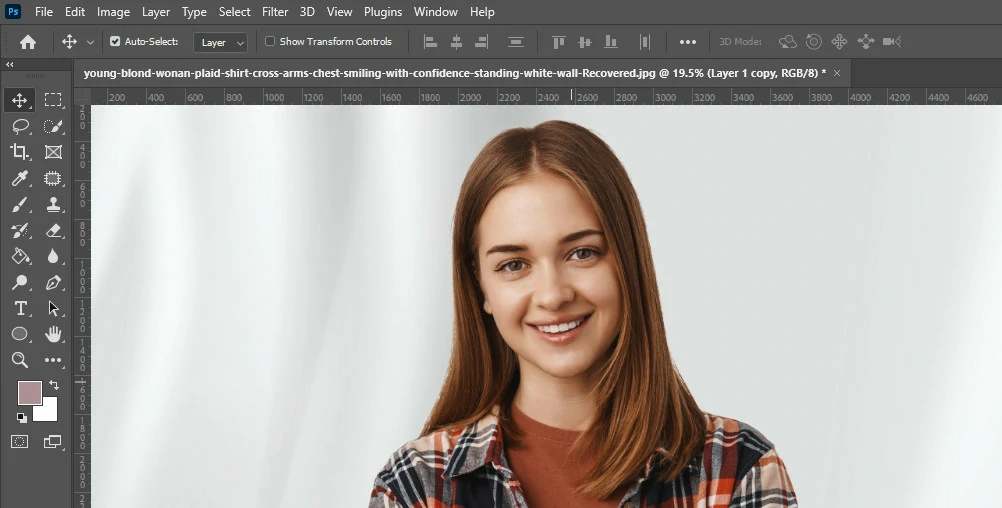
Common Mistakes to Avoid When Smoothing Backgrounds in Photoshop

There are a few frequent blunders that you should stay away from, even if blurring the backdrop may be a fantastic approach to enhance your photographs. The following are some of the most typical mistakes people make while background smoothing in Photoshop:
Over-Smoothing: When using the blur tool or other smoothing methods, it’s simple to go overboard. Excessive smoothing might make your backdrop appear unnatural and fake by removing too much detail and texture.
Avoiding an Unrealistic Look: Keeping your background’s texture and details while smoothing it down to prevent an unnatural appearance is essential.
Neglecting Other Elements: While removing a distracting background might enhance your photograph, ignoring all other aspects of your scene is crucial. Pay close attention to the lighting, composition, and other elements that may impact the final effect of your picture.
Step By Step Guide To Smooth The Image Background In Photoshop
Step 1: Preparing the Image
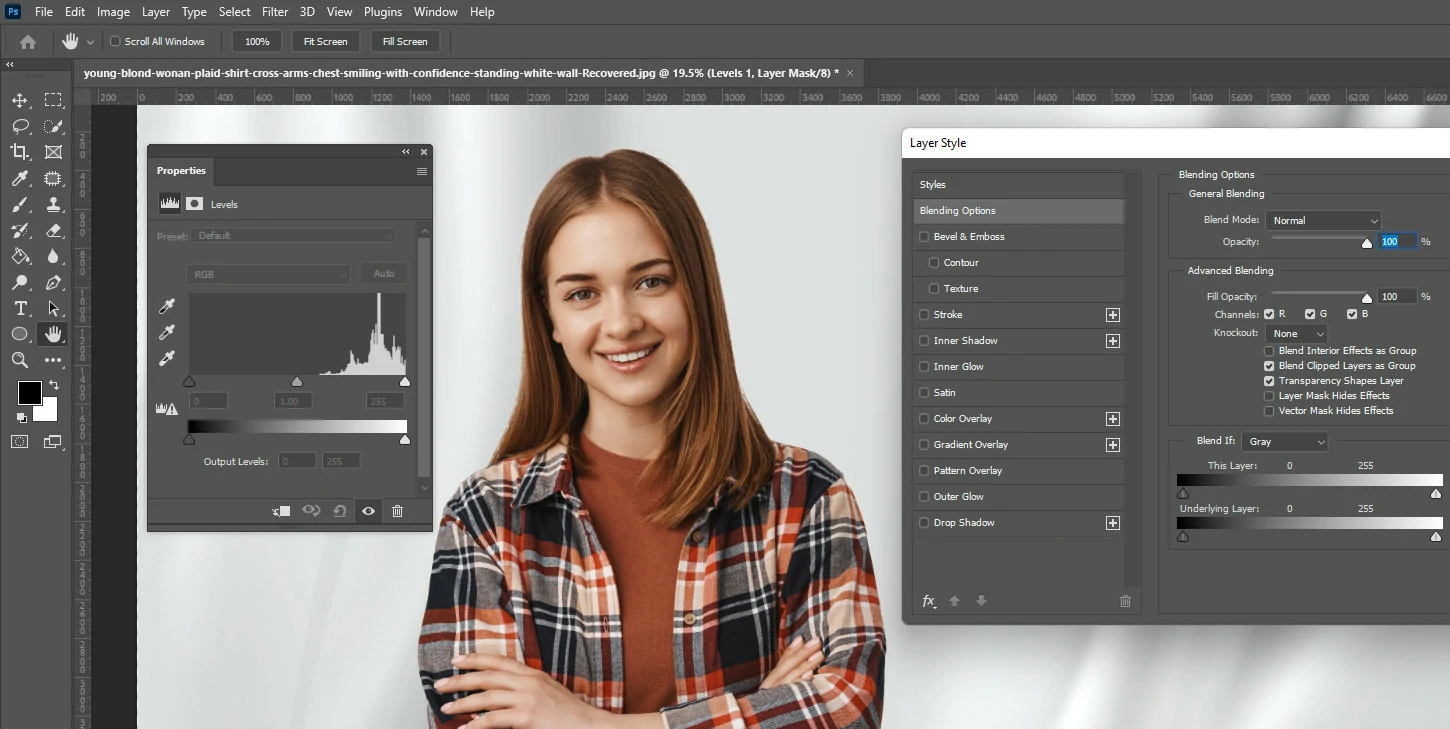
We must first prepare the image by separating the topic from the backdrop before removing the background noise. Several selecting tools, such as the Magic Wand, Lasso, or Pen tool, can be used.
To construct a tentative topic selection for this lesson, we will utilize the Magic Wand tool. Choose the Magic Wand tool from the toolbar on the left side of the screen to do this.
Tolerance should be adjusted such that the tool selects the backdrop but not the topic. The additional selection tools can be used to fine-tune your backdrop pick once you’ve made a preliminary one.
Step 2: Using the Magic Wand Tool
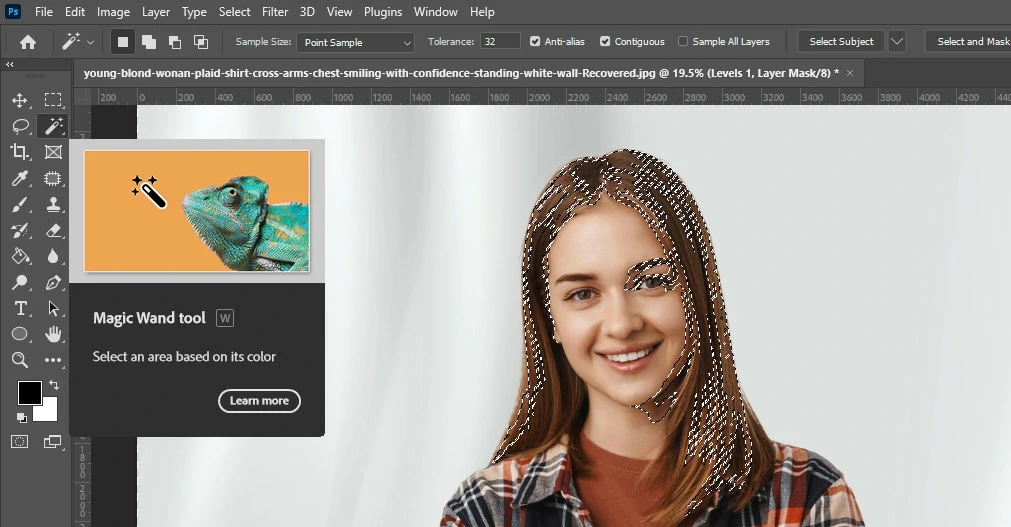
To utilize the Magic Wand tool, click on the image’s backdrop. This will make a selection in the vicinity of the clicked region. You can adjust the tool’s tolerance to make the selection more exact if it is inaccurate enough.
Step 3: Using the Lasso Tool
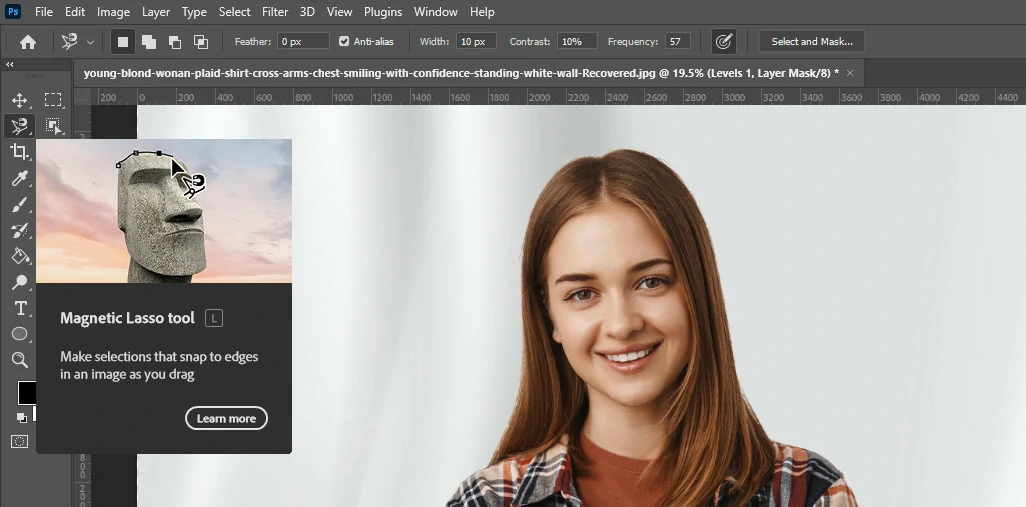
Making more exact choices is made easier using the Lasso tool. Draw a circle with your cursor around the topic after selecting the Lasso tool from the toolbar. By clicking and dragging the mouse, you can draw straight lines, and by doing the same while holding down the mouse button, you can draw curves.
Step 4: Using the Pen Tool
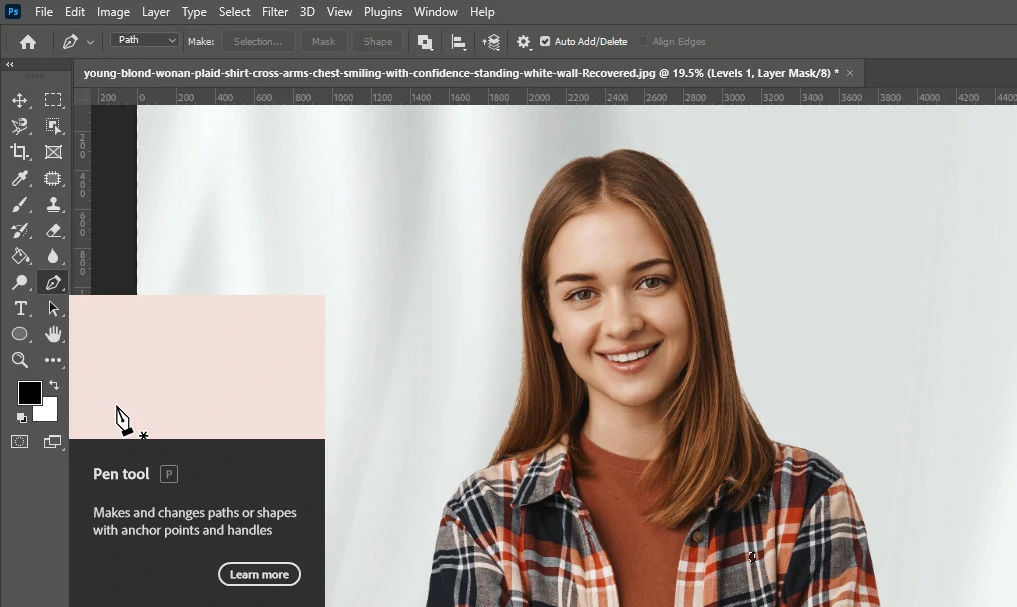
In Photoshop, the Pen tool is the most accurate selection tool. By outlining the subject with a route, you may make a selection. Click on the topic to make points while using the Pen tool from the toolbar. Curved lines may be made by connecting the spots with the mouse by clicking and dragging.
Step 5: Refining the Selection
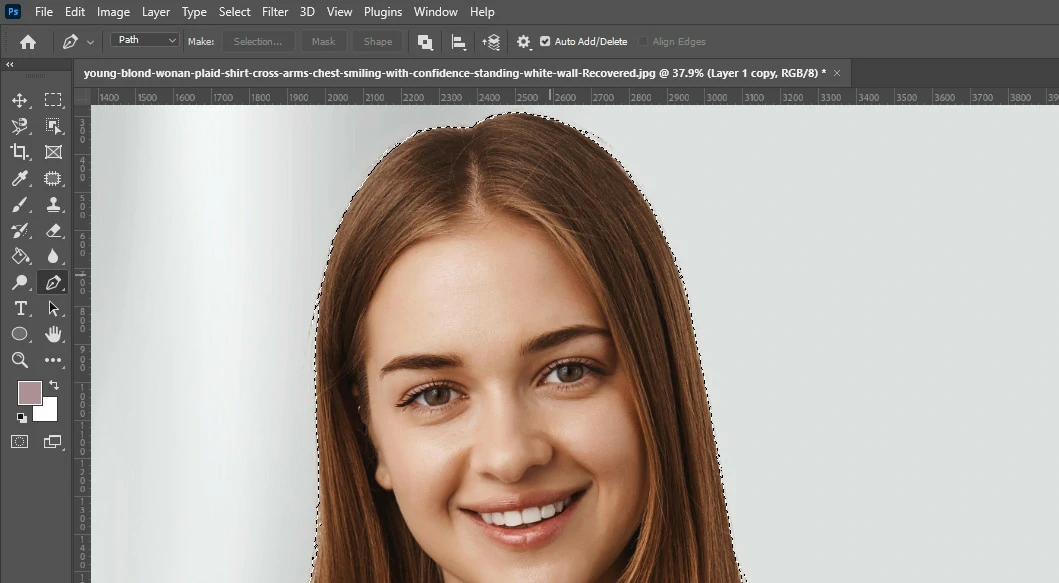
With the other selection tools, you may hone your initial topic pick after creating a rough one with one of them. For instance, if you created a crude selection using the Magic Wand tool, you may refine it with the Lasso or Pen tool to generate a more accurate selection.
Step 6: Creating a Layer Mask
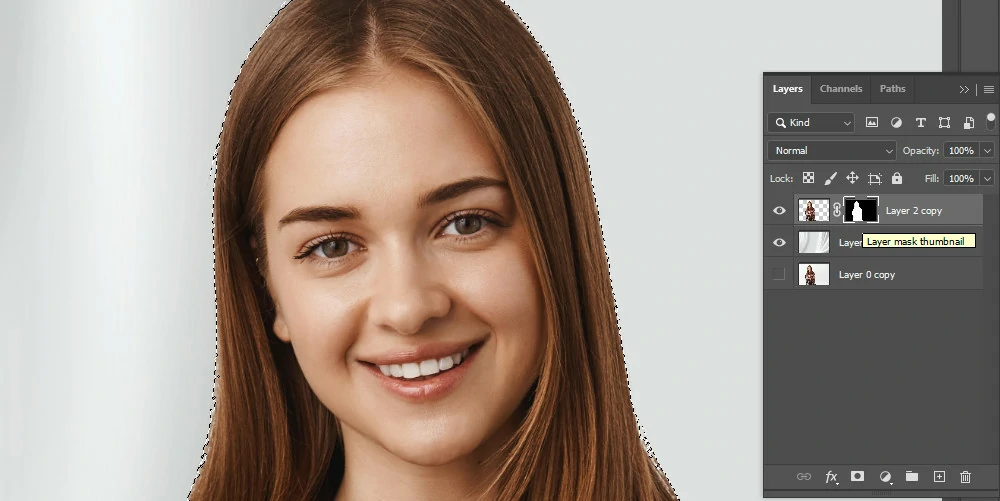
After making a precise subject selection, you may make a layer mask to separate the subject from the backdrop. Click the Layer Mask button at the Layers panel’s bottom to start. This will produce a layer mask that conceals the backdrop and only displays the object being worked on.
Step 7: Applying the Blur Effect
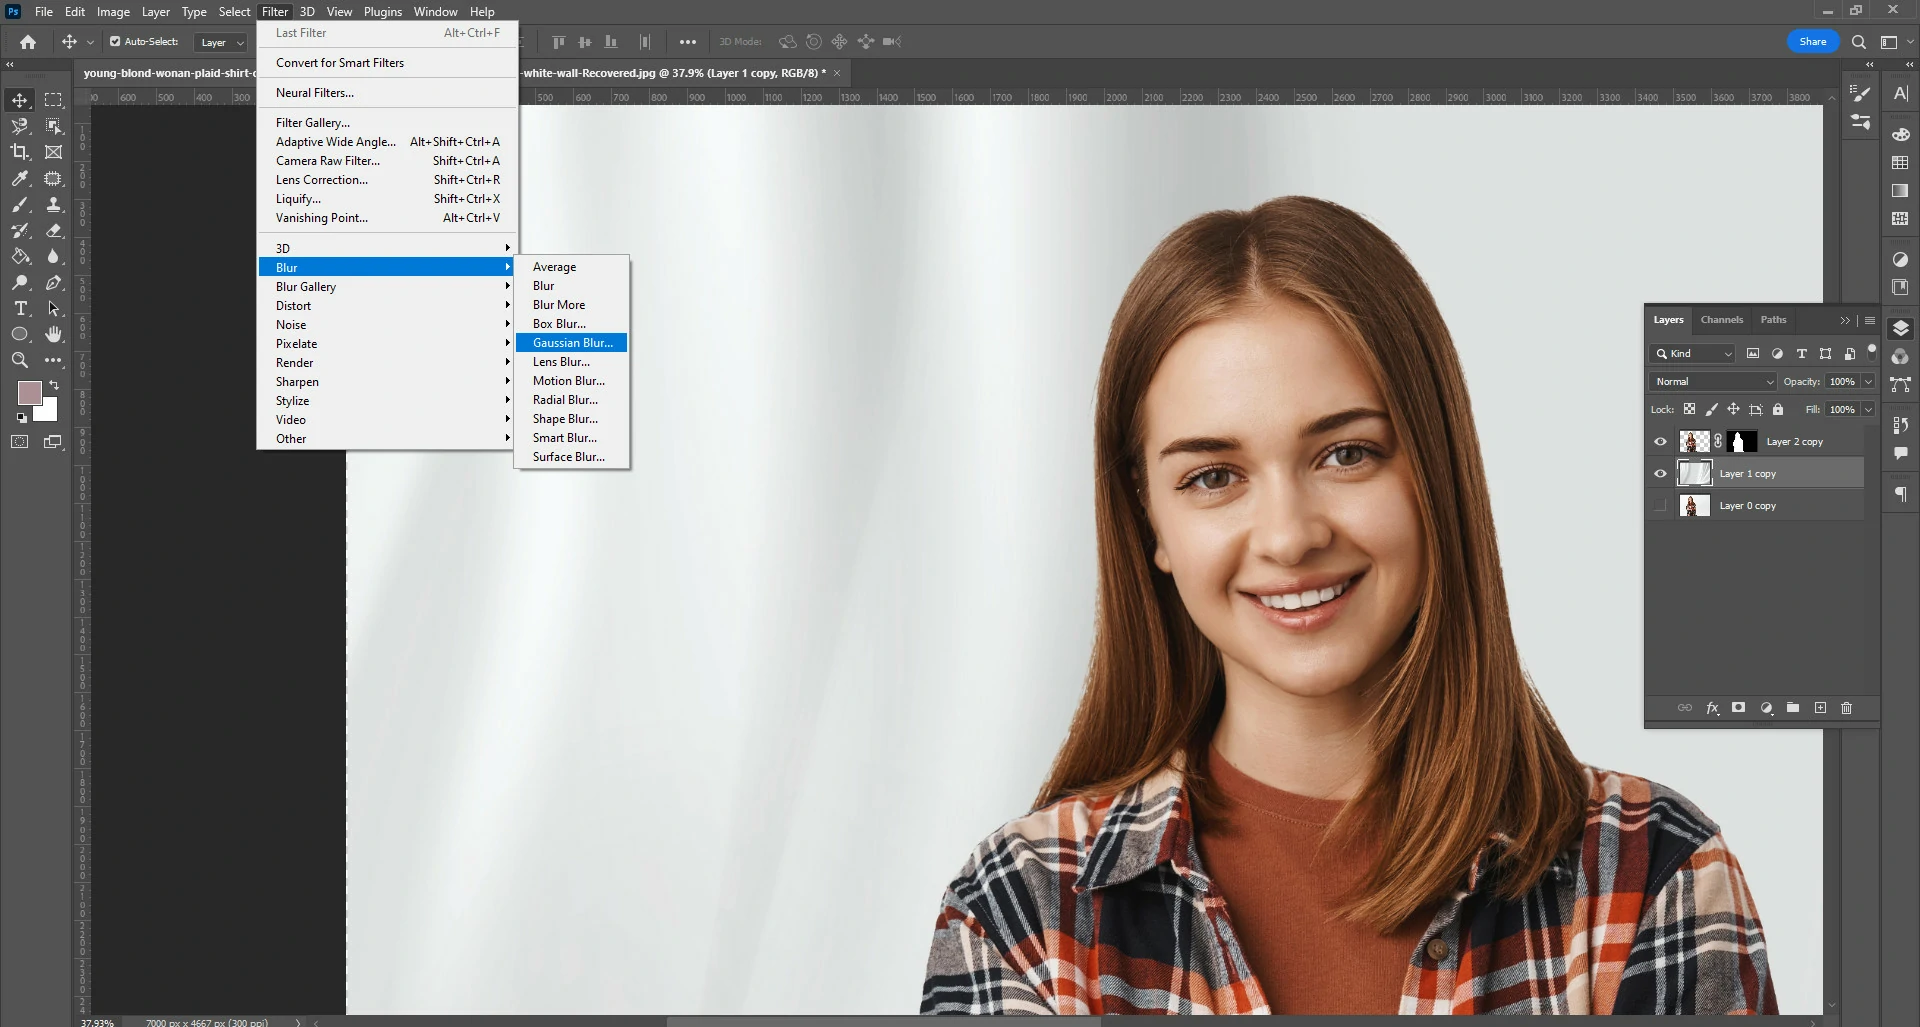
You may blur the backdrop now that you have a layer mask that separates the topic. Choose the layer mask, then pick the Blur tool from the toolbar to do this. After adjusting the brush size to match the backdrop size, use the blur tool to paint over the background. By altering the brush’s opacity, you may control the blur.
Step 8: Applying Different Blur Filters in Photoshop
To blur the backdrop of your image, you may also use several blur filters in Photoshop in addition to the Blur tool. The Gaussian and surface blur are two common filters for this.
Gaussian Blur
Utilizing the Gaussian blur filter is standard practice to produce soft, dreamy photo effects. By averaging the colors of nearby pixels, this filter blurs the image, producing a seamless, even transition between different parts of the image.
To apply a Gaussian blur in Photoshop:
- Duplicate the layer containing your image.
- Select the duplicate layer and go to filter> Blur > Gaussian Blur.
- Adjust the blur radius to your desired level of smoothness.
- Click OK to apply the filter.
Surface Blur
Another useful tool for leveling off uneven surfaces in pictures is the surface blur filter. The surface blur maintains edges and features while blending the background, contrasting to the Gaussian blur. Based on the texture and color of the pixels, this filter selectively blurs them.
To apply a surface blur in Photoshop:
- Duplicate the layer containing your image.
- Select the duplicate layer and go to filter> Blur > Surface Blur.
- Adjust the radius and threshold values to your desired level of smoothness.
- Click OK to apply the filter.
Try out several blur filters and settings to discover the best one for your image. These methods make it simple to make a seamless, expert-looking background in Photoshop.
Step 9: Final Touches
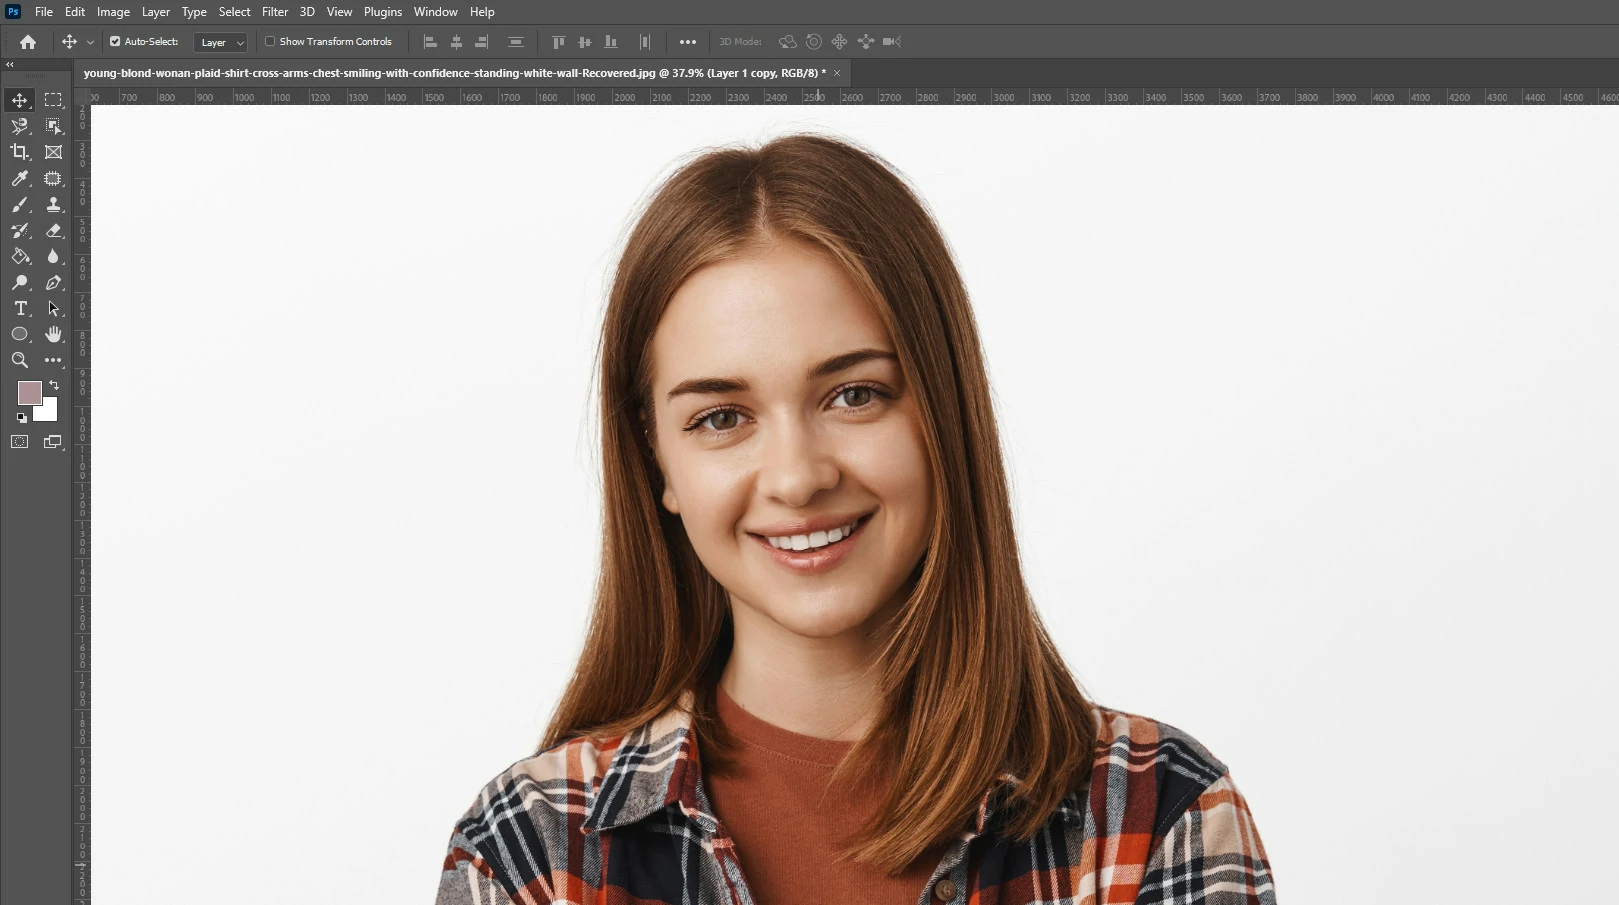
After applying the blur effect, you may make any last-minute changes to the image. To get the desired effect, you can alter the image’s brightness, contrast, or color. Add text or other design components to the image to finish the project.
FAQ
Q: How do I select a complex subject from the background?
A: Finding a tough topic in the backdrop might be difficult. One method, albeit time-consuming, is to draw a path around the object using the Pen tool. Using Photoshop’s Select and Mask function, which enables you to refine the selection further using various tools, is an additional approach. Select the layer mask, then click the Select and Mask button to access the tool at the top of the screen.
Q: Can I use a different blur effect besides the Blur tool?
A: Sure, there are several different blur effects available in Photoshop that you may apply to smudge the backdrop. Gaussian, Motion, and Surface Blur are a few of them. To add a different blur effect, choose the layer mask and select the desired effect from the Filter menu.
Q: How do I remove the background entirely?
A: The Background or Eraser tool may be used to completely remove the background from an image if you like. Alternatively, you may pick the object and then erase the background layer using the Select and Mask option.
Q: Where is the smooth option in photoshop?
A: Photoshop’s “smooth” option can refer to different tools depending on what you are trying to accomplish. Here are some possibilities:
If you want to smooth out a specific area of an image, you can use the “Blur” tool. To access this, select the area you want to blur with the lasso or marquee tool, then go to Filter > Blur and choose the type of blur you want to apply (such as Gaussian blur).
If you want to smooth out the overall appearance of an image, you can use the “Gaussian Blur” filter. Go to Filter > Blur > Gaussian Blur and adjust the radius to your desired level of smoothing.
If you want to smooth out the edges of a selection, you can use the “Feather” option. With your active selection, go to Select > Modify > Feather and choose the feathering you want to apply.
If you’re working with a brush or other tool and want to smooth out its strokes, you can adjust the “Smoothing” option in the toolbar at the top of the screen. This will automatically apply smoothing to your brushstrokes as you make them.
Q: How do I make my texture smooth?
A: To make a texture smooth in Photoshop, you can use the “Gaussian Blur” filter. Here’s how:
- Open your image or texture in Photoshop.
- Duplicate the layer by right-clicking on the layer in the Layers panel and choosing “Duplicate Layer”.
- Go to Filter > Blur > Gaussian Blur with the new layer selected.
- In the Gaussian Blur dialog box, adjust the Radius slider to increase or decrease the blur level until you achieve the desired level of smoothness.
- Click OK to apply the filter.
- To adjust the opacity of the smoothed layer, use the Opacity slider in the Layers panel.
- If needed, you can use a layer mask to apply the smoothing effect to specific areas of the texture.
Conclusion
To summarize, smoothing out backgrounds in Photoshop might be intimidating for novices, but with the correct tools and techniques, anybody can get a clean and finished outcome.
You may learn how to choose objects, set layer masks, utilize the blur and healing brush tools, apply filters, and make last-minute modifications by following the detailed instructions in this tutorial.
Do not be afraid to make errors as you experiment with various approaches and filters to see which ones suit your image the best. With time and effort, you can master Photoshop’s background-smoothing features and produce outstanding photographs that stand out from the competition.


