How To Photograph Jewelry At Home
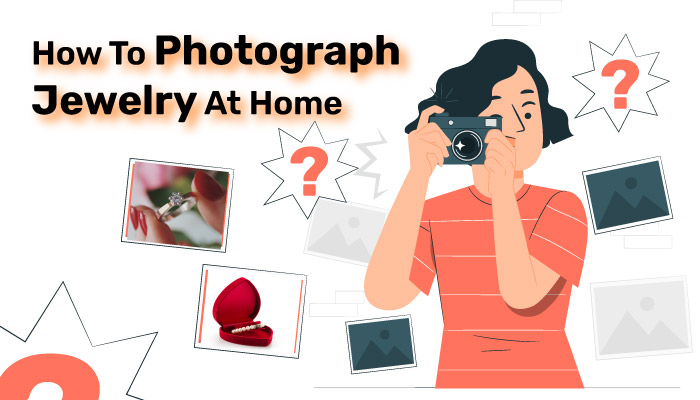
Learning how to photograph jewelry at home is a lot seamless. We have tried to photograph the jewelry and afterward, we have set up our dream setup. Right now we could capture professional-grade jewelry photos without any issues. Below we are going to show you all of the steps at once.
To photograph jewelry at home, you only need a neat arrangement. Plus, it doesn’t take much time to create an ideal setup. Once you set up all of the elements, you could plot a lot of jewelry picture ideas on the go. Let’s get into the how-to guide right now.
Table of Contents
In-Depth Guide on How To Photograph Jewelry At Home
Whether you are implementing creative jewelry picture ideas or others, you need to know the secret to photograph better images. It’s a must for anyone who wants to capture professional-grade jewelry images at home without any issues. The below steps are the must to get better photos of your jewelry.
Step 1: Use Better Lenses
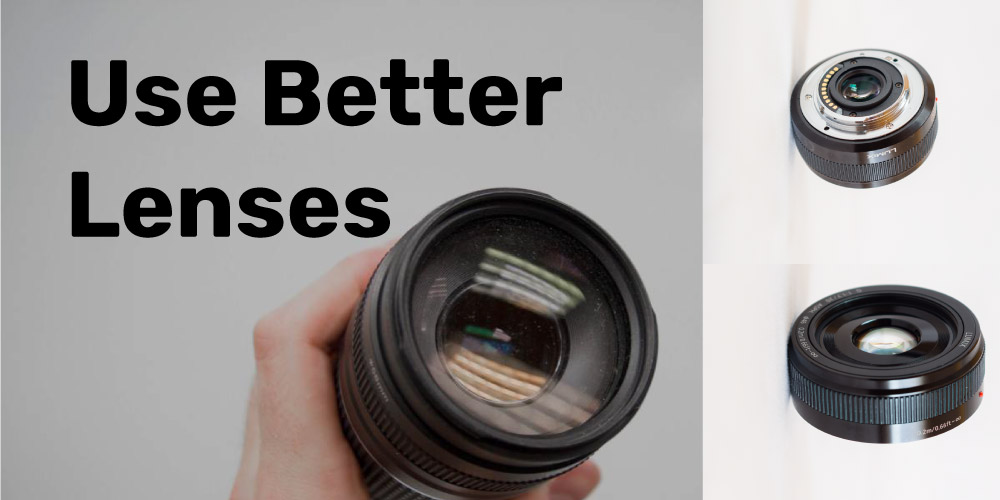
The first step of photographing jewelry at home is to select the better lenses for the photography. To be specific, using a macro lens is the best option for jewelry photography. Because it lets you photograph the perfect shot of your jewelry right away.
This is why you should use a quality lens to start your photographs. For example, if you want to implement earring photography ideas, you must use a lens that is good at macro photography. That’s why magnification plays a great role in creating better jewelry images. Once you chose the perfect lenses you could go on to the next step.

Step 2: Try To Go For White Background
White backgrounds provide you with the perfect scene for jewelry photography. Because white is the color that lets your jewelry shine within the image. As you are clicking pictures at home, getting white background material is a lot easier. You could use any white non-reflective surface or use white paper.
You could take the paper and fold it in half to make it stay at a 90-degree angle. Make sure you place the paper on the wall to make the white background as stable as possible. As a result, you would get a better-looking photo background. You would get great images without any issues.
Step 3: Set The Camera to Right Settings
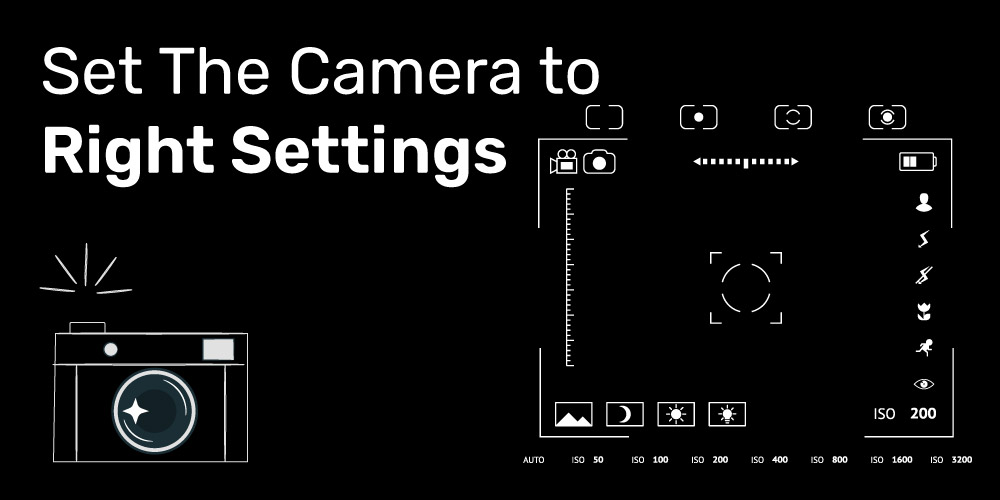
You would want to set the camera settings to the optimal one to have a great-looking image. When you go through camera options, make sure to set the aperture to the highest possible. It would make sure your camera lens gets lower light within it and you get to capture the jewelry a lot better.
When setting the perfect aperture, the camera get’s better output. The following image would offer you great lighting and focus. The jewelry image would create a great contrast and sharpness. It would be an ideal situation for a jewelry photographer to work on.
Step 4: Utilize The Daylight
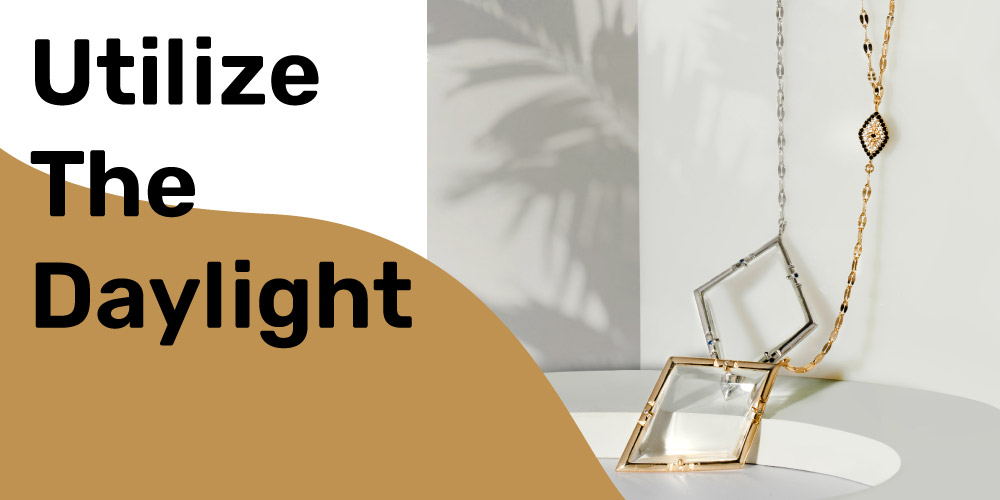
Utilizing the daylight could offer you astonishing jewelry images which attract viewers. For instance, you could set up a table next to the window. Afterward, place a white background and start doing jewelry photography. While doing jewelry photography, make sure it’s noon, so you can utilize most of the daylight.
You could use daylight on Bracelet Photography Ideas and have amazing results right away. But in case you stumble upon the problem of shadows, I have a solution. Try to use a reflector on the other side of the window. It would eliminate the shadow making your jewelry image look smooth.
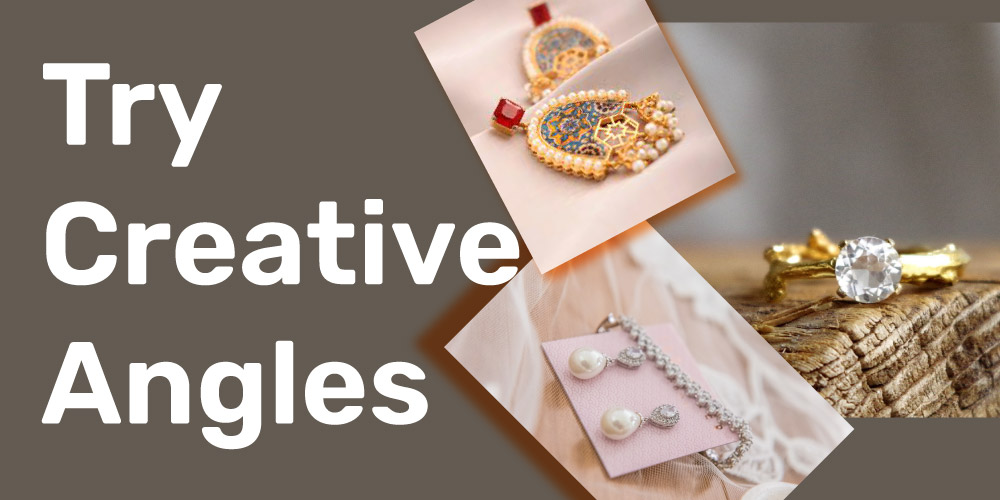
Step 5: Try Creative Angles
To get a unique flare on your jewelry images, you must try to experiment with angles. The front-facing jewelry images might get dull over time. Adding perspective to your jewelry images would bring up more eyeballs into the jewelry photos.
While creating a jewelry images album, make sure you include several angles images. It would help you to further increase trust and authority among your customers. You should not let away the chance as you have the luxury to shoot photos from different angles.
Step 6: Use Proops When Needed
You need to use props in your images when you need them. It would make your images perfect aesthetics. Proops can make jewelry images look unique and you need to utilize the process. But make sure it doesn’t distract the viewers from the actual jewelry.
One thing to remember, you need to be a bit selective while using props. For example, if you want to implement necklace photography ideas, you could use cardboard boxes. It would make your jewelry photographs great-looking. Thus, you need to utilize these elements to make the jewelry stand out as much as possible.
Step 7: Go For Photo Editing
Photo editing can make a lot of difference to your jewelry photos. You could see a lot of photo editing on fashion jewelry photography and other photographs as well. Editing photos could make the image look a lot more polished. In turn, your jewelry image collects greater attention.
Further, photo editing can remove errors within the image. Your images look a lot cleaner and more pleasing. You must try it out even if you are doing it for the first time. Editing photos can transform your photos from beginner to professional level.
FAQs On How To Photograph Jewelry At Home
Let’s explore some of the common questions on the topic of jewelry photography.
Which Is The Best Time To Shoot Jewelry Photos?
In case you are using natural light, noon-time would be the best timeframe. Because it offers you the highest amount of light to experiment with. Plus, the photos appear more natural while working at noon-time. For that reason, you must try to arrange your photoshoot at noontime.
Should I use Artificial Lights for Jewelry Photographs?
As a jewelry photographer, you might feel the natural light is not enough to go on. In these cases, you might need to use lighting equipment. These equipment prices can differ a lot. But in general, you could use a lightbox for jewelry photography. Using a lightbox would be a cheap option as well for any beginner-level photographer.
When To Hire A Model To Photograph Jewelry?
Depending upon your project’s requirement, you may need to hire models for jewelry photography. When you want to feature your jewelry on a model, make sure you evaluate budgets. Otherwise, it would not be wise to for models as it might take a good chunk of the budget.
Conclusion
Once you get to know how to photograph jewelry at home, it would benefit you in almost every way. The photographs you take can get used to professional projects. You only need to follow certain steps and you get your dream jewelry photography setup.
Photographing jewelry might get a little bit tricky, but with practice, you could achieve perfection. At first, you should not strive for perfection. Rather you should keep doing and at times it would come into your hand. It’s a lot rewarding when someone appreciates your jewelry photos. Don’t give up at all.

