How To Italicize In Photoshop?

In Adobe Photoshop, you can’t only edit images and make them flawless, and you can create unique designs using shapes and texts with different fonts. In today’s Photoshop tutorial, we will know how to italicize photoshop. Apart from this, you will learn a couple more bonus ones, like making your text bold in photoshop.
Table of Contents
What does the italic font look like?
Texts have a number of fonts that we can use to make them look excellent and make great designs. Italic is also a good-looking and famous text fonts designers use. Texts with italic font look curvy and lean over on the right side. In the 18th century, these fonts were vastly used for essential statements. An Italic font has an elegant vibe, so the design experts make using this font look good if used properly.

How to make text italic in Photoshop 2022
In this segment, we are going to show you how to make text italic in photoshop 2022. There are a couple of ways that you can follow and make your text italic in photoshop. We will show you the easiest one of them.

Method 1: Via The Upper Settings Bar

This is one of the most common and straightforward methods. You don’t need to be a highly expert in photoshop to use this method.
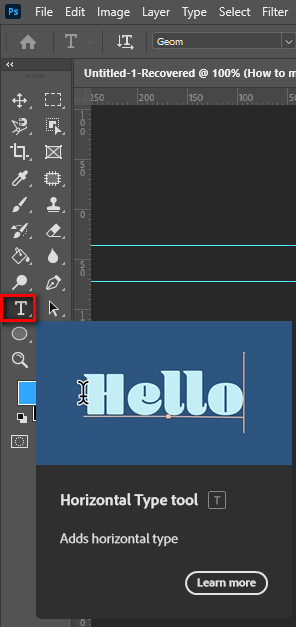
Step 1: The first step is to write your words on the artboard. To do so, pick the Type Tool (T) from the left Toolbar. After selecting the tool, enter the text to be italicized. If your text is a part of your design, then I would suggest you write the text separately first. Set the font size from the upper settings bar.

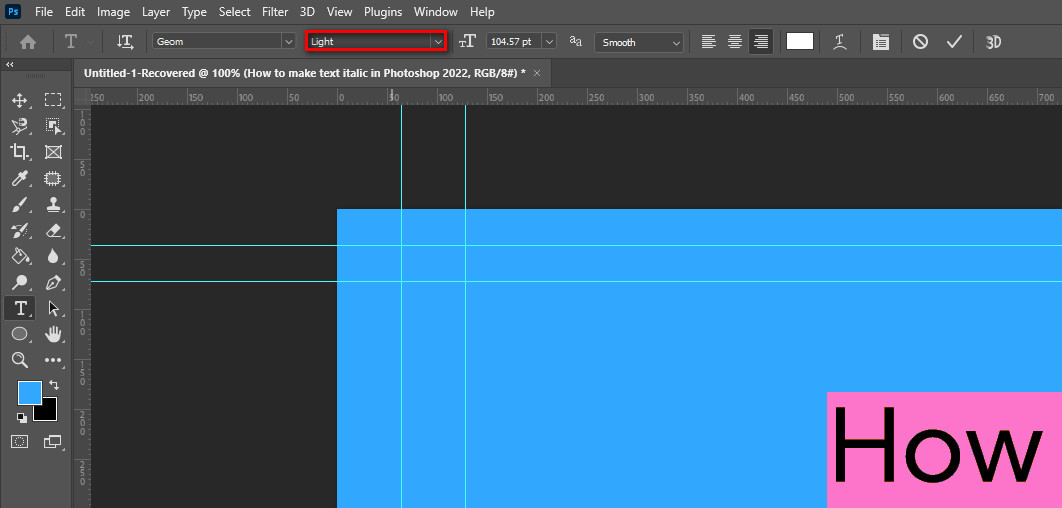
Step 2: Now, drag the cursor over the text and select it. Afterward, go to the upper settings again and select “Italic” instead of “Regular.” This will make the text you have chosen in italic.

Method 2: With The Character Panel
Sometimes we use text fonts that aren’t supported by the version of photoshop we are using. You can’t make such italic texts. So this method will help to achieve that. Here we will use Character Panel, which you can get from the Windows menu at the top.
To bring the Character Panel, go to Windows→ and click on the Character.

Step 1: Write your text using the tool and select it by dragging the cursor over it. Place the text in a suitable place on the artboard before choosing it.
Step 2: Now, using the character panel, click on the Faux Italic (T) icon or select that option from the drop-down menu, and the text will turn italic. Faux italic is an ultra-italic effect that makes the design more elegant.

The two methods above are the best and easiest ways to make the text italic. You don’t need to be any photoshop expert to do them. You can take texts from images and make them italic if you want.
The clipping path technique creates paths around the texts and removes the background. After that, fill the texts with color, make their shapes, and try to use one of the methods above.
HOW TO MAKE TEXT BOLD IN PHOTOSHOP IN 6 STEPS
I know this article is to learn how to make text italic in photoshop, but this is a bonus tutorial for folks like you who want to improve their photoshop skill. So as a bonus one, now we will see how to make text bold in photoshop, and we will use only six easy steps to do it.

You can use Ctrl (Cmd) + Shift + B as a photoshop bold text shortcut to achieve this within a second, but some fonts don’t support this.
STEP 1. Open the Character Palette
This is a familiar step for you if you have read the above tutorial. The character palette offers us most of the settings for text in photoshop. The initial step in this approach will be to open this palette from the settings. Go to the top menu bar and select Window.

A drop-down menu will appear and click on the Character option to bring the character palette.
STEP 2. Click on the Menu Icon
In the character palette, the options you see are not all them. There is more option in the menu in the character window. In step 2, we will bring the menu and see its possibilities. Please write the text you want to work on using the Typing Tool (T) and select it. Then in the character window, you will see three small horizontal lines at the right corner, which is the menu icon. Click on the icon, and you will find several valuable options like Faux Bold, Faux Italic, All Caps, and many more.
STEP 3. Find the Faux Bold Option
After clicking on the menu icon, there will be an option called the faux bold. This will make the text bold even if the font of the text doesn’t support being bold. While keeping the text selected and clicking the option, you will have your text in bold.

But there is a catch. You can’t wrap your text or make any shape with it after that. Remove the attribute and continue if you want to wrap the text into any shape.
STEP 4. Apply the Layer Style
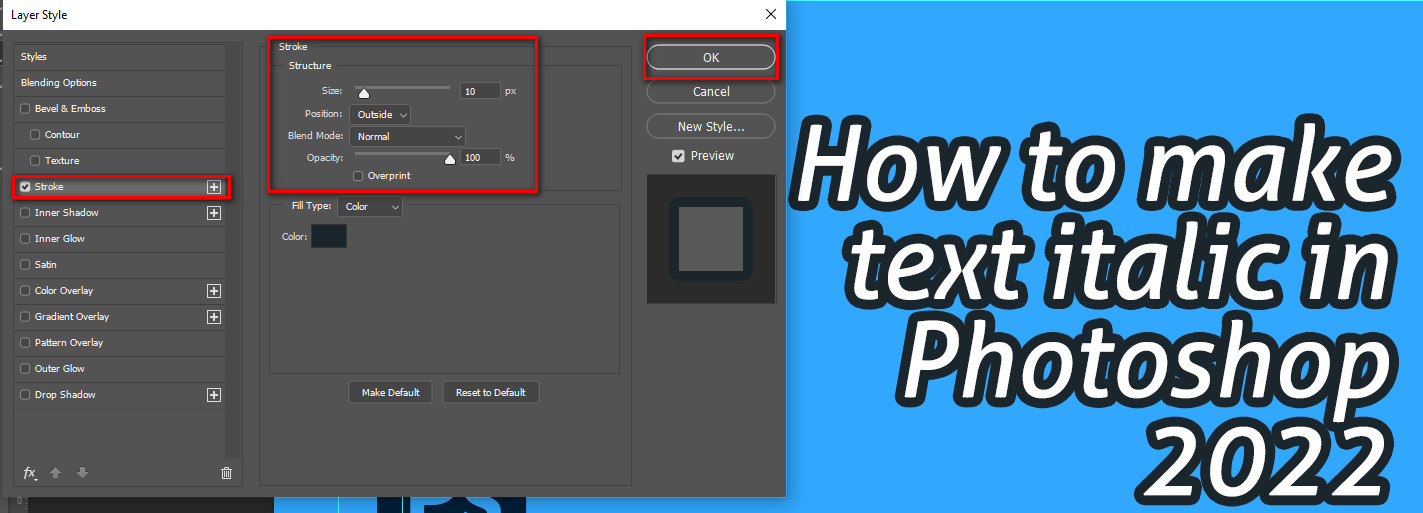
In this step, we will set a layer style to our text to outline it later. To do that, go to the Effect Panel and select the Layer Style.
STEP 5. Add a Stroke
This step will add some strokes to our text from the layer style settings. You will find Stroke settings there. Click on it, and you will have some options for the stroke. The important ones are the Size option, a slider, and the Position option, a drop-down menu.

Use the slider to decide the size of the stroke and the position option to set where the stroke will happen. Actually, the position menu consists of Outside, Inside, and Center options. You also outline text in Photoshop using the stroke method.
STEP 6. Save The File
After giving the stroke, you will have your text in bold format, and if you are happy with the result, you can save the file. If not, then play with the settings and find your desired version.
Check out this video for more clarification-
Video source: How to make any font Bold/Italic
Summary
I know how annoying it is to search for little things like making your text bold or italic in photoshop, as these can sometimes be tricky. You will learn how to italicize text in Photoshop by reading this article. Apart from that, we also explain how to bold text. So this article is important for rookie photoshop editors.


