4 steps to add Gaussian blur in Photoshop

To make your photo stand out, using the blur filter in Photoshop is a fantastic idea. Since an accurate blur can impact an entire image positively. You will be happy to know that there are several blur filters available in Photoshop, and all of them are good.
Gaussian blur is one of them. It gives you more control over your picture more than most others filters. It is the most effective blur filter you can activate with a single click on your PC.
The Gaussian Blur tool in Photoshop can be helpful for various reasons, for example it makes the background less noticeable, gives an artistic blur effect to your photo, or generates depth in the image.
Additionally, when the Gaussian effect is used on a photo, it creates a soft blur that makes the image look like it is being seen through a piece of tissue.
But do you know? How do you add a Gaussian blur to Photoshop? If not, then read this article. In the article below, you’ll learn how to add Gaussian blur in Photoshop.
Table of Contents
What is a Gaussian blur?
Blurring an image can have both positive and negative effects. Some people use the blur feature to keep a picture private. On the other hand, some people use it to enhance an image’s aesthetic value with blurring.
There are various blurring effects available in Photoshop. Try them and find out which suits your purposes. Gaussian blur is one of the artistic blurring touches in your picture.
Gaussian blurring helps smooth out images and reduce noise. If your photo has a lot of distractions and you need to add an object, then this function could be helpful. Using the Gaussian blur effect, you can make the photographer’s background less noticeable.
In the field of image processing, Gaussian blur is a common technique. The two primary goals of applying a Gaussian blur are to reduce image noise and sharpness. This blur effect is ideal for hiding details without compromising the overall aesthetic quality of an image.
It’s also helpful if you’re trying to fake a shallow depth of field. The focus and depth of field can be adjusted to your liking with this blur effect. This method usually necessitates the use of a professional-grade camera with high-priced lenses. However, with Gaussian blur, you can get the same effect whether or not you have access to pricey lenses.
How to add Gaussian blur: Easy steps to follow
Step 1: Make a copy of the environment for security purposes.
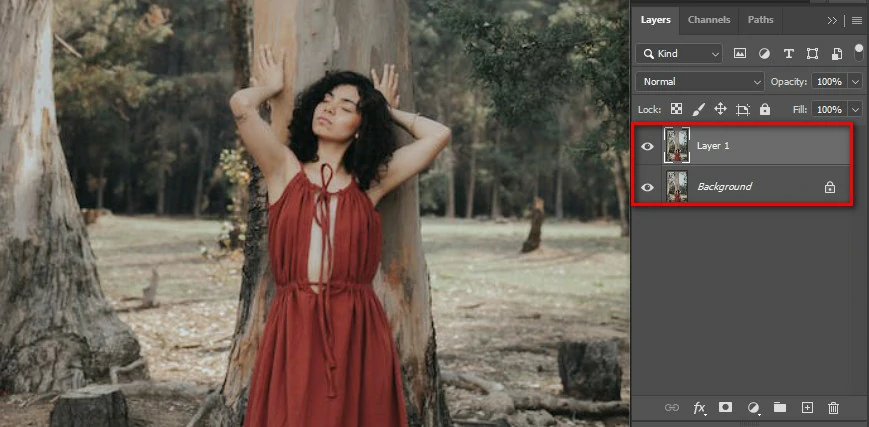
When you change an image, you should always make a copy of the background. If something goes wrong, you may restore the original image.
Now let’s start. With the right mouse button, select the Background layer in the Layers panel. Make a copy of the layer by clicking the corresponding button. Eventually, a new layer will show up on top of everything else.
Another option is to change the layer into a smart object. The application of intelligent filters or reshaping them makes no difference. The data in the layer is securely stored in the smart objects. This ensures that the layer stays the same no matter what we do to the object.
Any further changes to the backdrop will show up beneath the layer in the layers panel.
Step 2: Draw a ring around the object.
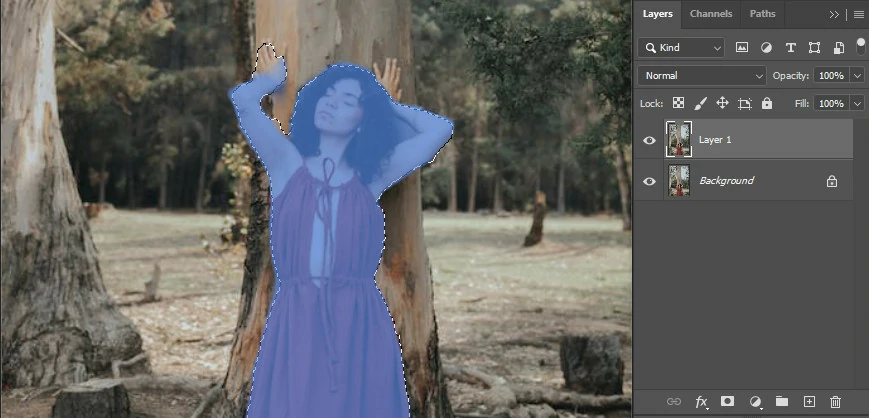
It’s easy to do this with Photoshop’s various selection tools. How about we make some space to move? The “Pen Tool” is ideal for drawing your shape. To bring up the toolbar, select Window > Tools if it is not already shown. Another option is to press Cmd + P.
Blur an object by drawing a path around it. Focus up close and polish the thing to a glassy shine. If you make a mistake, you can undo your last action by pressing Cmd + Z (Windows: Ctrl + Z).
Step 3: Choose an Option from the Path
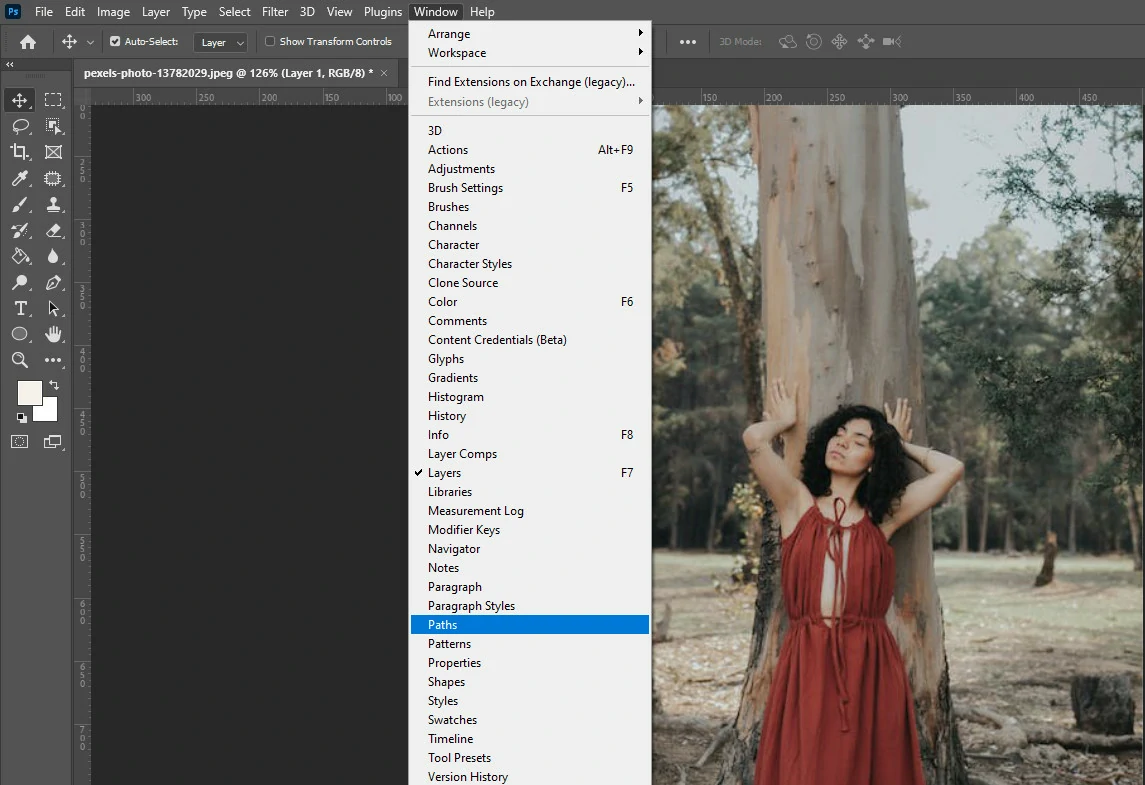
After selecting the desired region, you must transform it into a selection. Choose the path you just made in the Paths panel. Select Window > Paths if it still needs to be visible to access the Paths panel. Clicking this will open the Paths sub-menu.
To make the path a selection, press the “Load Path as Selection” button. We advise utilizing the “Refine Edges” function before applying any blur to the backdrop. With this technique, you can verify that the blur effect’s hard edges won’t ruin your photo. When the layer’s edges seem good, click the OK button to begin blurring.
Step 4: Blur the area you picked using a Gaussian filter.
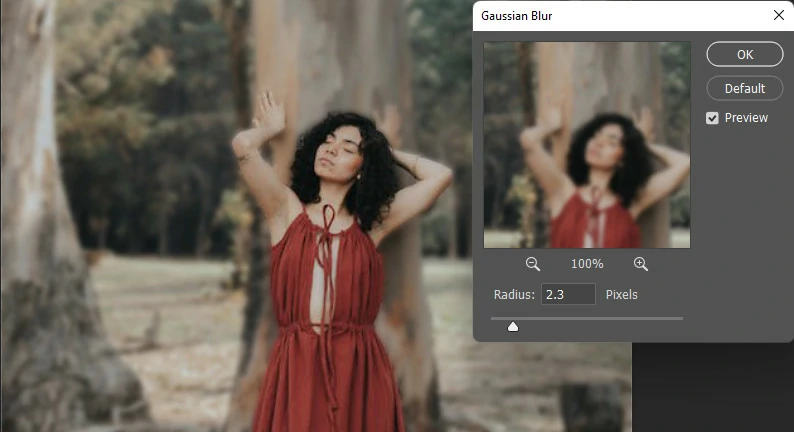
Now, the Gaussian Blur window can be accessed with the Filter Menu at the top of the screen by selecting Blur and then Gaussian Blur.
To find the object you want to blur, you can search for it by dragging the image into the “Gaussian Blur” box. If the preview window is too small, select the Preview check box to see the final image after applying the Gaussian filter blur. To adjust the blurring, move the Radius slider to a value between 0 and 1.
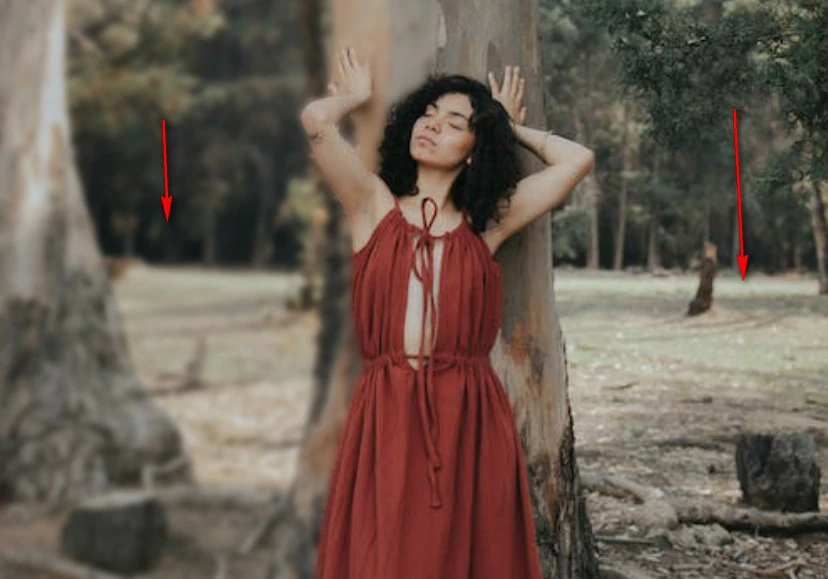
As a consequence, something has happened. The object will stand out against a hazy backdrop.
Comparing Gaussian Blur to Lens Blur
The effect of Gaussian blur is to smooth out the image overall. It is a low-pass filter that smooths out the image by getting rid of the values that are too high or too low.
The blur effect can reduce the amount of background noise in photos with too many details. Softening the overall image can help bring focus to a specific area, such as writing, an item, or a person. Remember that if you use a high blur intensity with a Gaussian blur, the sharpness may suffer.
On the other hand, the effect of “Lens Blur” is to produce a shallow depth of field (bokeh) to emphasize the focus while blurring the background. Compared to other blurring effects, lens blur provides superior control and accuracy.
“Lens Blur” offers you a vast amount of control over the result of a blurred photograph. There is no doubt that lens blur is your best option if you want a soft, creamy blur. It’s a more sophisticated alternative to Gaussian blur.
Conclusion
Gaussian functions are popular among photographers and designers for a number of reasons. To reduce the noticeable amount of noise in low-light photographs, Gaussian blur works best. By this time, you should now know how to add Gaussian blur in Photoshop after reading this article. If you continue to have problems, you can contact a post-production house.