How To Stretch Part Of An Image In Photoshop CC
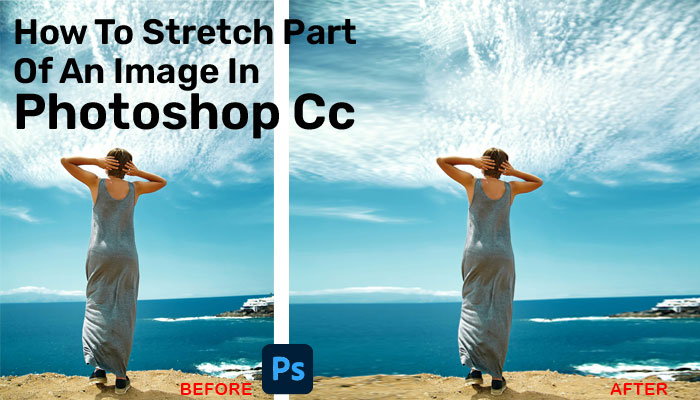
You could stretch part of an image in photoshop a lot smoother than in other tools. We have tried all the techniques and found the easiest ones. It would let you stretch any part of the image without any issue. Plus, in the following article, we are going over other techniques of stretching an image as well.
Further, if you want to learn how to stretch body parts and texts in Photoshop, we will cover it. As a bonus, we will show you how to get the Pixel Stretch Photoshop Effect with a few simple steps. Thus, let’s start with the amazing Photoshop tutorial guide.
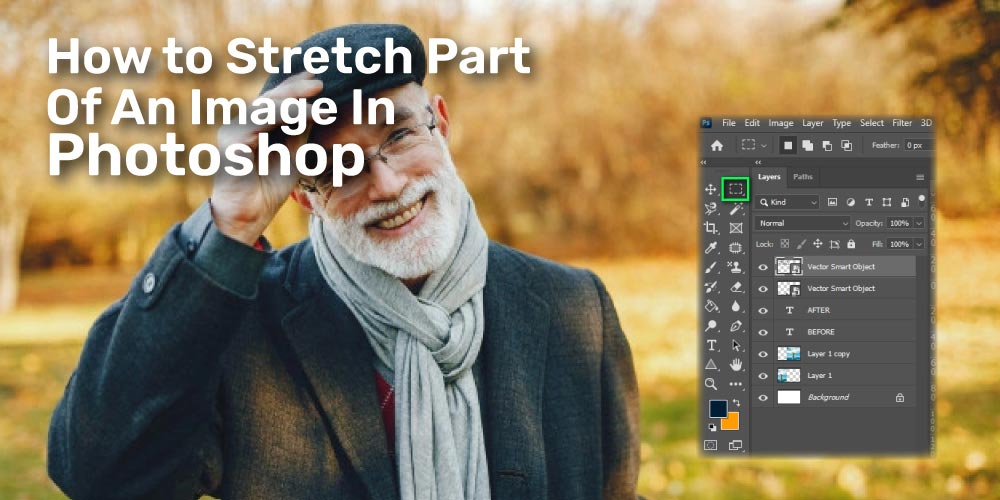
Table of Contents
How to Stretch Part Of An Image In Photoshop CC
Let’s start learning the process of stretching part of an image in Photoshop Cc. It would help you to stretch any part of the image a lot faster. Below are the steps which you need to know.
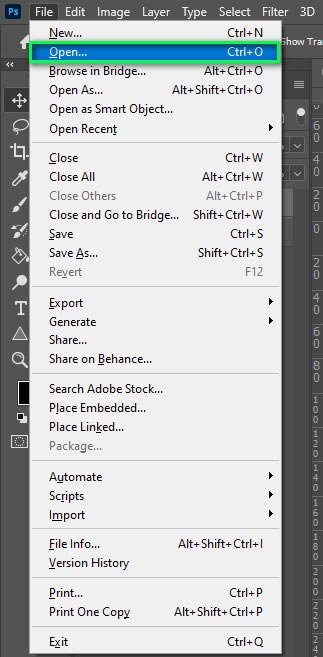
Step 1: First, open the image on the Photoshop CC.
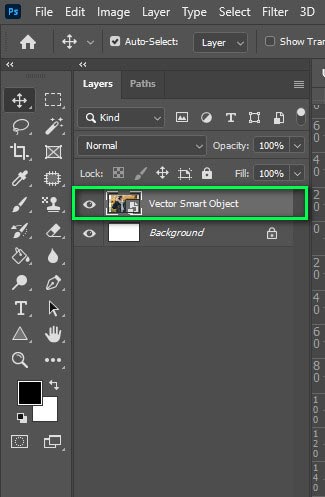
Step 2: Afterward, select the layer containing your image.
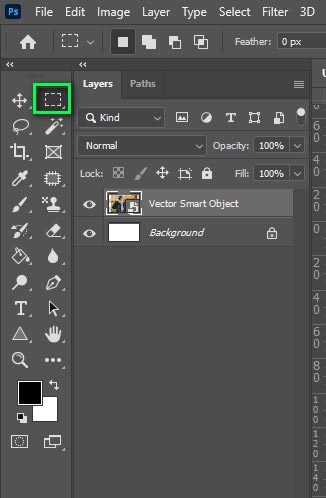
Step 3: Now, from the left toolbar select the rectangle marquee tool. Or you could press “M” on the keyboard to activate the same tool.
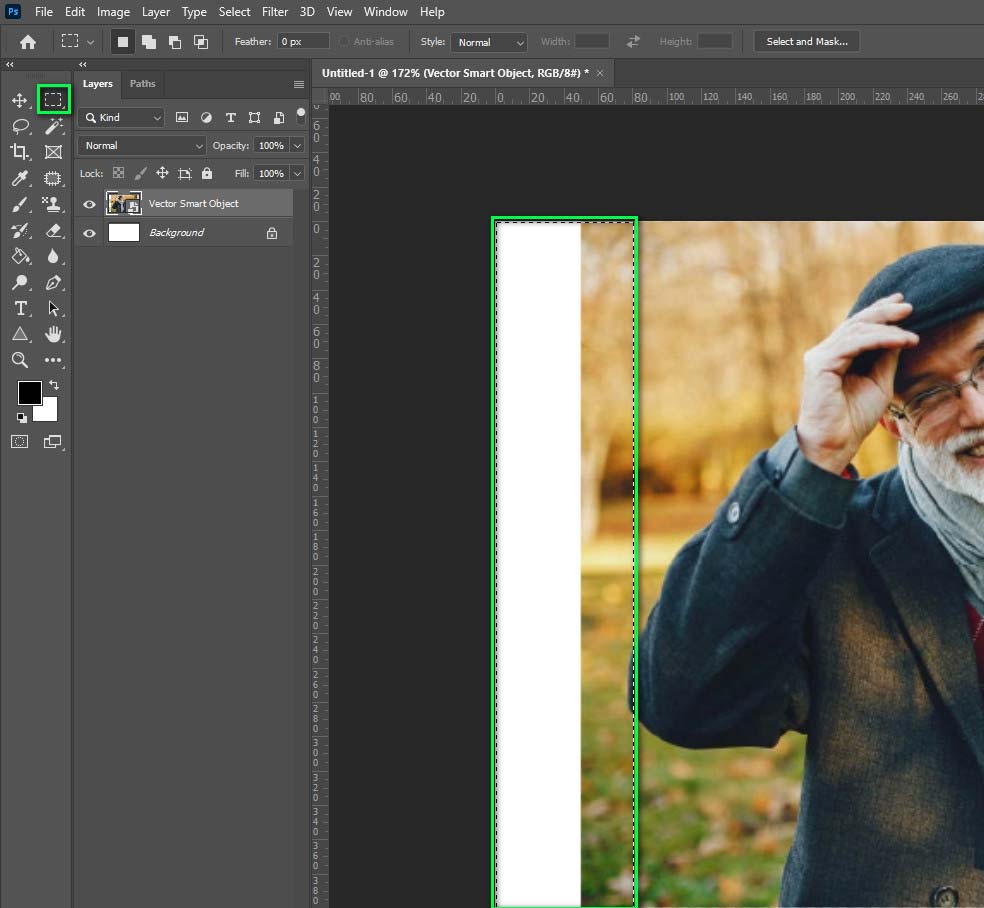
Step 4: Now click and drag the part of the image you want to extend.
Step 5: Once you select the part of the image, press Ctrl + T to activate the free transform feature. You could select the Free transform option from the Edit menu as well.

Step 6: Press shift and click on the side of the selected bounding box. While pressing shift drag the mouse to the direction you want to stretch the selected part of the image.
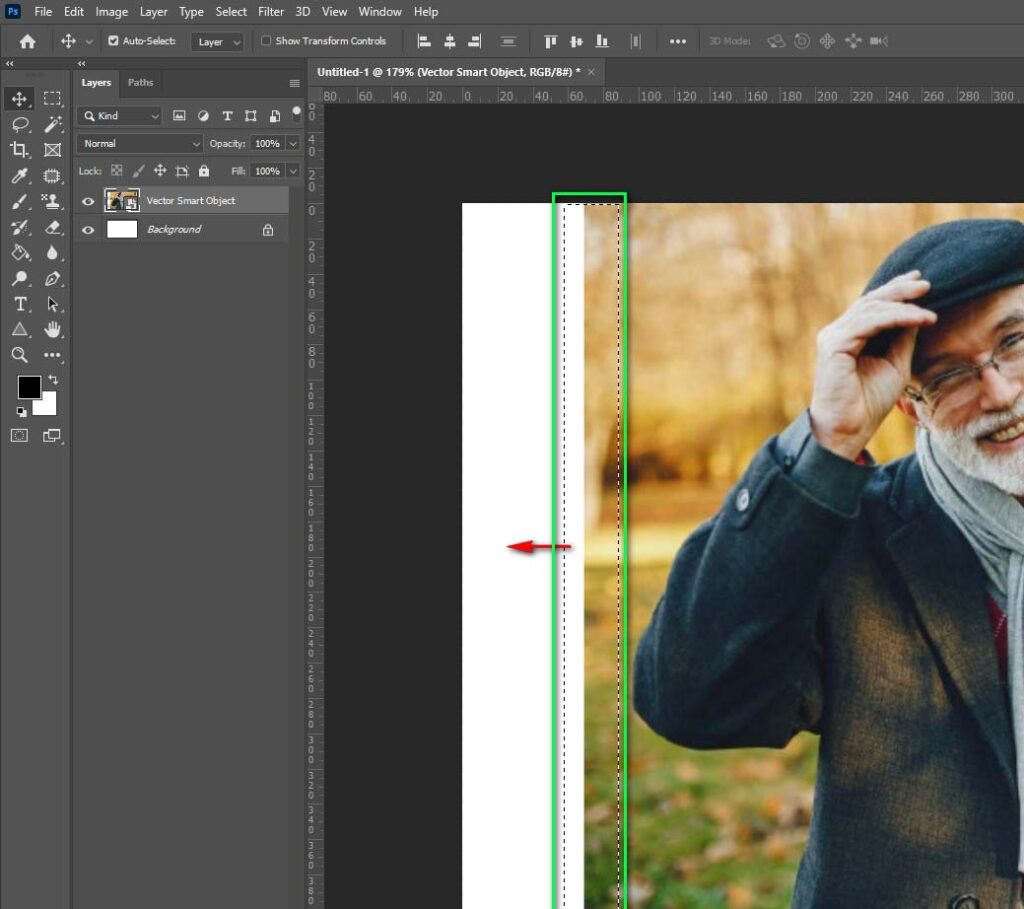
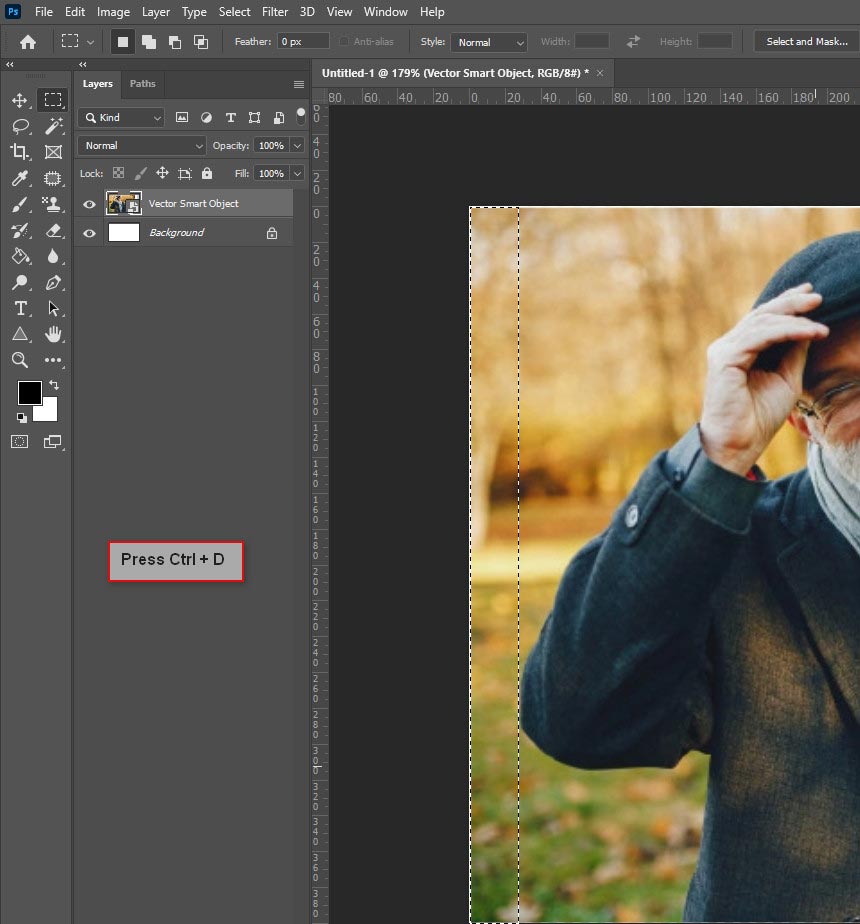
Step 7: At last double click anywhere on the artboard and press Enter button on your keyboard. Press Ctrl + D to deselect the selected part of the image.
How To Stretch Body Parts In Photoshop
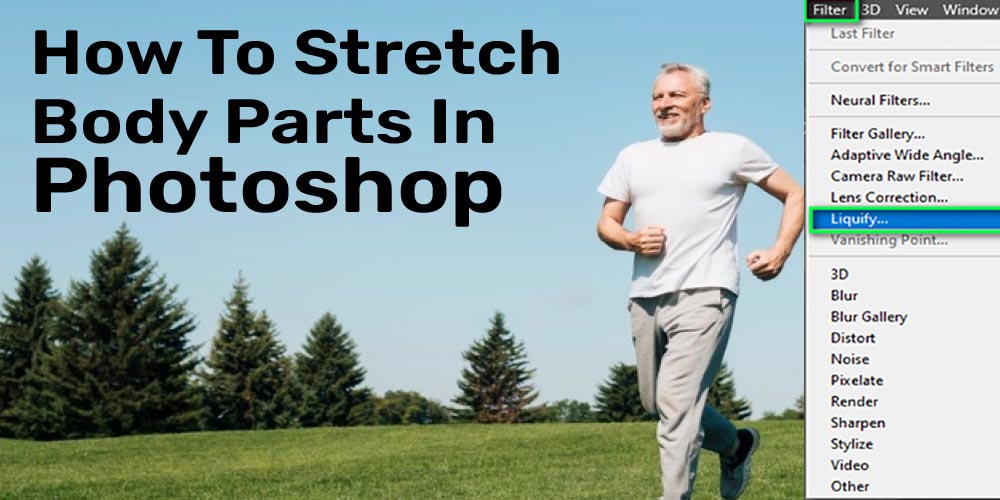
When it comes to stretching the body parts within Photoshop, puppet wrap tools come a lot in handy. This is why below we are going to use Puppet warp and Liquify to sketch body parts within Photoshop. It’s one of the most used techniques in eCommerce photo editing as well. Let’s start it.
Step 1: Open the image on Photoshop and create a duplicate layer with Ctrl + J.
Step 2: Go to Edit > Puppet Warp to activate the following feature.
Step 3: Now press the Shift key and press around the body parts of the model. It would create anchor points that would help you to customize the image.
Note: Make sure you place points around the face, hips, belly, and legs as well.
Step 4: Click and drag any of the anchor points to stretch the body parts of the model.
Step 5: Now duplicate the image layer and go to Filter > Liquify.
Step 6: Afterwards a new window will pop up. Now, click on the top-left icon or “Forward wrap too” from the tool panel.
Step 7: Customize the brush size according to your need. You would get brush customization options on the right side of the interface.
Step 8: Brush on the body parts of your image model. Make sure you don’t go overboard with the brushing. Once you are done, close the window and save the image.
How to Stretch Text In Photoshop
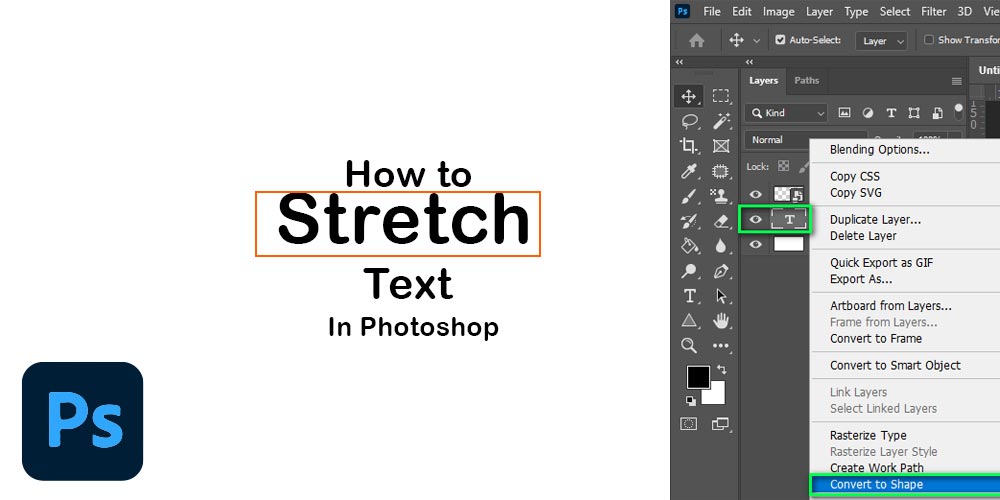
You have great options to stretch text in photoshop with ease. We will type texts into Photoshop and convert them into shapes to stretch them out. It would make your job a lot easier when it comes to stretching texts.
Step 1: First select the Text tool on Photoshop or press “T” to activate it.
Step 2: Type down the texts and customize the font properties as you wish.
Step 3: Now right-click on the text layer and select the “Convert to Shape” option.
Step 4: Afterward, select the direct selection tool at the tool panel. The following tool features a white cursor as an icon.
Step 5: While the direct selection tool is active, drag and select the portion of the text you want to stretch.
Step 6: Now click on any of the selected anchor points of the texts and drag them in any direction. It would stretch the selected portion of the text right away.
Note: You could select parts of the texts and press Shift and any arrow key to stretch the text to your preferred direction.
Stretch An Image In Photoshop
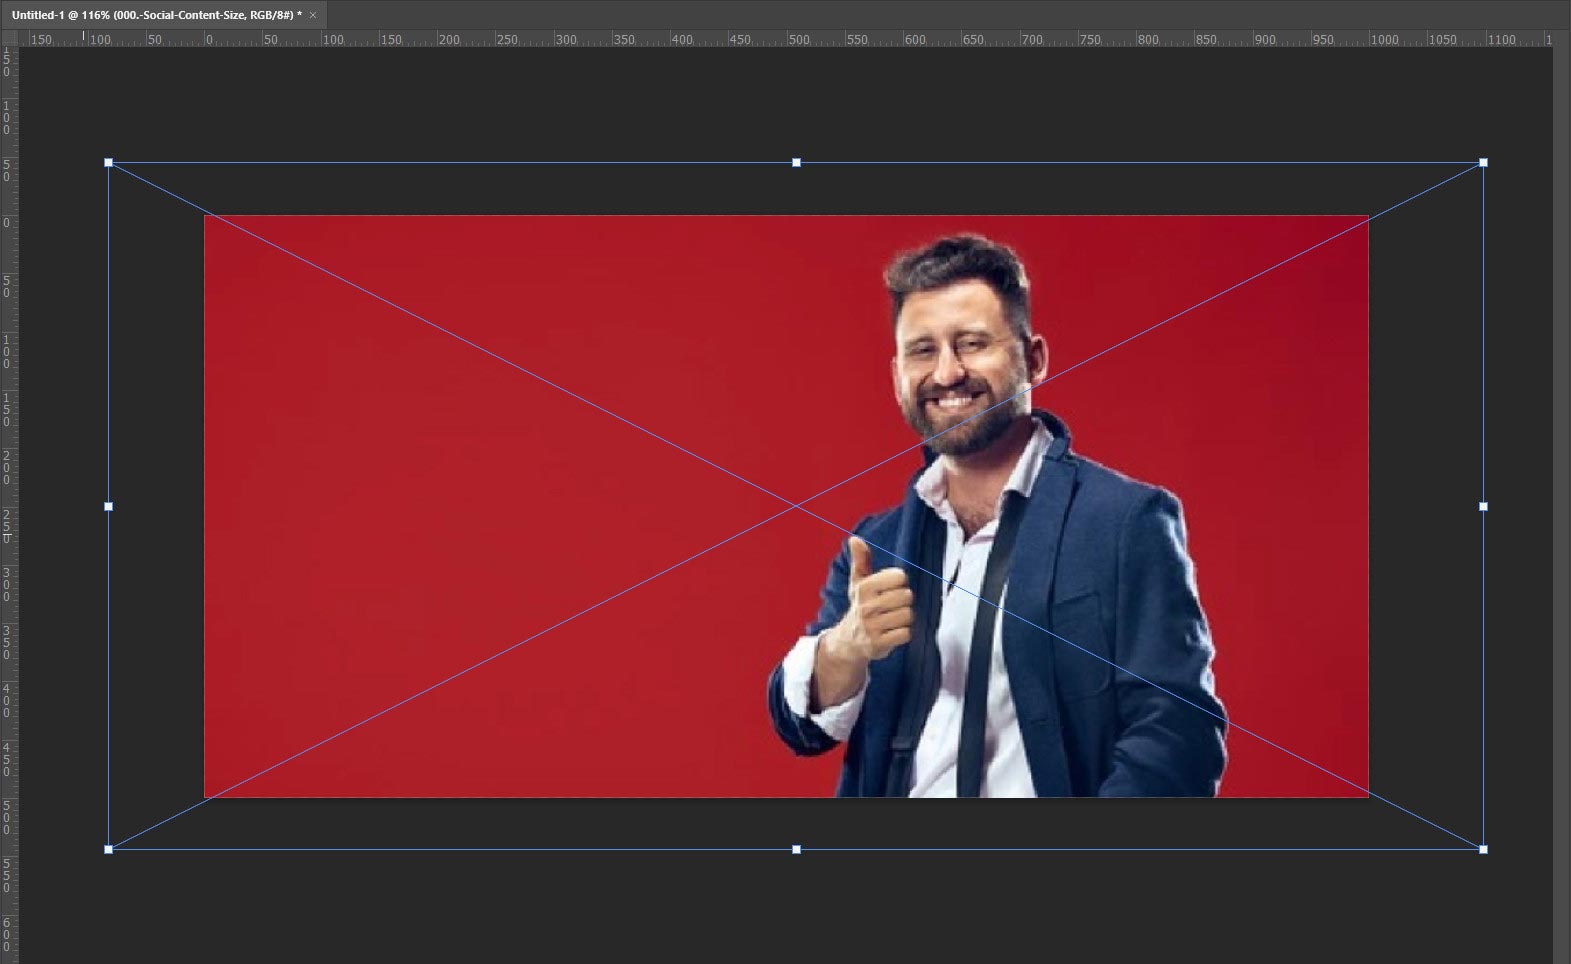
Stretching images in Photoshop is a lot easier than you might think. With a free transform tool, you could stretch an image the way you want. Below are the steps to stretch an entire image in Photoshop.
Step 1: At the layers, panel select the layer the image you wants to stretch
Step 2: Now press Ctrl + T and it will turn on the free transform feature.
Step 3: Afterward, you would see a bounding box around the selected image. Now press Shift and click on the bounding box. While selecting the bounding box drag your mouse in your preferred direction.
Resize Image Without Distortion in Photoshop
Many times you may want to resize images without distortion in Photoshop. Thus, you could follow the below-mentioned steps to resize images without distribution. It would take you less than a minute to complete. Let’s start right now.
Step 1: Select the layer which contains the image.
Step 2: Now go to Image > Image size. Or you could press Alt + Ctrl + I to get the Image Size window box.
Step 3: Turn on “Constrain Proportions”. Afterward, increase the value either in the Height or Weight field of the image. Once you are done click on the “OK” button.
The Pixel Stretch Photoshop Effect
Let’s explore the steps to create Pixel Stretch Photoshop Effect. It’s a lot easier than you could think of.
Step 1: Open the image in Photoshop and select “Single row marquee tool” from the tool menu.
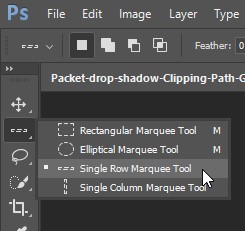
Step 2: Then select a part of your image. It will create a thick selection area stretching from one end of your image to another.
Step 3: Press Ctrl + T to activate free transform. Now hover over the selected row. Click and drag the side of the selection you want to stretch. It would create the pixel stretch effect of the selected portion.
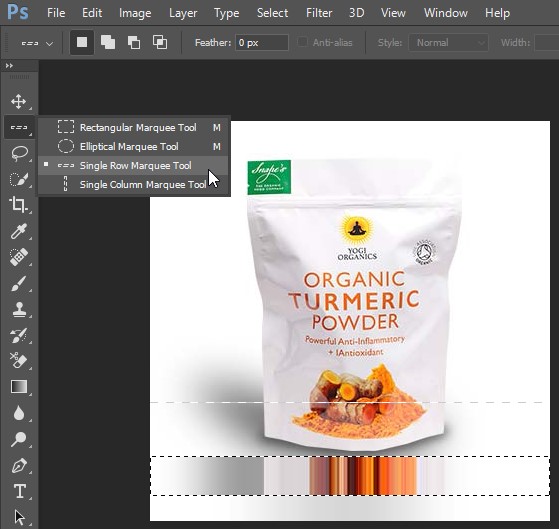
Step 4: Once you are done press Enter to deselect the area. After saving the image.
Conclusion
When you master the techniques on how to stretch part of an image in photoshop, you could get amazing results. For example, making an image a lot wider without distorting its ratio. Plus, you could make your image model a lot skinnier with stretching effects. All in all, it’s a great technique to learn.
Nonetheless, it’s a bit tricky to stretch an image in Photoshop. But with practice, you could get the grip of the tool and create amazing results. You must try to learn the technique with time. Don’t rush off and take enough time to understand each step.

